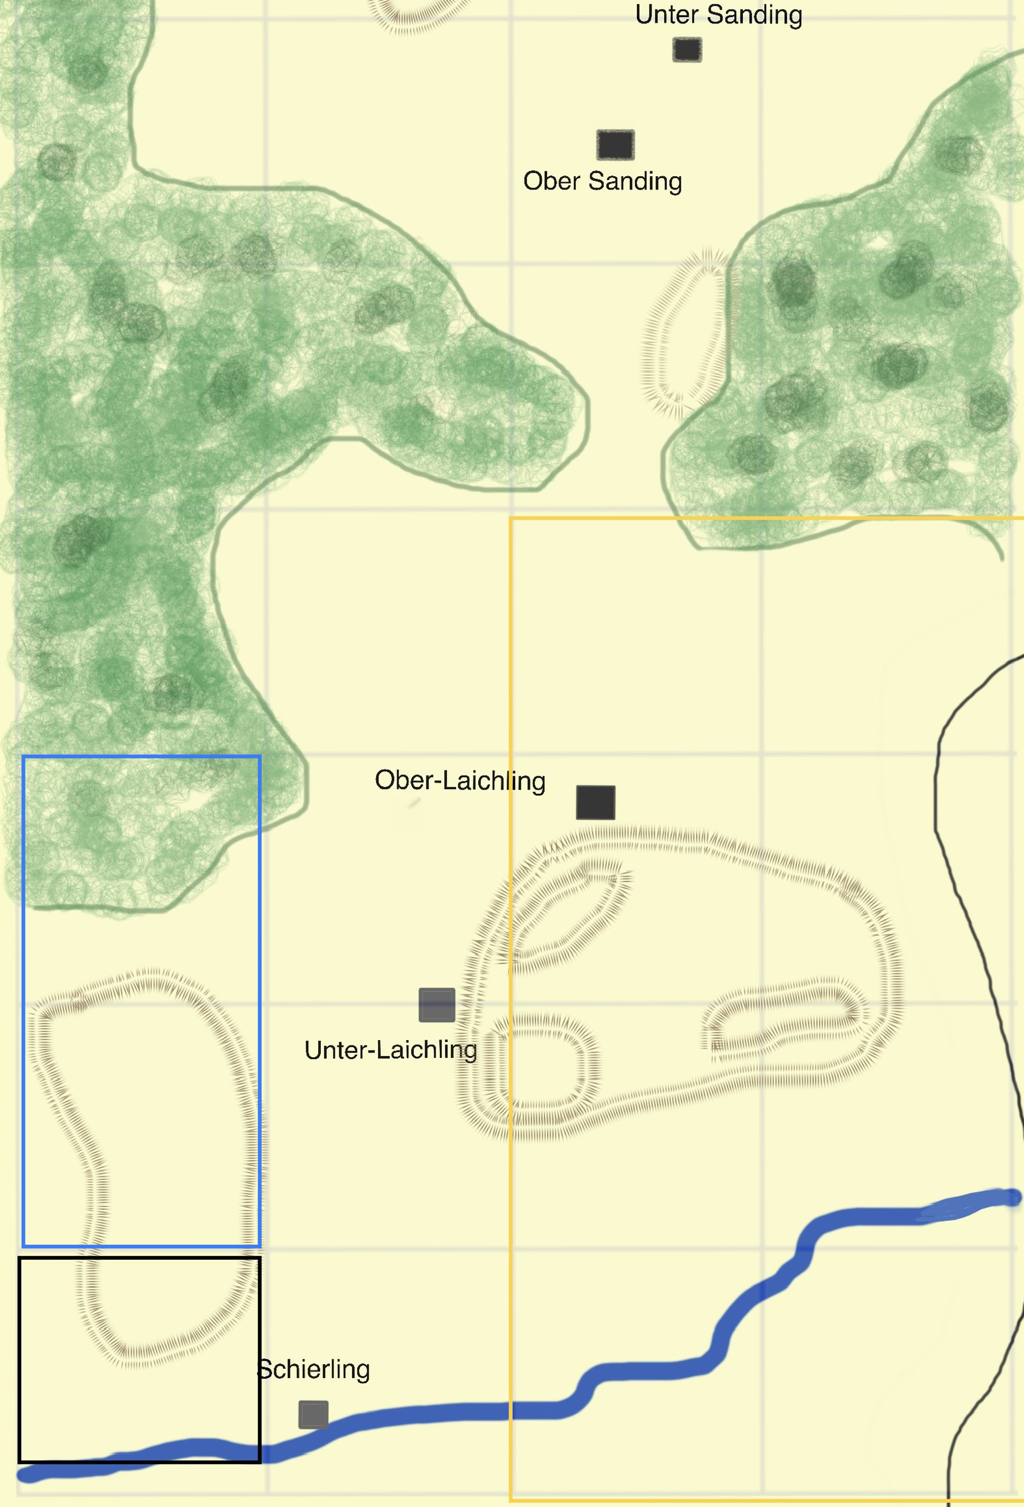
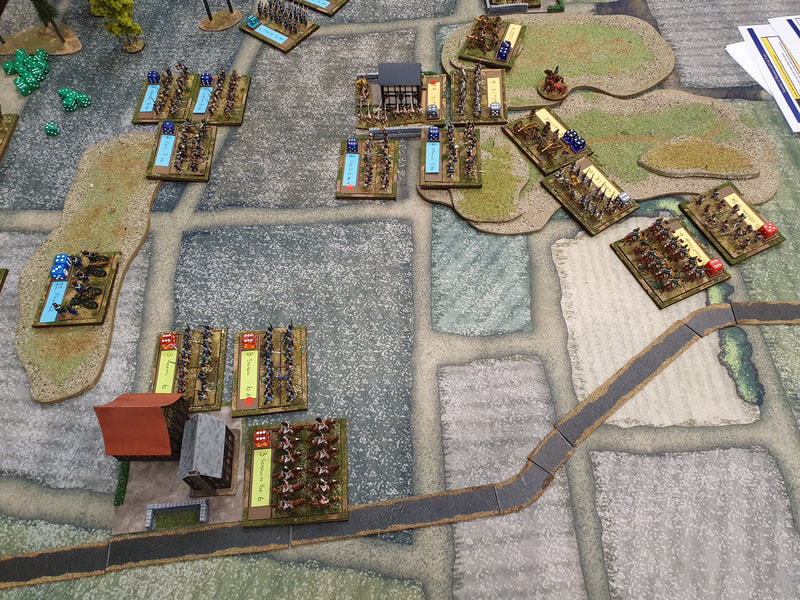
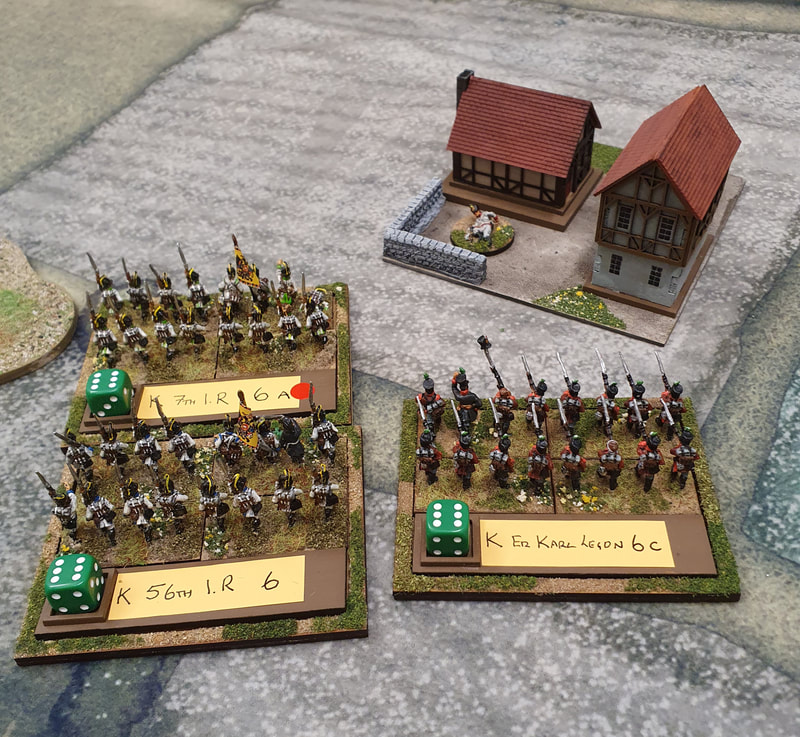
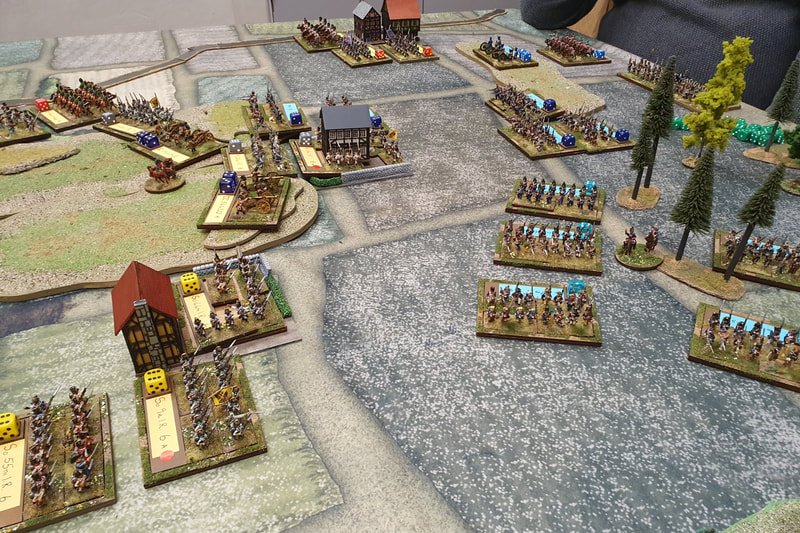
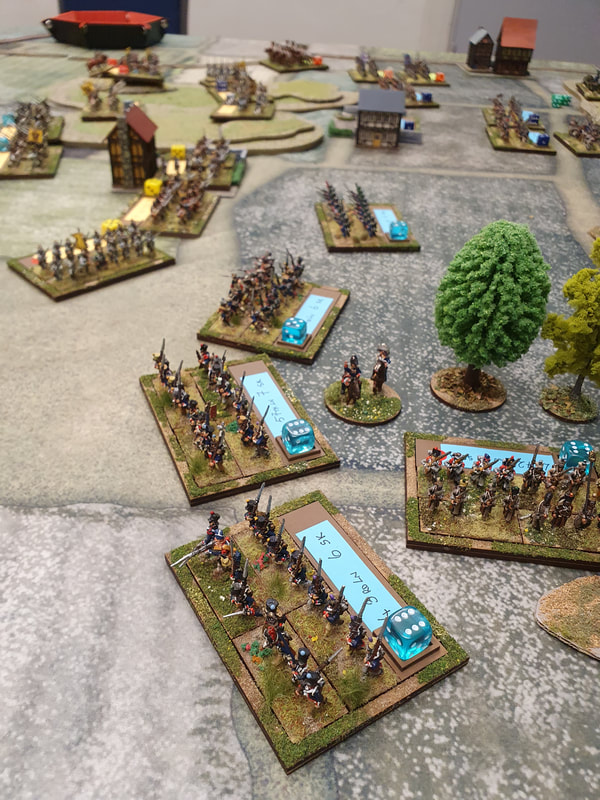
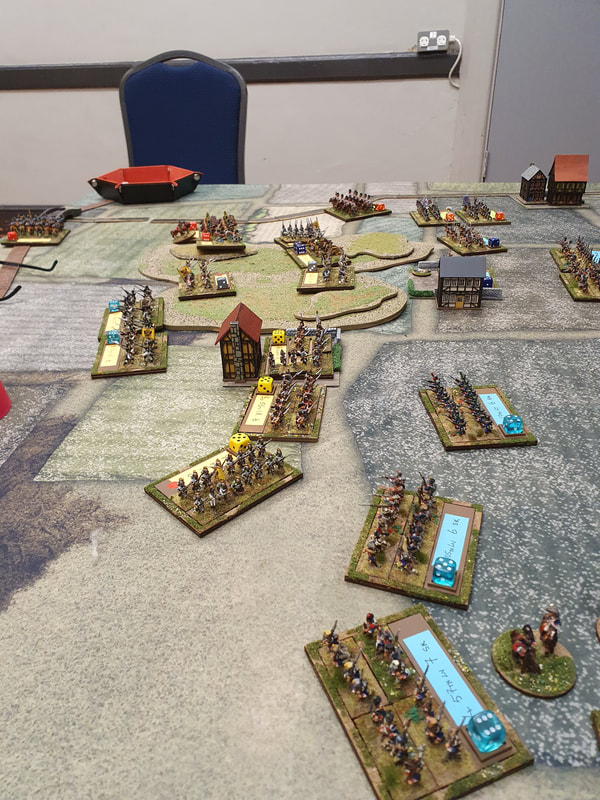
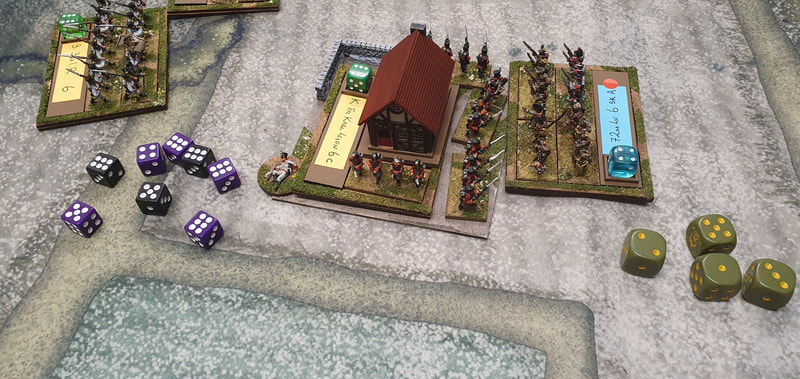
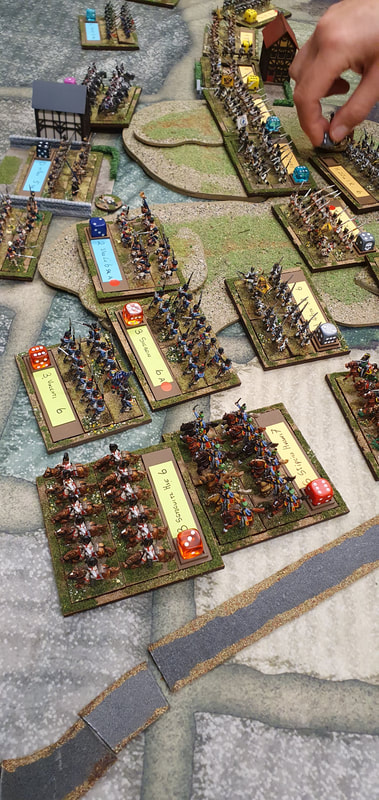
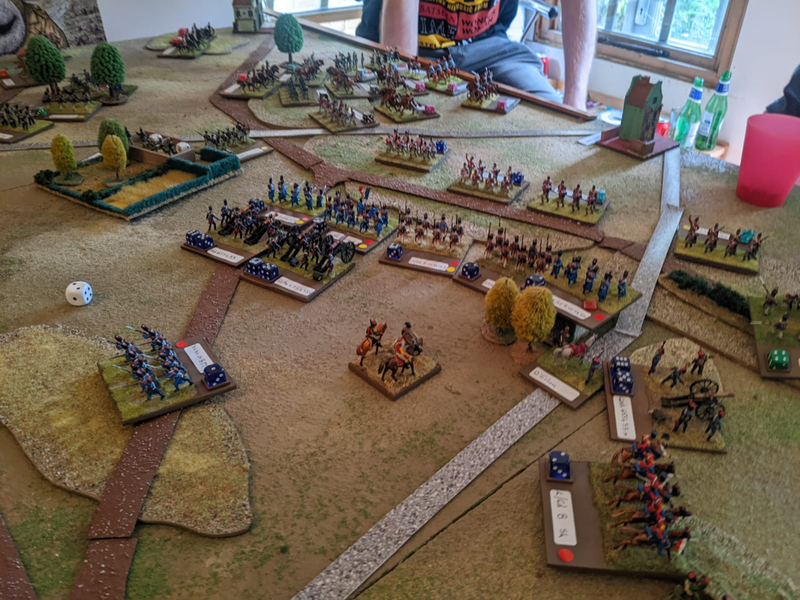
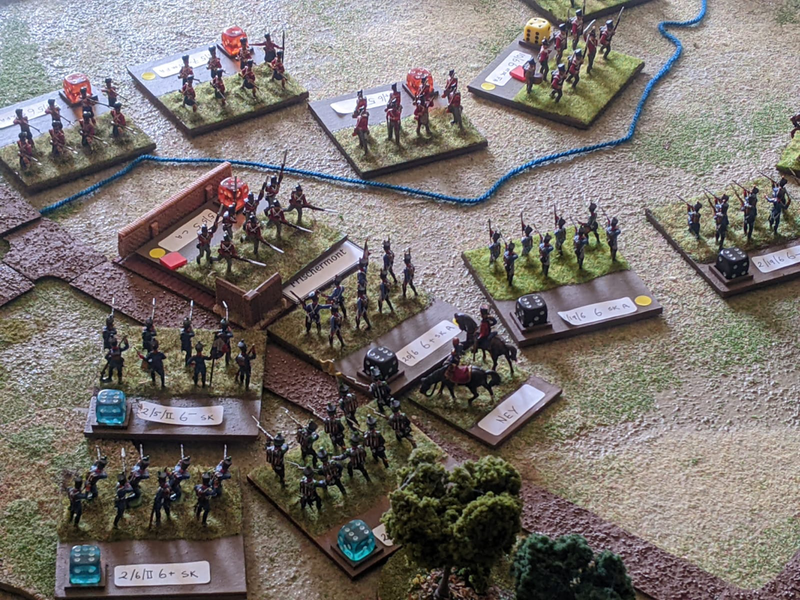
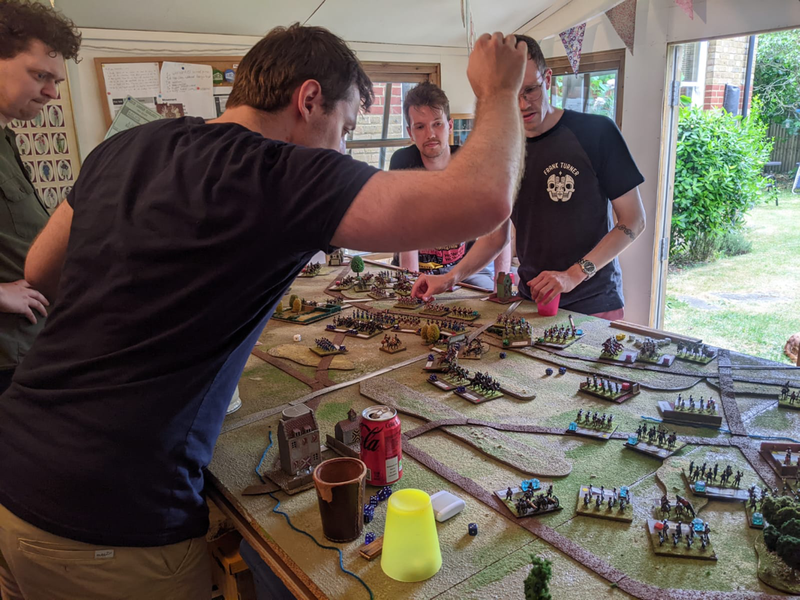
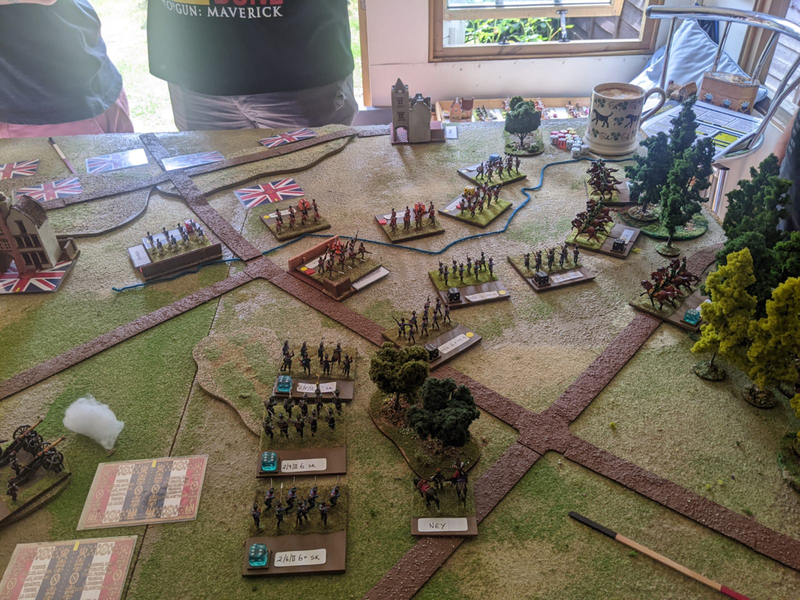
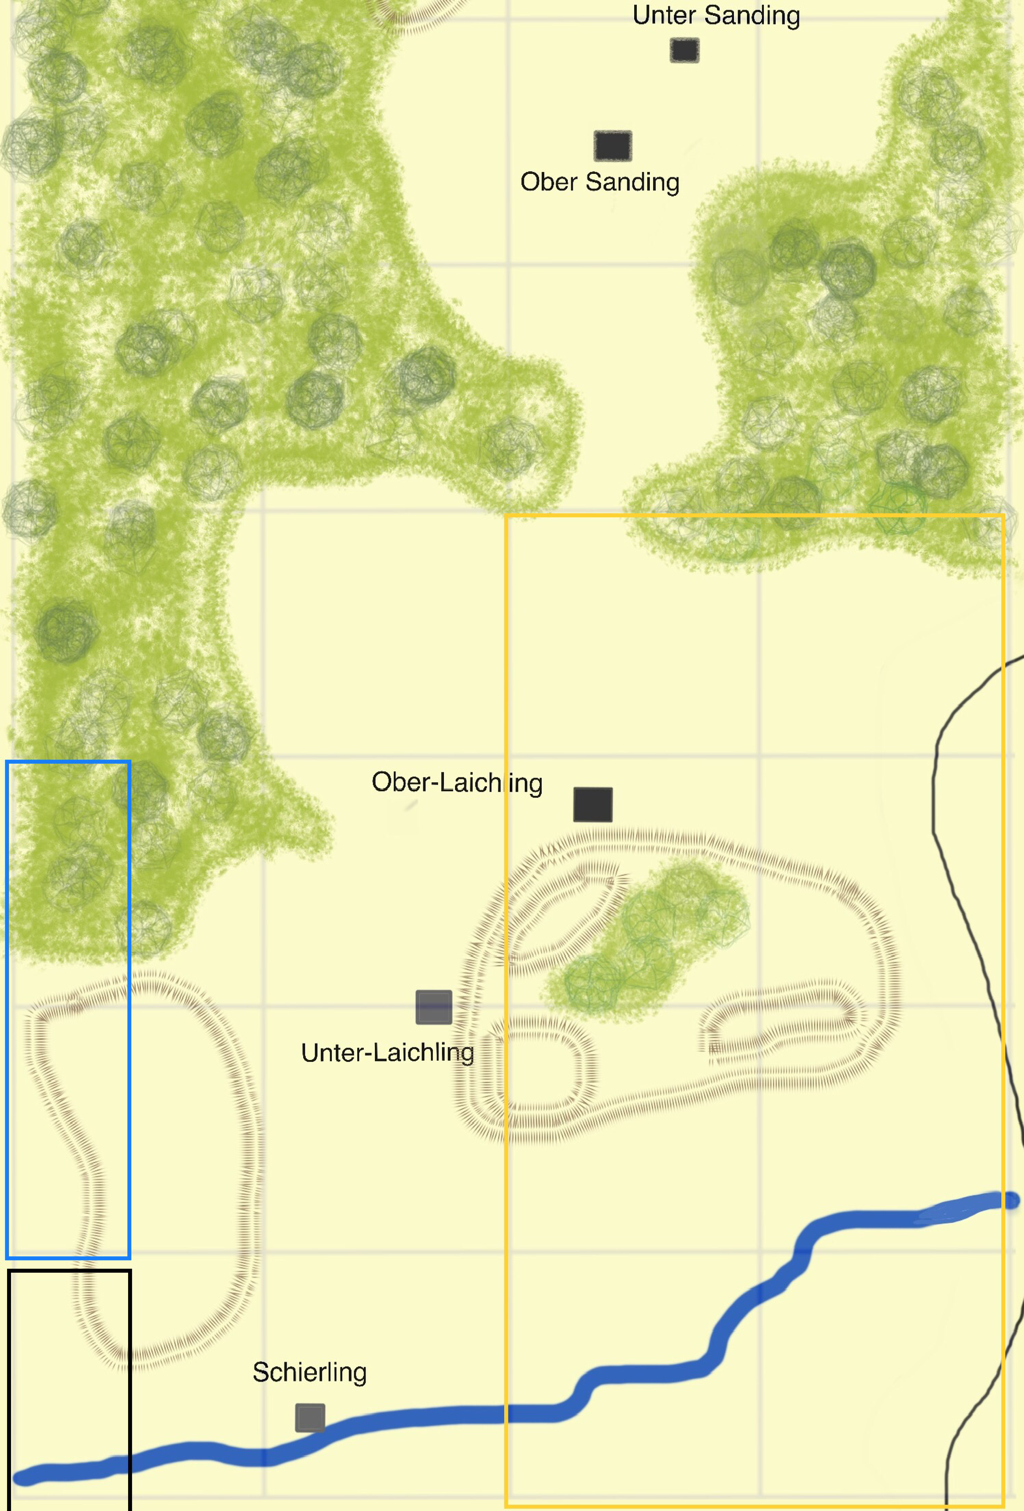
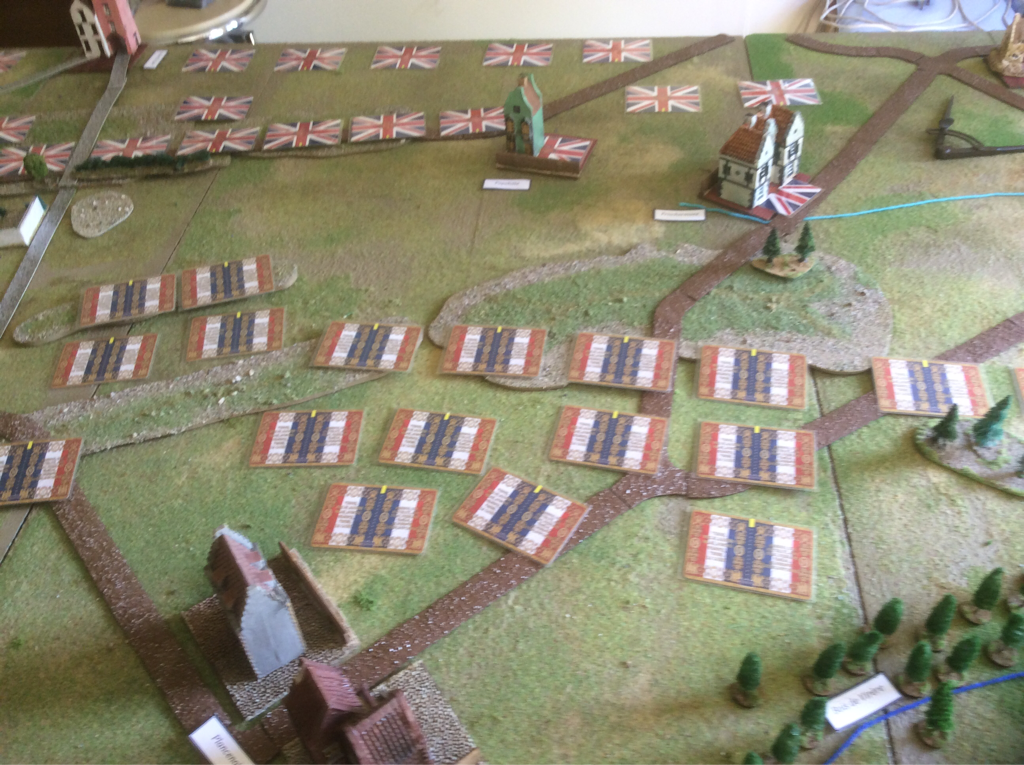
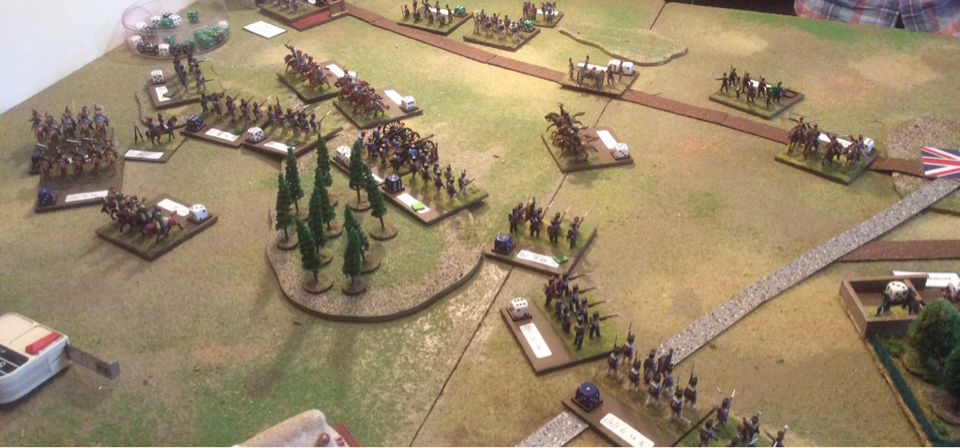
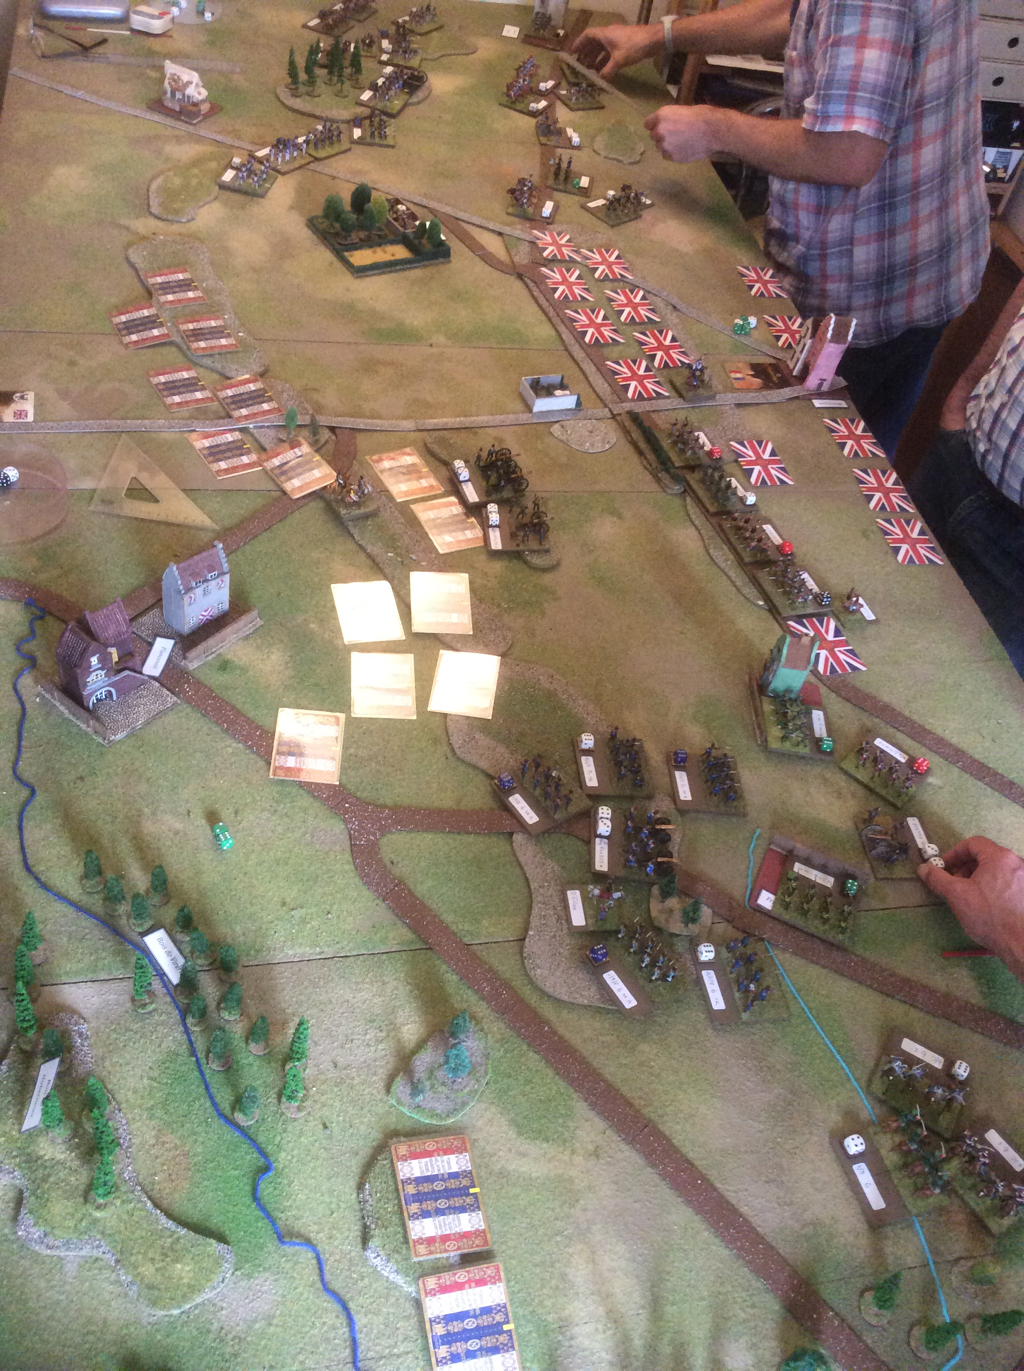
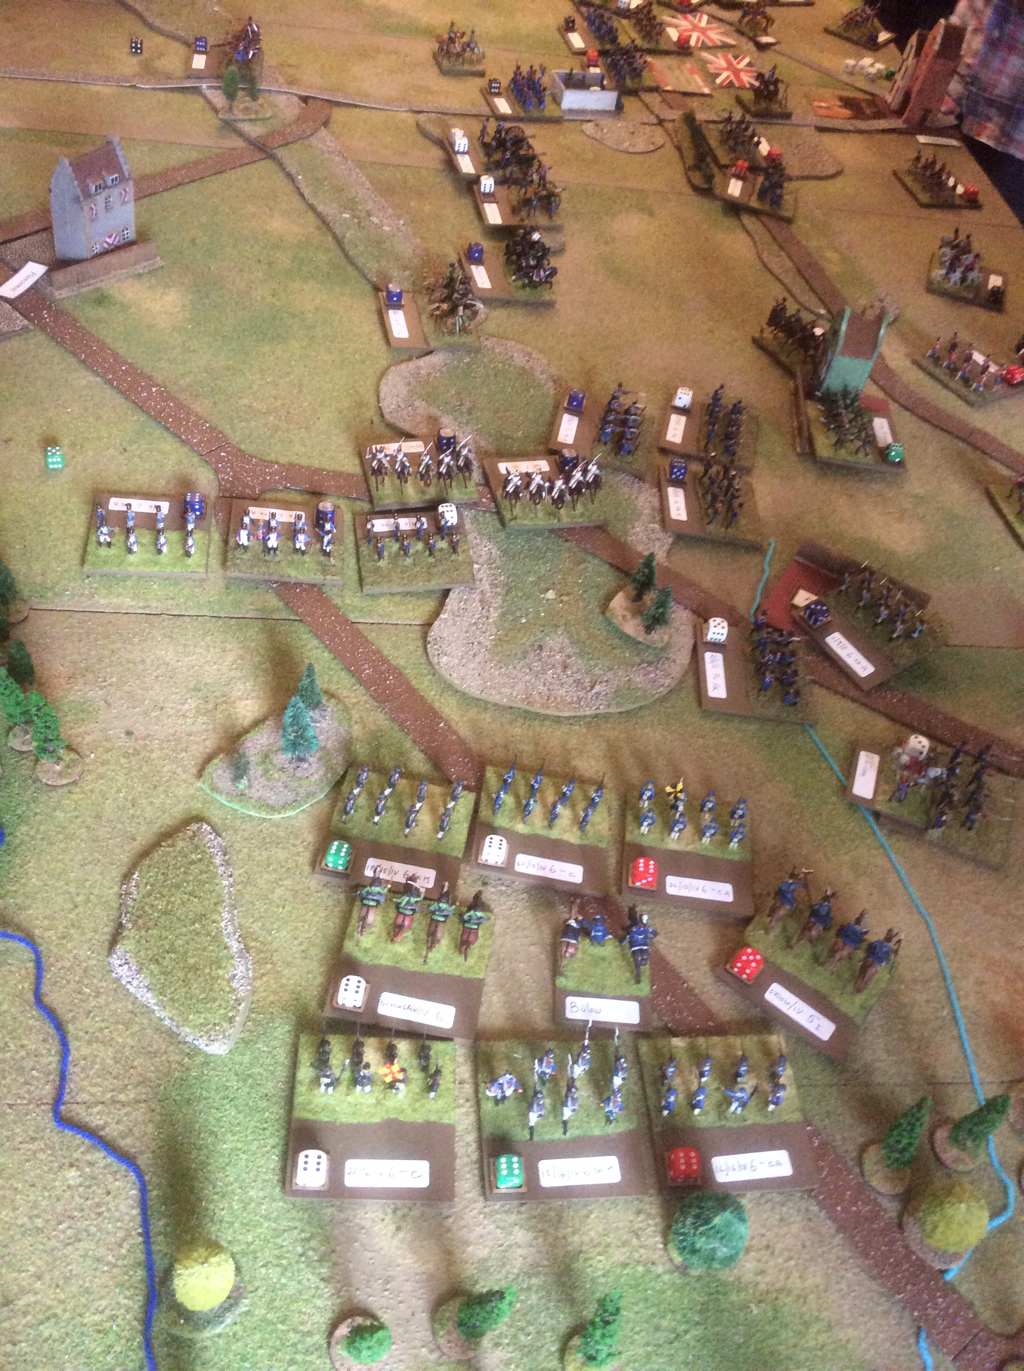
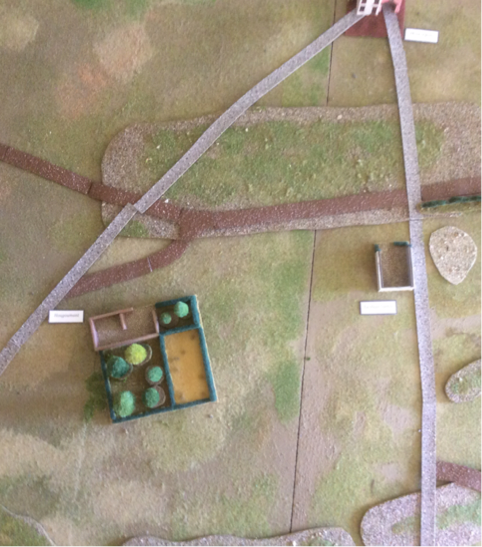
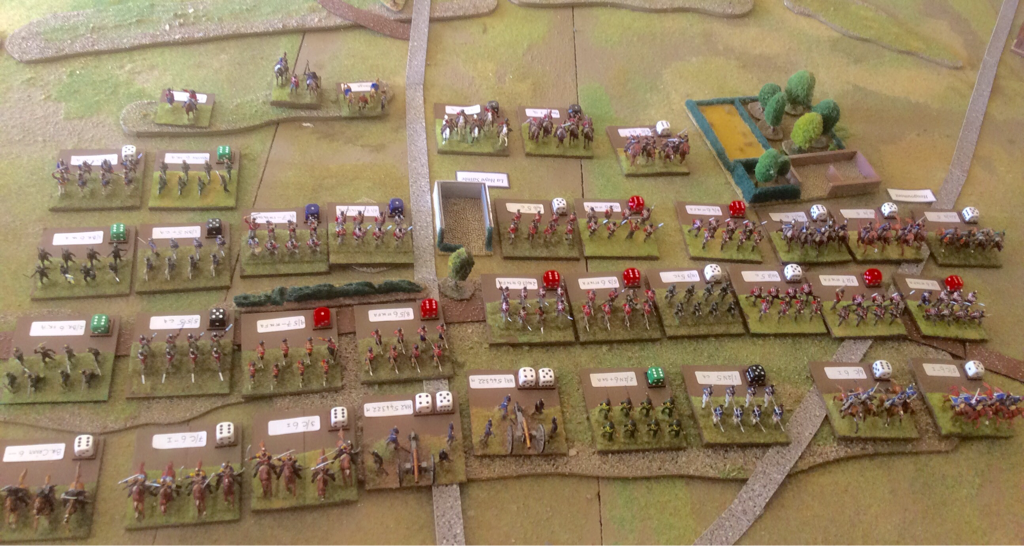
Blucher at the ClubLast Friday I ran a four-player game of Blucher at Staines Wargames Club. The scenario was Laichling 1809, on the scenarios page here. This was the fight between Davout and Rosenberg on 21 April, the day before the battle of Eggmühl. Ian and Harry led the French against Chris and Nick’s Austrians. This scenario is unusual in having a lot of woodland, especially on the French side. In the real battle, Friant’s division moved northwards through the woods without much difficulty, before emerging to assault the village of Ober-Sanding. I found the Blucher rules as written too restrictive to permit the French to recreate this advance, since reserve movement is not permitted in woods and all movement in them is classed as ‘difficut’. I introduced a house rule for this game only, that infantry with the skirmish ability is able to make an easy move in woods. This covered all French infantry and the Austrian Grenzers, but Austrian Line did not benefit. Opening MovesChris as Rosenberg set up the on-table Austrians, with garrisons in the villages of Unter and Ober Laichling and his cavalry on his far left. Ian deployed the Bavarians on the French right and Friant in the Centre, and Harry took St Hilaire on the left. The game began with Ian/Friant assaulting Unter Laichling and Harry moving north through the woods towards the Sandings. Ian’s first two attacks on Unter Laichling were repulsed at some cost, but he was third time lucky. The rest of the game saw Austrians and French taking and retaking the village, with possession finally in French hands. The Bavarians also advanced on Friant’s right. The infantry held their own but their cavalry were given a bloody nose by the Stipcisz Hussars. Meanwhile Nick’s first Austrian reinforcements arrived and moved to occupy Ober Sanding before Harry could get there. Harry was so fixed on reaching this village that he veered a bit too close to the Austrians around Ober Laichling and Chris charged two of Harry’s regiments in the flank. Harry got off very lightly in the ensuing combat but he was obliged to turn two regiments to face the Austrian centre, which reduced the French resources available to assault the Sandings. Crunch Time at Ober SandingHarry’s first assault on Ober Sanding was seen off in style, with Nick rolling either a 5 or 6 for every single combat die. Harry’s next attempt succeeded and his depleted regiment occupied the village. At this point, the French already held Unter Laichling and would win the game outright if they held both villages at the end of the next Austrian turn. Chris and Nick tried their damnedest to evict the French, with Nick sending in two units against Harry’s regiment in Ober Sanding. Despite having many more dice than the enemy, Nick’s rolling let him down for this combat and both Unter Laichling and Ober Sanding remained in French hands, bringing the game to an end.
This was a tense game, which almost went the full 26 turns. It rattled on at a good pace and the players seemed to enjoy themselves. I thought the scenario was well balanced and could genuinely have gone either way. Had the French sudden death conditions not been met, I reckon the Austrians may have inflicted enough damage to win the day. As it was, the honours went to Davout. Thanks to all the players for getting stuck in. Commiserations to Chris and Nick and congratulations to Ian and Harry.
1 Comment
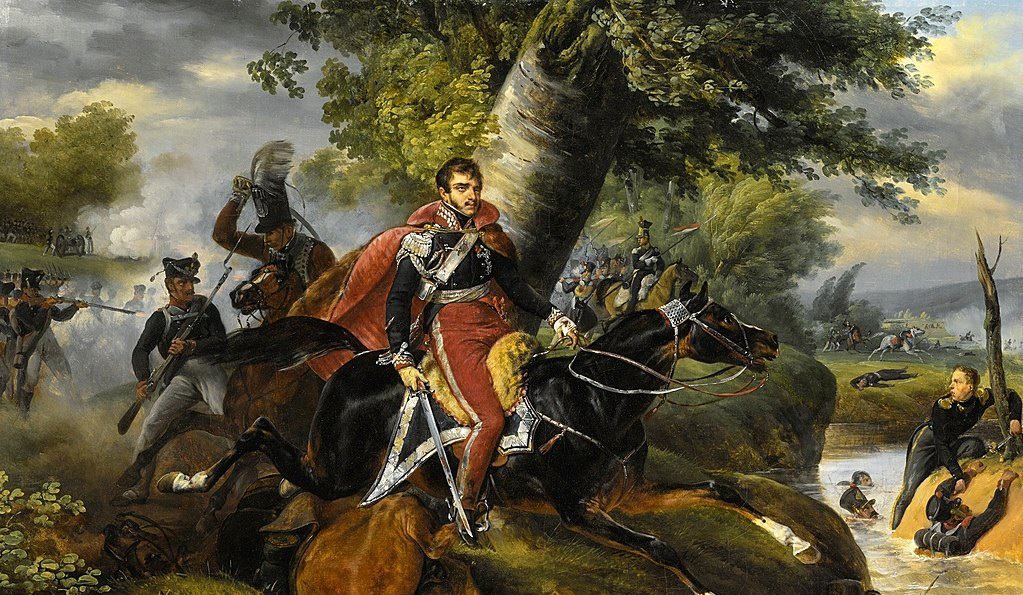
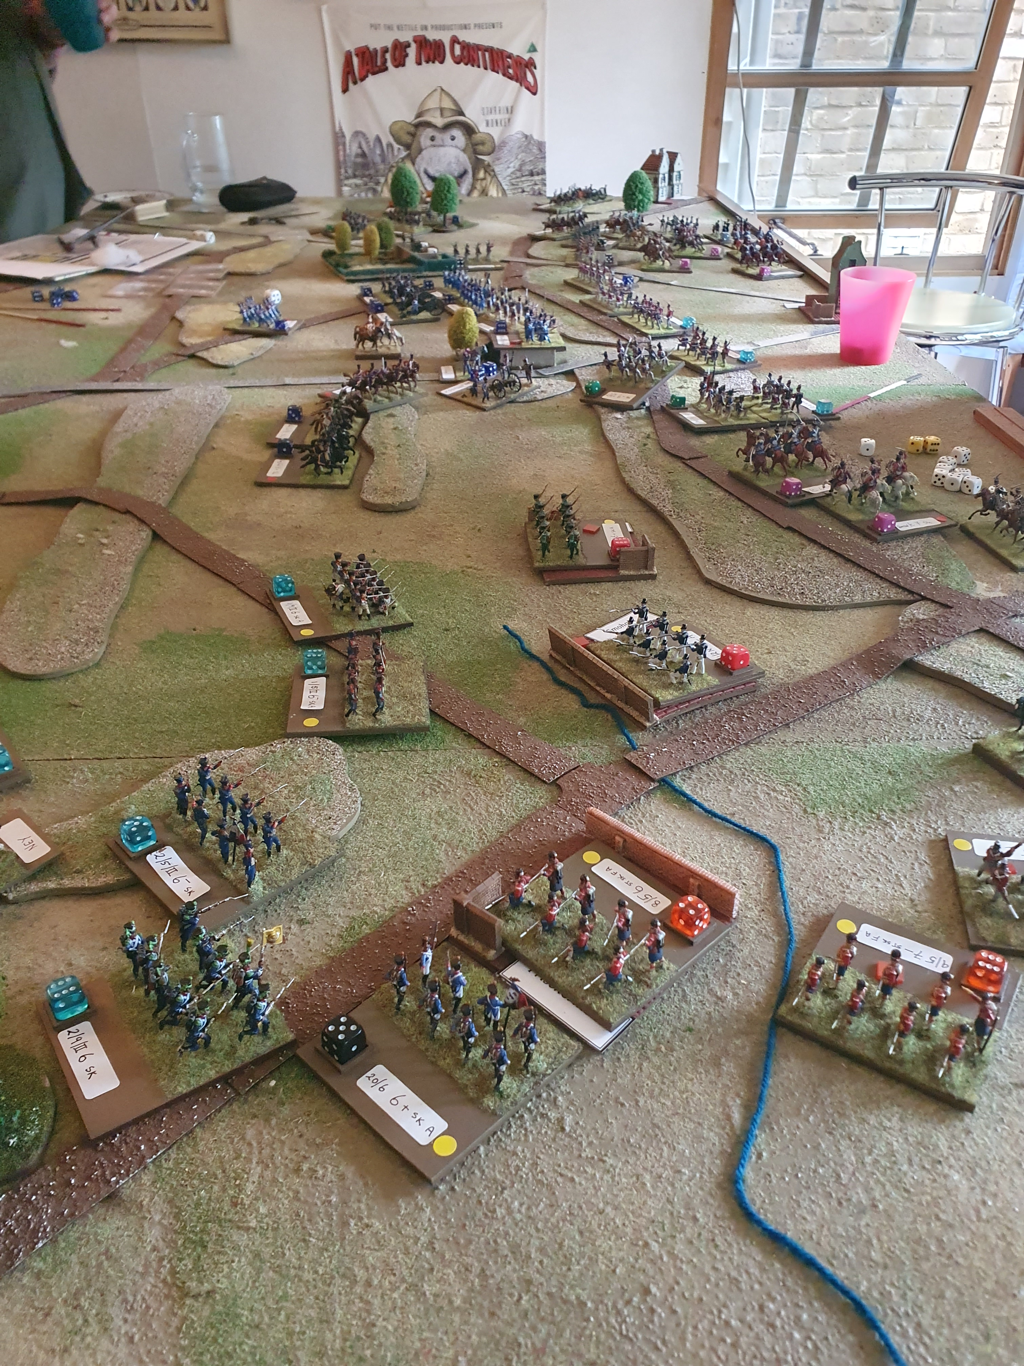
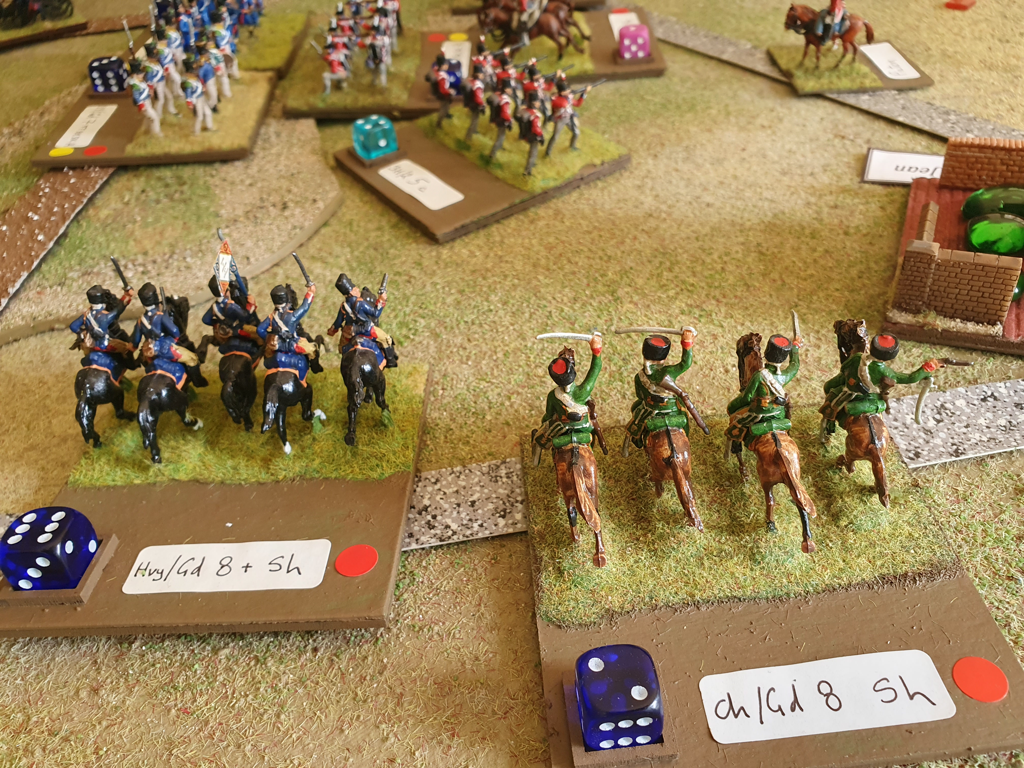
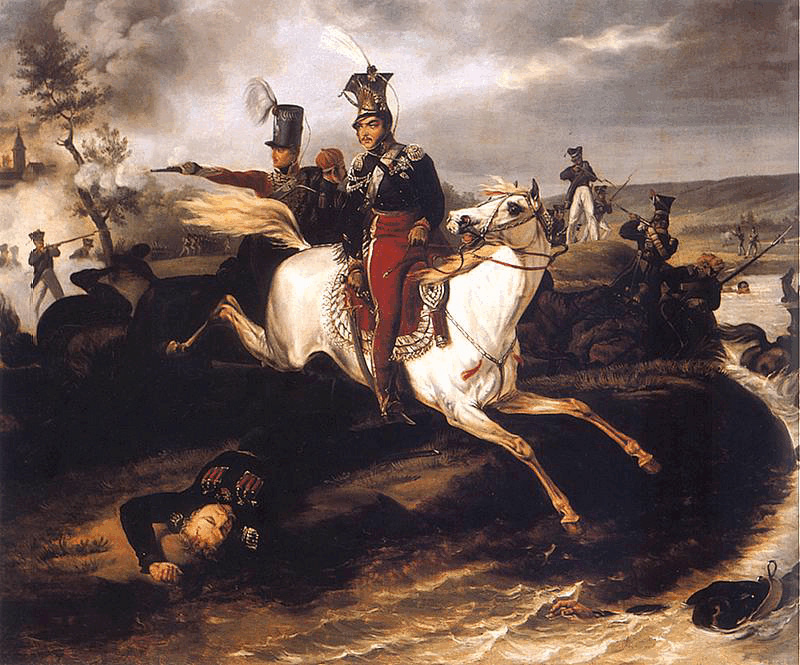
I have been gathering ideas for a Sharp Practice scenario of the last moments of Prince Józef Poniatowski, Commander in Chief of the army of the Duchy of Warsaw, who died on the last day of the battle of Leipzig in October 1813. I found two accounts in Polish, one by Mariusz Lukasiewicz in his book “Armia Ksiecia Jozefa, 1813” and the other in “Lipsk”, by Jadwiga Nadzieja. Both accounts drew on eye witness reports and are almost identical. The following is a translation of the account in Lukasiewicz, with a small comment from Nadzieja’s book. Introduction: On 19 October 1813, Napoleon’s army was retreating westwards from Leipzig, covered by a rearguard including Poniatowski’s Polish VIII Corps. The army had only one route out of the city and while the details are still disputed, the single bridge over which the troops were retreating was blown up prematurely, leaving several thousand troops of the rearguard on the far side, including the Poles. With the bridge gone, the only way the stranded troops could avoid death or capture was to cross two rivers, the Pleisse and then the Elster, either on makeshift bridges or by swimming. Meanwhile, Russian and Prussian skirmishers were racing to cut them off. “Poniatowski retreated from the water fountain, together with his headquarters staff and remaining soldiers. They moved through the Reichel‘s garden and the Rudolf garden towards the river Pleisse under fire from approaching enemy skirmishers. The cuirassiers and some chasseurs were still fighting. General Bronikowski strongly urged the commander-in-chief to swim his horse across the Pleisse. Poniatowski was reluctant to withdraw, but eventually ordered his escort to gain time with one more charge and then jumped into the river. The Pleisse was deep and fast moving due to the autumn rains and Poniatowski’s horse couldn’t make it up the far bank. Seeing him in trouble Hypolite Blechamps, a young French captain on the Headquarters staff, ran to help. (Jadwiga Nadzieja says he was assisted by another aide, Ludwig Kicki, who was shot soon after dragging Poniatowski to the bank). He freed Poniatowski from his horse and pulled him onto the riverbank. The prince now proceeded for a time on foot. As he retreated through the gardens he was wounded for a fourth time, this time by a musket ball in his side. The wound was serious and only quick attention stopped him from bleeding to death. Poniatowski fell unconscious into the arms of his escort but soon regained his senses. His staff begged him to hand over command to one of his generals and surrender to the Allies so his wounds could be properly treated. Now half-conscious, Poniatowski refused, saying that his honour and duty to his Fatherland would not permit him to do this. With the help of his adjutants, he mounted another horse and supported from both sides, rode along the River Elster towards a crossing place that had been indicated by an officer of engineers. Allied troops had by now already reached the river and some had even crossed to the other side, shooting at the soldiers as they tried to swim to safety. Bleeding heavily and losing consciousness every few moments Poniatowski’s path was suddenly blocked by an enemy detachment and he turned his horse and jumped in the river. The horse managed with difficulty to reach the far bank, but as it scrambled to get out of the water, Poniatowski was hit again by a musket ball. He slid off the horse into the water and began to drown. Captain Blechamps again jumped in to help him, but soon they both disappeared in the current and neither was seen alive again. Poniatowski’s corpse was recovered from the Elster by a local fisherman on 24 October and his identity confirmed by Polish prisoners.” Back in 2015, a group of us played a game of the Battle of Waterloo using Sam Mustafa’s Blücher rules and a collection of polythene 1/72 scale figures, some of them dating back to 1970. A few years later we played Ligny. The figures have spent the years since then in boxes, labelled up and waiting for the Waterloo itch to return. In February this year I got the figures out, repainted a few and rewrote some faded labels, then hosted a Waterloo refight for four of us in the dining room (too cold for the shed). I had read a few more Waterloo histories since 2015 and changed the deployment rules from the original scenario. Ian and Paul led the Allied and Prussian armies while Chris was Napoleon. We had a great game that ended with Chris breaking through the Allied centre and opening the road to Brussels. A couple of months ago I noticed that 18 June this year would be on a Sunday, as it was in 1815. Not exactly a rare coincidence but I’ll use any excuse to play the battle again. This time, we had six players: Nick, Dan and Will played the French (Napoleon, Ney and D’Erlon); versus Harry, Jack and me (Wellington, Picton and Blücher). I took the Prussians so I could help with easing newcomers into the rules. Blücher is a very easy game to learn but with both Jack and Will playing for the first time, we cut them some slack for the first 5 minutes - and were then ruthless, obviously. In fact, both teams were well on top of the system in no time. The orders of battle, reinforcement schedule and briefings are on the Napoleonic Scenarios page here Opening moves The game began with the French going wide on both flanks: Will took two cavalry Corps and part of I Corps around the West of Hougoumont, while Dan led II and VI Corps in an assault on Papelotte, Smohain and Frischermont on the Allied left. Both attacks were intended to pin Allied reserves in place while Nick went straight up the Brussels road with the Guard. Harry and Jack used the reverse slope effectively, thereby negating much of the power of Nick’s artillery. In the East, they ran an aggressive defence against Dan, which led to a sticky end for one Hanoverian infantry brigade that overreached itself and dissolved in the French rear area. On the opposite flank, a plucky Dutch brigade bought valuable time, as it survived repeated cavalry charges before finally going under. The mid-game While the flank fights settled into seesaw combats, the Guard made its move up the centre of the field. Nick took La Haye Sainte but his leading units suffered heavy losses from Allied artillery and musketry and he withdrew them before they disintegrated. Fortunately for him his reserves were close behind, including the Guard cavalry who made it onto the Allied ridge. Harry and Jack sent units up and down the line to plug gaps and their line between the Brussels road and Hougoumont held firm, but they started to run out of reserves and a hole developed in the line between the Brussels road and Papelotte, which the French Guard Cavalry filled. Meanwhile the Prussians, on a fixed variable reinforcement plan (available at most High Street banks), were delayed by two turns, which was unfortunate for the Allies as they were unable to strip troops from their left to create a new centre. When the Prussians did arrive, they got stuck in to Dan’s right flank but did not trouble him too much: he refused his right and although his line was now bent backwards, he didn’t need to ask Nick for more troops. Final Whistle Throughout the day, the Allies had been losing more units (and hence morale points) than the French, partly because of some aggressive counterattacks and partly, I think, because being on the defensive, they could only guarantee that a damaged unit would not be drawn into combat again if they sent it off the table. In the second half of the day they adopted this approach which preserved morale points but meant they eventually lacked the units to man the whole front line. We were approaching nightfall and if they could hang on to their morale, the day would have been theirs as the Brussels road was still not open (though the ridge to its east was filling up with Frenchmen). However, at the start of the last French turn of the day, the Allies had 2 morale points remaining and first Nick, then Dan was able to destroy an Allied unit, breaking Allied morale. The day had been very close but this time, Napoleon would spend the night in a Inn at Waterloo while Wellington sped back through Brussels and on to the sea. Went the Game well? I had a lovey day and at my age, that’s what matters! But I do believe the rest of the crew enjoyed it too. I have the following thoughts about the scenario:
I am really grateful to my five co-players for a game played with good humour and Peroni. Thanks also to Caroline, ably assisted by Will (2) and Katie, for the catering and general hospitality.
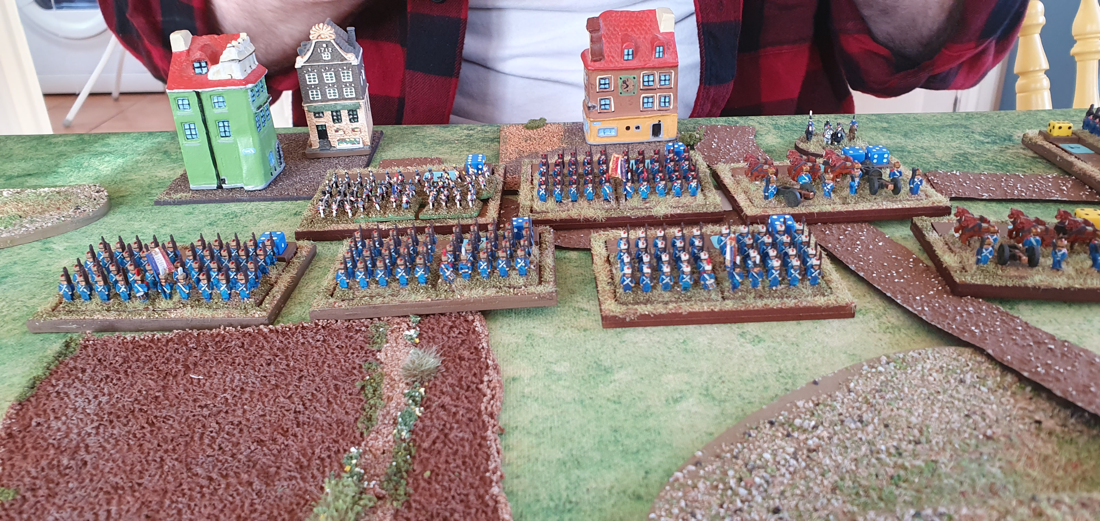
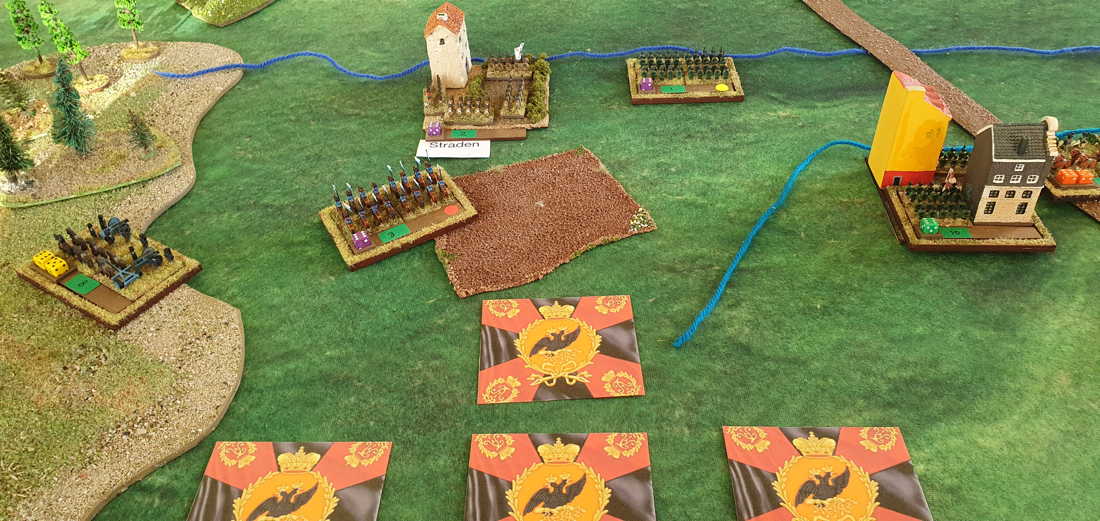
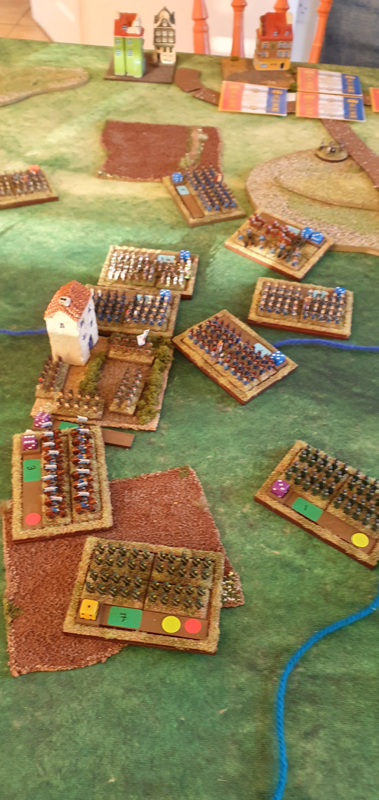
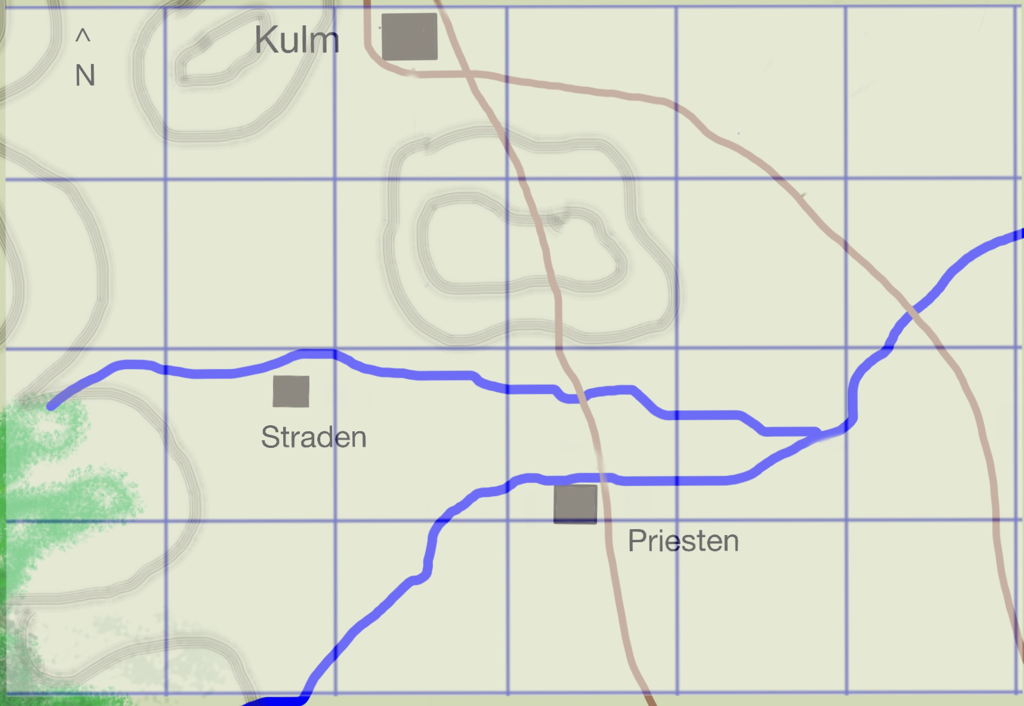
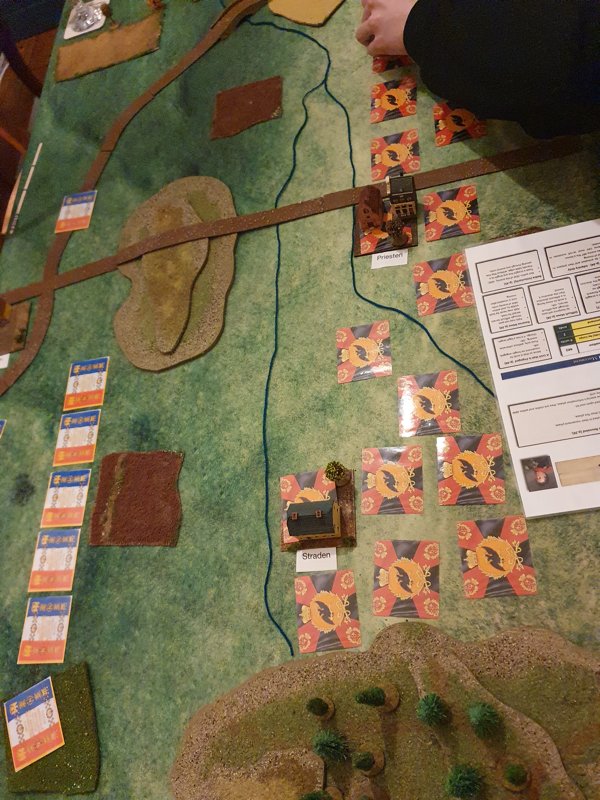
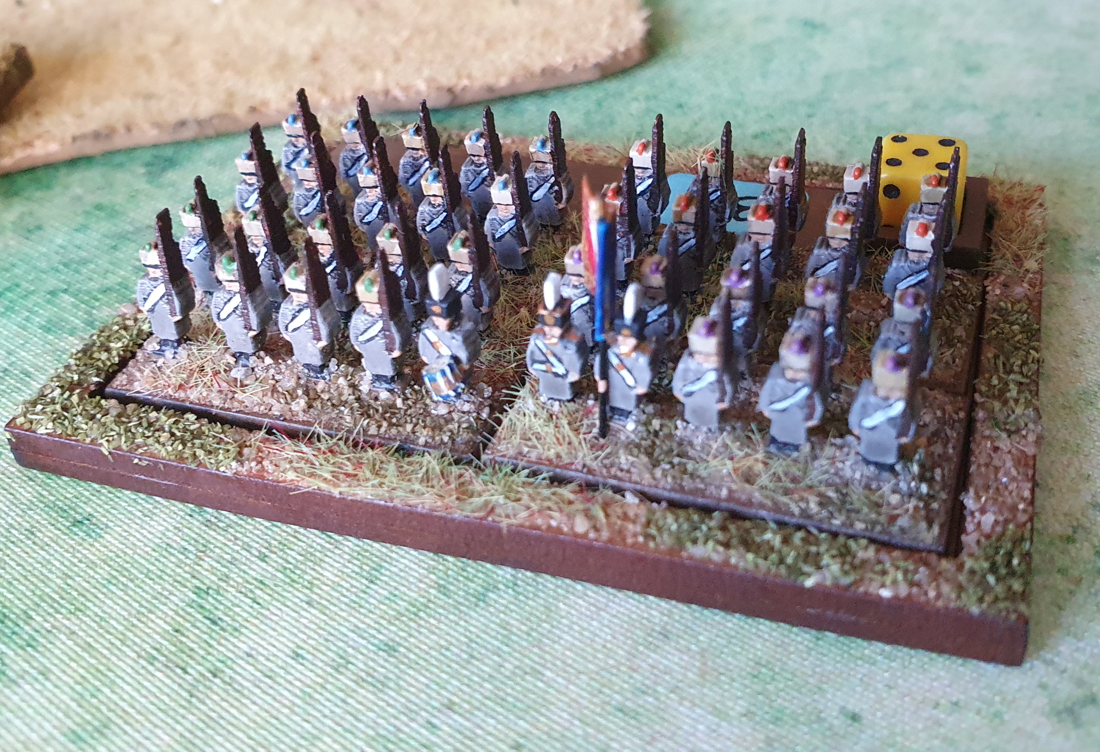
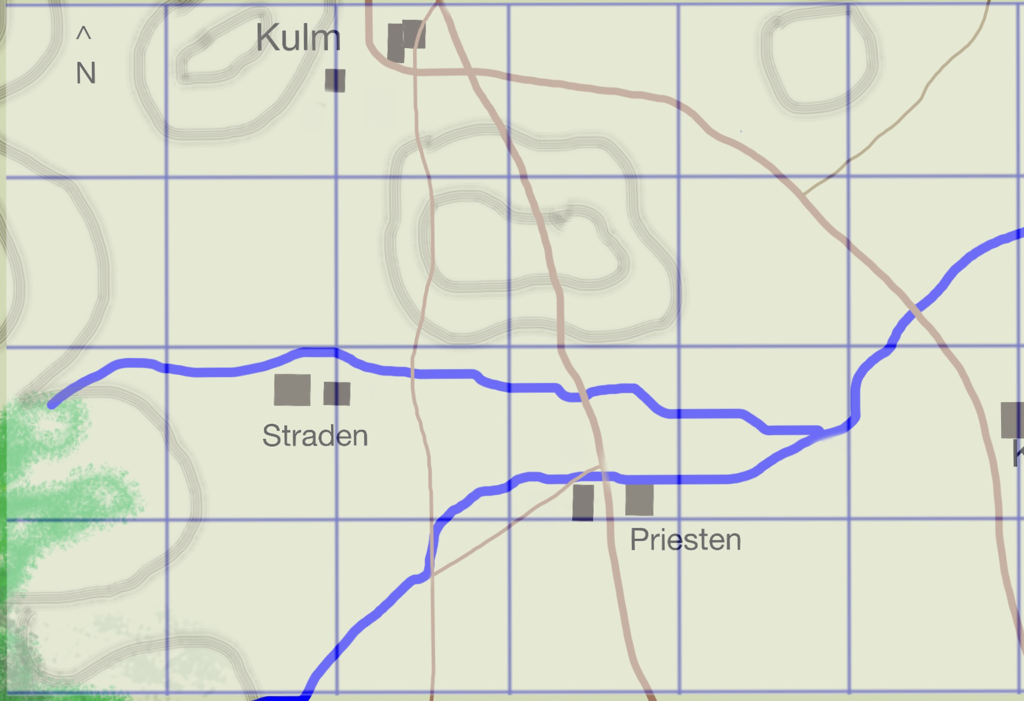
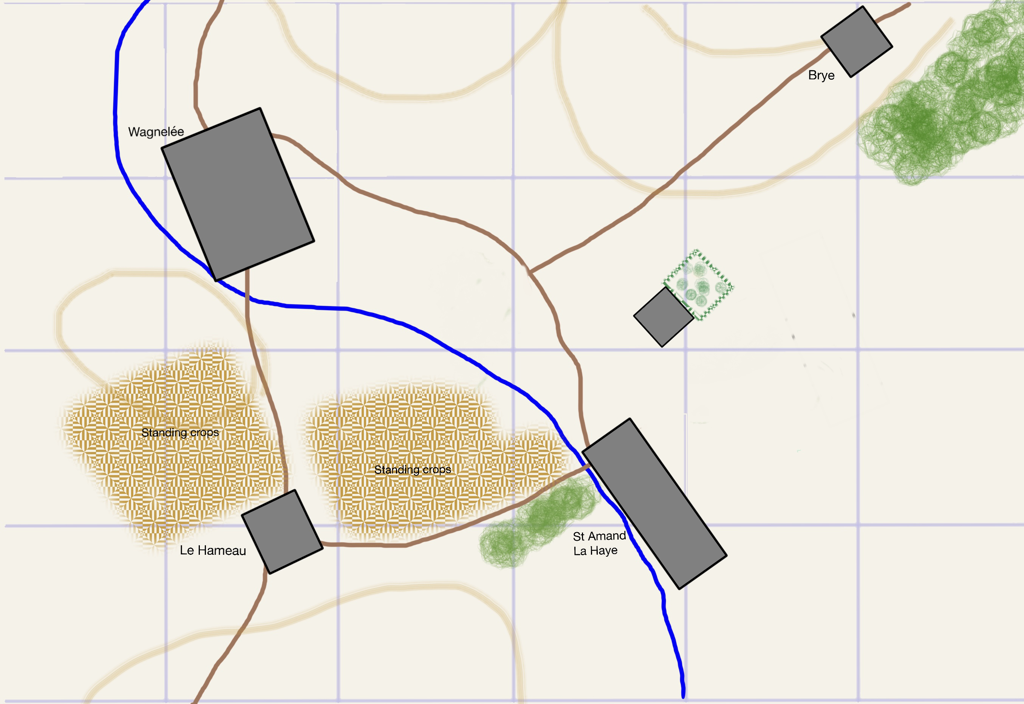
In my last post I said I had written a new scenario for the first day of the Battle of Kulm, 29 August 1813, using Sam Mustafa’s Blücher rules. It is on the Blucher Scenario Page. We have now played the scenario three times, with two wins for the Russians and one for the French. All three games were close and the players seemed to enjoy them. We played the first game at my local club with two players a side and me as umpire. One player had played the rules before but the others were all new to them. They picked them up quickly, all being experienced with the period and with various other Napoleonic rules. The second game was between me and my son Nick, who has played Blücher several times. I umpired the third game for Harry and Dan, both new to Blücher and still quite new to Napoleonics. Over the three games and between these eight people, I believe the rules passed the tests for accessibility, plausibility and fun. Hats off to Sam Mustafa and his play testers for such a polished product. He does make exceedingly good rules! The figures we used are 6mm on 80mm x 40mm movement trays. Most are MDF Commission Figurines, with a few metal Heroics figures. The scenario held up well but I tweaked it between the first and second games, mainly to simplify the map. I had got out of the habit of making maps for Blücher’s scale and on the first version I included secondary tracks and altogether too many building bases. The table was cleaner for games two and three. The orders of battle and reinforcement schedules remained the same for all three games. For game three I added traits to the two commanders, because it seems to encourage player engagement if their model general plays a distinct role in the battle. I made Vandamme inspiring (+1 die in combat) and Ostermann-Sacken heroic (has the Rally ability). From time to time when we play Blücher, somebody proposes a House rule, normally regarding the (in)ability of infantry to fire into or out of a built up area. Another recurring suggestion is to allow prepared infantry to fire a proportion of their elan out to their flanks. I’ve been happy to make house rules for various sets, especially Napoleon’s Battles, which acquired a mass of add-on rules over the decade or more that we played it. However, I still resist adding house rules to Blücher because it flows so well and the justification for most rules decisions is provided by the author. For example, his argument against firing into/out of BUAs is that this rule doesn’t mean musketry didn’t take place, just that at the concentration it occurred, neither garrison nor troops in the open would have suffered an appreciable drop in combat effectiveness. Infantry cannot shoot a garrison out of a town: it has to kick them out. And of course, combat in Blücher represents everything involved in an assault, including close range musketry. So anyway, as yet we have no house rules and I doubt we will ever add them. How the games playedI’m never sure how interested people are by blow-by-blow battle reports. But the differences between how the three games played were interesting. The first, which was a French victory, saw the French concentrating on the right wing and pouring a lot of effective skirmish fire into the Russians, who were all deployed forward along the stream between the two villages. The Russians had almost no units in reserve, which meant the French, with superior skirmishing ability, were able to grind them down before closing. When the French attacked across the stream, the already depleted Russians were easier to defeat.
In game two, a Russian win, the Russians deployed some way back from the stream line (except for garrisoning the two villages) and kept a big reserve that they sent forward sparingly. In this game the French ran out of time to take their objectives and found that the fresh units they needed to assault the villages were too far away to affect the final phase. The third game saw the French take both Straden and Priesten, but they were kicked out of both by Russian counter-attacks. Straden changed hands four times, ending up n Russian possession. I really like Blücher’s mechanics for fighting for BUAs. The initial fight to eject a garrison is tough but if/when it succeeds, a seesaw fight can follow as each side sends in fresh units to try to retake the BUA before the enemy occupying it can form into garrison. This chimes with accounts of village fighting being far more fluid than some rules make it, and where final possession often went to the side with the last formed reserves to send in. All three games were close. My notes to self after playing them include: don’t put all your units up front; reinforce when you have to but don’t expose units unnecessarily; cavalry can affect more enemy units when it is a threat than once it has charged a target; and remember that even winners take a loss in combat, so you can grind a strong enemy down by sending in a succession of assaults. Overall, this has been a fun scenario and I’d like to reuse it in a year or so. I have uploaded a new scenario for Blücher on the Napoleonic Scenarios Page, based on the first day of the battle of Kulm. It is a chance to deploy the Russian Guard who, while used in combat more frequently than the French Old Guard, are not often seen slogging it out in the front line. We are playing this scenario on 12 December with 6mm figures and a scale of 1BW to 2”. I will report on how it plays.
I have been working on some new scenarios for Honour Games' big battle rules, Blucher, based on the battles around Leipzig in October 1813. I began by revisiting one I had already uploaded for Mockern, the fight to the north of the city between the Army of Silesia and Marshal Marmont. I wrote this a few years ago and reading it again, I realise it wasn't the most helpful document for somebody looking for a scenario without the need to research the historical battle. For example, I failed to explain which units were infantry and which cavalry. I also left out some key information like the number of MO dice and a clear reinforcement schedule.
So I have now uploaded an amended scenario which will, I hope, be more useful than the previous version. While I was at it, I also tweaked the scenario for Montmirail, 1814, to make it more accessible. I decided it was also time to remove the one and only scenario for Lasalle 1, since anybody who still wants to play Lasalle 1 can adapt a scenario from Lasalle 2 without bursting a blood vessel. Both scenarios can be found here. I have uploaded a Blucher scenario for the fighting at Laichling on 21 April 1809, between Marshals Davout and Lefebvre and the Austrian IV Corps under Rosenberg. In a foretaste of Aspern-Essling later in the campaign, this encounter really showed the quality of the Austrian soldier in a stand-up fight.
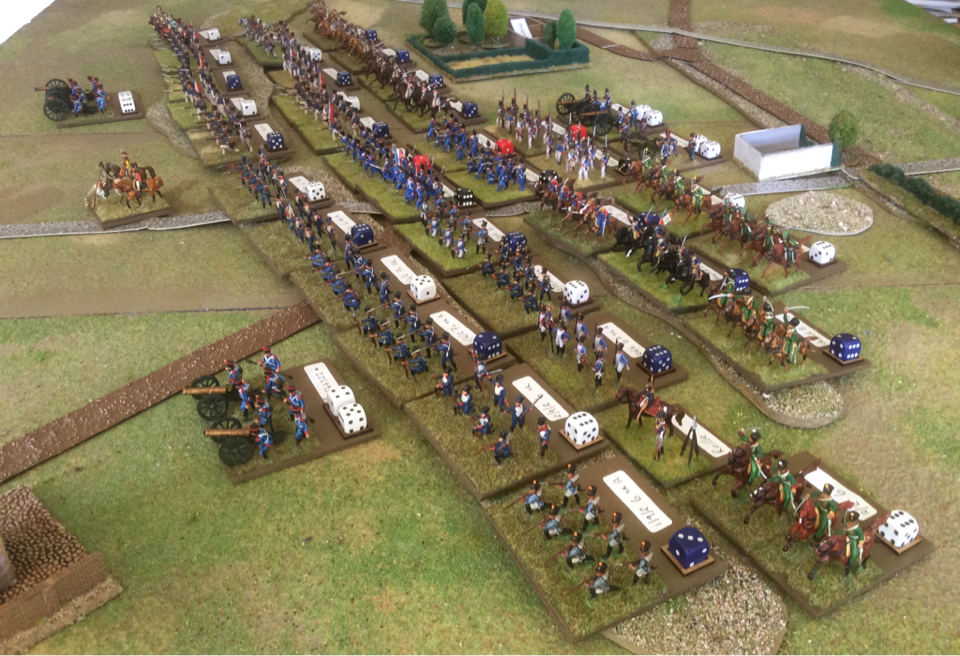
I first wrote a scenario for Laichling in the mid 1990s, for use with the Napoleon's Battles rules by Avalon Hill. I believe it translates well to Sam Mustafa's Blucher. However, thanks to the Covid lockdown I have not yet played the scenario against a live opponent, I don't normally upload scenarios that we haven't played but I do plan to play it once we can meet up for gaming later this month. I will report on how the game goes and make any tweaks to the scenario after that. The scenario is posted here Game reportThis post completes the story of our refight of Waterloo, played in 2015. Special house rule: garrisons for strongpointsI have a lot of skirmisher bases from Volley & Bayonet days, mounted on 1.5" squares. The Allies were allowed to use these to garrison La Haye Sainte and Hougoumont if they wished. A small base began with up to 3 élan points, subtracted from a parent unit. It would benefit from the attributes of its parent brigade as well as the usual urban area benefits (+2 for it, -1 for the attacker). In the Allied turn, a friendly brigade within 3" and unengaged may reinforce the garrison by transferring élan points to it, reducing its own élan accordingly. However the most élan points that may garrison either strongpoint at any one time is 3. I prepared similar markers for the French in case they took either strongpoint and wished to garrison it. Player briefingsEach side had three players. They selected cards to determine side and whether CinC or subordinate. The briefing notes for Napoleon and Wellington are below. "Napoleon Your army is all present on table. You will set up second, on the ridge of La Belle Alliance including, if you wish, the spur east of La Haye Sainte. Your objective is to open the road to Brussels and knock Wellington out of the war. You have two subordinate players, to each of whom you should allocate an infantry corps. You may also allocate other formations to these players although you may retain as many of these formations under direct control as you wish. Each of you should deploy your forces in accordance with your instructions as CinC. During the battle you may devolve control of any formation to a subordinate, but with a one turn delay: they may only move the added formation the turn after you allocate it to them. On the other hand, you may take direct control of any units of any formation yourself, immediately and without consulting your colleagues. In the early hours you heard from Grouchy that he is before Wavre. This means he is unlikely to reinforce you today, as to do so he would have to pass through the Prussians. However if he presses his advance this morning as you have ordered him to, he should at least prevent the Prussians from reinforcing Wellington." "Wellington You will set up first. Your objective is to stop the French from advancing on Brussels and to hold on until help arrives from Blucher. Your army may deploy anywhere on table, no further South than the two strongpoints. You have two subordinates, to whom you should allocate at least two infantry divisions apiece and as many as you wish. You may also retain direct control of a reserve. During the battle you may devolve control of any formation to a subordinate, but with a one turn delay: they may only move the added formation the turn after you allocate it to them. On the other hand, you may take direct control of any units of any formation yourself, immediately and without consulting your colleagues." I admit the instructions on allocating troops to subordinates don't match the historical command structure but this is a game after all and I wanted everyone to have a satisfying command. Keith, our eighth participant and seventh player agreed to help as umpire from the start and to take on the role of any reinforcing commander (of either nationality) if and when they arrived on the field. He was reconciled to the possibility that he might not arrive at all but he is a natural umpire who genuinely enjoys the job. He was also the only other person who had played Blucher before. How it played outThe Allied deployment broadly followed history, except with more troops on the West flank. The strongpoints of La Haie Sainte and Hougoumont were garrisoned, as were Papelotte and Frischermont on the Eastern flank. We used the 100 Days cards to place units, replacing them with figures when they were revealed to the enemy. The French set up with only the Guard facing the Allied centre; I Corps was to the South and West of Hougoumont and II Corps set up opposite Papelotte. VI Corps was in reserve behind II Corps. The fight began with a determined left hook by D'Erlon, supported by IV Cavalry Corps. In the East, Reille became engaged with the enemy in Papelotte and Frischermont. The centre stayed mostly inactive at the start, apart from some bombarding by Napoleon's heavy guns. The Allied defence on both flanks was spirited but Napoleon pressed his generals to keep up the early momentum. The Allied Right started to crumble under the pressure but a series of hard-hitting counterattacks by British and Brunswick cavalry brigades bought some breathing space. On the opposite flank, the French stalled outside Papelotte. News then reached both sides of a force approaching from the East. It soon became clear that Blucher, not Grouchy was on his way to the battlefield. Aware that time was running out, Napoleon launched the Guard in the centre, in the first serious action of the day in this sector. At the same time, the French Left resumed its assaults and a series of Allied brigades were eliminated in quick succession. At this point, Blucher arrived with 15 and 16 brigades from Bulow's Corps, increasing the Allied morale total and staving off collapse. Napoleon sent VI Corps to face the new threat but also reinforced his centre with the Guard Cavalry. By this point, his only reserve on the table was the Red Lancers of the Guard. One more turn of hammering pushed the Allies over even their adjusted morale level. The Anglo-Allies began their retreat; the Prussians, realising that the field was already lost, halted their advance and moved onto the defensive. They had come too late to save Wellington from defeat. The day was Napoleon's. Post Match AnalysisThe game had lasted from 11am to 5pm, with a break for lunch. In game turns, working to the broad rule of 45 minutes per pair of player turns, the battle ended around 7pm. The early turns had dragged a little as the players learned the rules, but it soon picked up speed. It was a great feeling to reach a firm conclusion inside one day's gaming.
The players seemed to enjoy the day and certainly picked up the principles of the game quickly. Most of the rules made sense to them, although there were inevitably a few concerns about bits and pieces. The main wish was that infantry could fire in more situations, for example after changing facing. There was also a suggestion that if prepared units took a difficult move, they might retain their prepared status. On the other hand, some thought that prepared units should not be permitted to skirmish, presuming that part of being prepared would involve drawing in the brigade's skirmishers. The feel of play was smoother than Napoleon's Battles or Volley & Bayonet. I think we would have been hard put to reach a conclusion with either set in the same time span. It is also interesting to follow Sam Mustafa's journey from Grande Armee, through Fast Play Grande Armee, to this. Blucher is stripped of all but the key game mechanics, yet retains a convincing period feel. The use of momentum dice puts real pressure on the players to move the important formations first. The reserve rule, which allows a one-off burst of speed to units that are still concealed, is an entertaining mechanic that both encourages the players to keep reserves and creates tension when these are finally committed. The game was a joy to umpire and I found answers to all the rules questions that arose. From where I stood, the French deserved their victory, having chosen a good plan and stuck tenaciously to it. The Allies tried hard to hold them, especially Chris on the beleaguered Right who handled his cavalry particularly well. But it wasn't to be and when the line started to unzip, it gave way decisively. This and the next blog post contain the first battle report I wrote when I created this web page. New to the whole blogging business, I put it on a standard web page where it didn't really belong. I am now tidying up the site but didn't want to lose the report so here it is again. The 20 year Waterloo projectIn 2015 we played a refight of the Battle of Waterloo, using Honour Games’ Blücher and a figure collection that started in 1995. Back in 1995, I had just picked up Frank Chadwick's Napoleon Returns, his 100 Days Campaign book for Volley & Bayonet. At the time all our Napoleonic armies were in 15mm and I didn't have any Anglo-Allied figures at all. I thought it would be quicker and cheaper to create the Order of Battle for 1815 using plastic 20mm figures. My older son was showing interest in toy soldiers and the slightly larger figures appealed to him more than the 15s. To spread the budget, I based only 8 foot or 4 horse on each 3" square base, with a bare strip at the back for an information sticker. I set out to paint in a toy soldier style and was helped in the early stages by my sons. The project got off to a good start but was mothballed as my sons and I fell heavily for Warhammer and WH40K. We spent many happy years building and fighting with Games Workshop armies while the 20mm project gathered dust in the attic. Then in 2009 I chanced upon Sam Mustafa's Fast Play Grande Armee and dug the plastics out of the roof space. There were now many more plastic figures on the market than in the mid 90s and some were very fine sculpts. By summer 2010 I had painted the Order of Battle for Quatre Bras, which my friend Mark and I played to test the rules. A few months later four of us played a refight of D'Erlon's attack at Waterloo. There followed breaks for the 17th Century, then the War of Spanish Succession, tactical Napoleonics and the ACW, but in between other periods, I kept adding to the Napoleonic collection. With the bicentennial looming I decided it was time I finally put all the figures on the table and so I invited my regular opponents to a Waterloo multiplayer refight on 12 July 2015. Which rules?The first options for a whole battle refight were Napoleon's Battles, Volley & Bayonet and Grande Armee. We still play Napoleon's Battles occasionally but they don't please everyone and can play a bit slowly unless the players know the rules really well. Both Volley& Bayonet and Grande Armee give a faster game. But a new rules book had just been published that settled the decision for me. In early 2015 I acquired Sam Mustafa's new Big Battle rules set, Blücher. We have already played a lot of Sam's rules, especially Longstreet and Lasalle as well of course as Grande Armée. Blücher has not disappointed. For our first game We played a Franco-Austrian 1809 fight for a group of friends who game regularly but didn't know historical Wargames. It worked a treat: four complete beginners fought a large battle very happily inside one day. Keith (my longest-serving opponent) and I then played Plancenoit twice, using Sam Mustafa's 100 Days unit cards. Both games were tense and rewarding. So Blücher it was. A unit in Blucher mostly represents a brigade although some French Cavalry units represented whole understrength divisions. Each unit starts with a number of élan points (typically 6) that reflect its fighting quality. These determine how many dice to roll in fire and hand to hand combat. The dice can also be affected by attributes such as a good skirmish ability; attached artillery; shock power in the attack and so on. Élan is lost through combat and when reduced to 1 élan point, a unit dissolves. Blucher rewards the side that keeps fresh troops to throw in when the enemy is wearing down. The mechanics of the whole game are simple but subtle. Blücher is relaxed about figure and ground scales, encouraging players to adapt to the battle in question and the size of their collection and games table. In this case, I went for one inch to represent 100 yards and one unit to be a brigade. This scale, is already used in Napoleons Battles, Volley & Bayonet and Grande Armee. Fortunately, the 3" square units I have been collecting over two decades fit well with Blucher's scale so I didn't face a rebasing challenge. The Frank Chadwick Order of Battle for 1815 also reads across well, although his rules required many more commander figures and skirmisher bases. I'll have to find a use for all my surplus generals! The main task was to repaint the rear strip of the unit bases from green to earth brown. This was the third colour change since the project began but Earth brown bases seem to be the least intrusive so far. I also bought a lot of mdf dice cells from Warbases and glued one to the back left corner of every unit. The dice would show the number of elan points remaining, while their colour would show what special attributes each unit had. For example, white would be skirmish only; black skirmish and attached artillery; green for conscripts etc. I also wrote these attributes on the unit labels. Preparing the tableMy usual gaming table is 8' by 4'. For this game I added an extension, which took the table breadth to 10'. I thought the map would be easy to translate to the table, but was surprised to find several variations between the maps I looked at. You might expect this battlefield to be so well known that all maps would be identical. I went with the maps in Mark Adkin's Waterloo Companion where there was confusion. With such a large ground scale and 20mm figures, it is a challenge to represent villages. I made a lot of square bases of cobbles, cut from moulded plastic card for model railways. I stuck some low walls around the edges of each base and placed buildings from my 15mm collection on them. Not that impressive to look at but at least the troops are now defending something. I also considered making La Haie Sainte and Hougoumont bigger to accomodate larger bases but decided the space in the Centre of the battlefield was cramped enough as it was, so the chateau and farm's footprints are to scale. This made it impossible to garrison either the farm or chateau with a standard Blucher unit. I created a scenario-specific house rule to handle this, discussed below. As for contours, I wanted to create reverse slopes but not overdo the sharpness of the crest line. I used flat contour shapes, mostly cut from plywood and MDF, to make sure the battlefield has the right rolling feel. My polystyrene hill models are too steep and high for the job. The only penalty the contours conferred would be on line of sight and incoming artillery fire. I wanted to create space to East and West of the field, to allow for possible developments on either flank. For the sunken road, I relied on the distances provided by Adkin. To represent it, I lined the road with a hedge made of cut up pan scourers. This is confined to a few inches eastward from the Mont St Jean crossroads. I kept the oval sandpit from a refight of I Corps' attack a couple of years ago. The ScenarioThe day was set to run from turn 9 to 36, using the high summer game length in the advanced rules. The French were first side and each side had 3 Momentum (MO) dice per turn. I decided to use the multiplayer rules from the book, where every player on a side keeps a tally of MO use and the turn ends when the first player reaches the MO limit. I decided that the Anglo Allies would mobilise by division and not by Corps. The Corps in Wellington's army of 1815 was more an administrative designation than operational, and it felt wrong to treat it in a way comparable to a French Corps. However, I did allow the Allies to pay only 1MO per unit in an activated division. (If you don't know the rules I've probably lost you. Basically, this meant that an Allied player could not activate more than one division in a round, so mostly in smaller packets than the French). Morale levels were set at one third of army totals, so 17 for the French and 11 for the Allies. Reinforcements to either side would increase this limit, which meant the Prussians would not have their own morale level. I did not give the French a higher level for The Napoleon effect: while hard-hitting, the French army of 1815 was brittle. The Orders of battle we used are on the Napoleonic scenarios page here. For the order of battle, I decided not to tamper with the troops on table on the morning of the 18th. After all, this wouldn't be a Waterloo refight without D'Erlon, Reille and the rest. I did however leave the players to choose their deployment. Also, I wanted to create some uncertainty for both sides over who might appear in the distance and when. I wrote a decision tree which required a dice roll every few turns. The decisions were, broadly in sequence: Will Blucher commit to reinforce Wellington? Will Grouchy begin to move earlier in the day than he did historically? Will Grouchy try to drive through Wavre; seek to reinforce Napoleon directly via a side route or a mix of both? If Grouchy assaults Wavre will his pressure on Thielmann be heavy and if so, will this affect the pace or quantity of Prussian reinforcements arriving at Waterloo? How fast will reinforcements (of either nationality) march towards the sound of the guns? I won't go further into the mechanics but the probabilities varied according to my preconceptions. For example, I wanted there to be a possibility that Blucher would not commit to move to Waterloo, but the chances of rolling this result were very small. The outcomes therefore ranged from the Prussians arriving pretty much as they did, all the way to no Prussians arriving or even a small French reinforcement. But to be frank, the chances were stacked in favour of history repeating itself. The player briefings and battle report are in the next post.
Reduced by the lockdown to reliving past glories, in my last post I included a link to a Waterloo AAR from 2015. That was the very first report I wrote for this site and I hadn’t yet worked out what readers might find useful, so I didn’t include an order of battle. Steve has asked if I still have this so I have looked out the paperwork from five years ago (remember the golden wargamer’s rule: throw nothing away!).The order of battle, including the reinforcement schedule for the Prussian army, is here.
Among the briefing notes and place names in the file box I found some of the messages exchanged between the players during the game. It brought back the jeopardy of a multi player game. As soon as we reach Defcon 1 and are allowed to mingle again, I am arranging the biggest multi player battle my shed can hold! |
Archives
November 2023
Categories
All
|

 RSS Feed