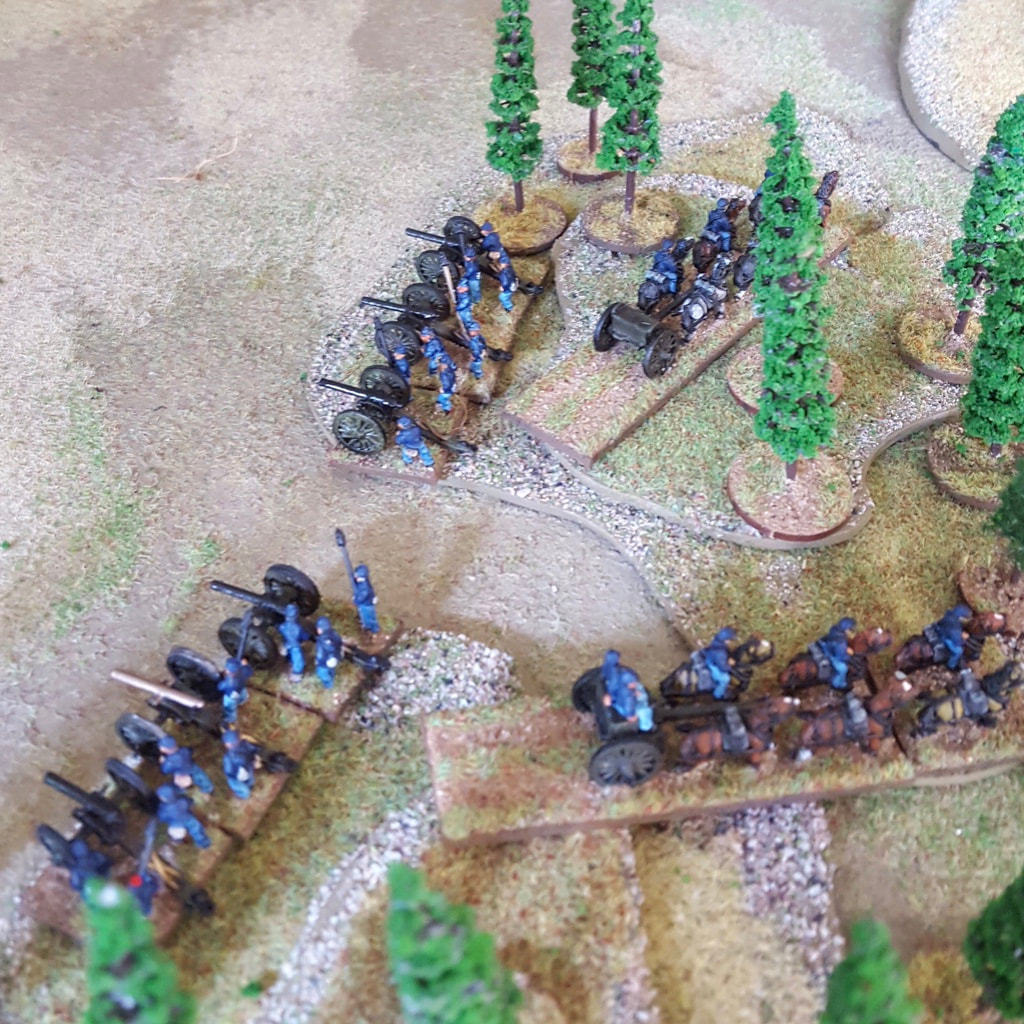
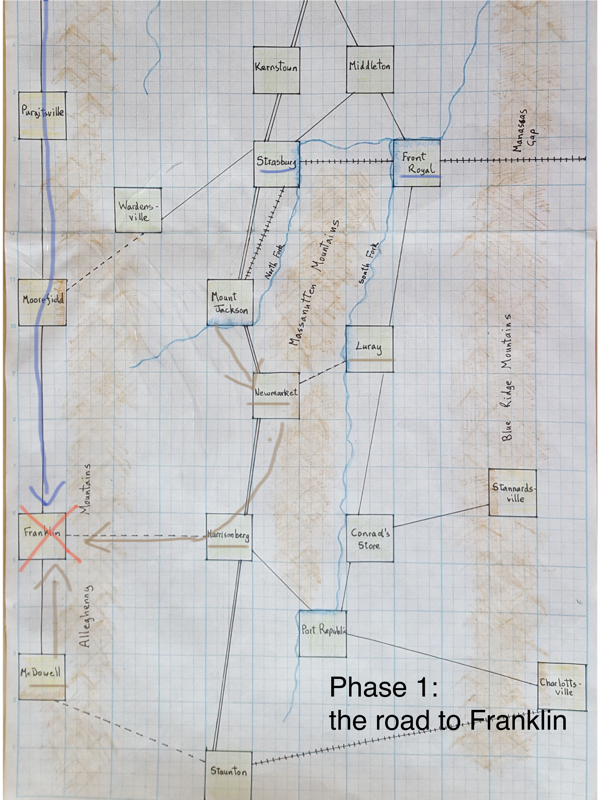
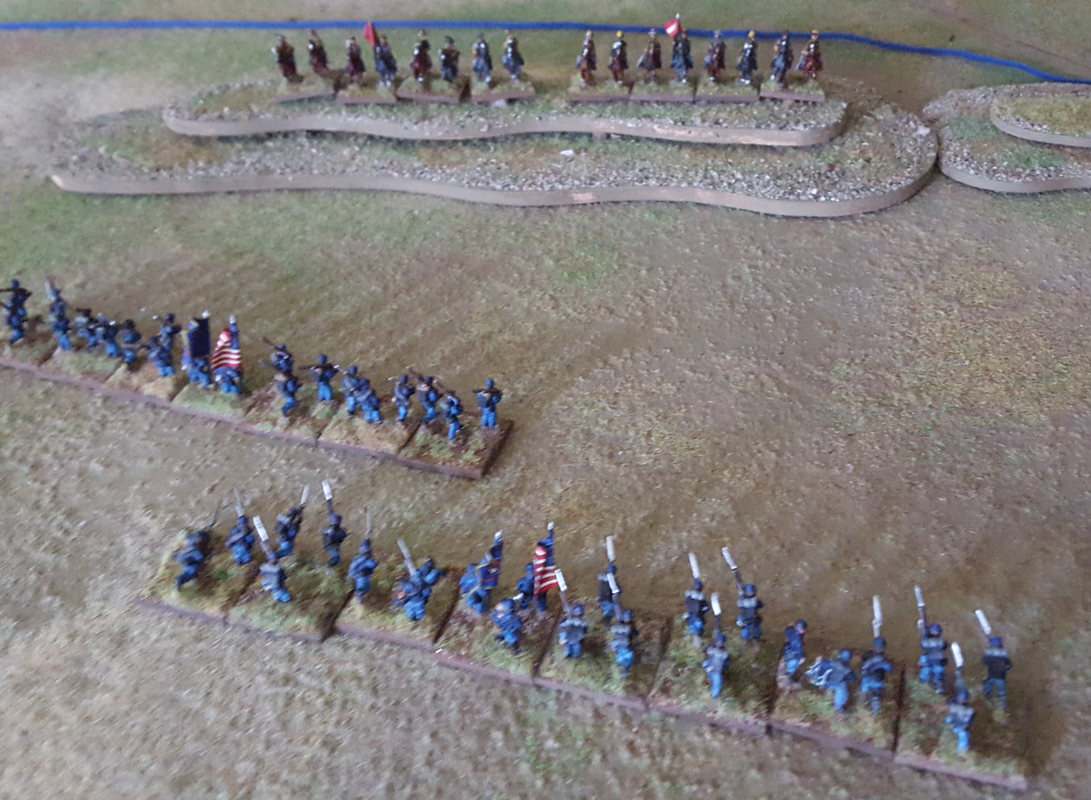
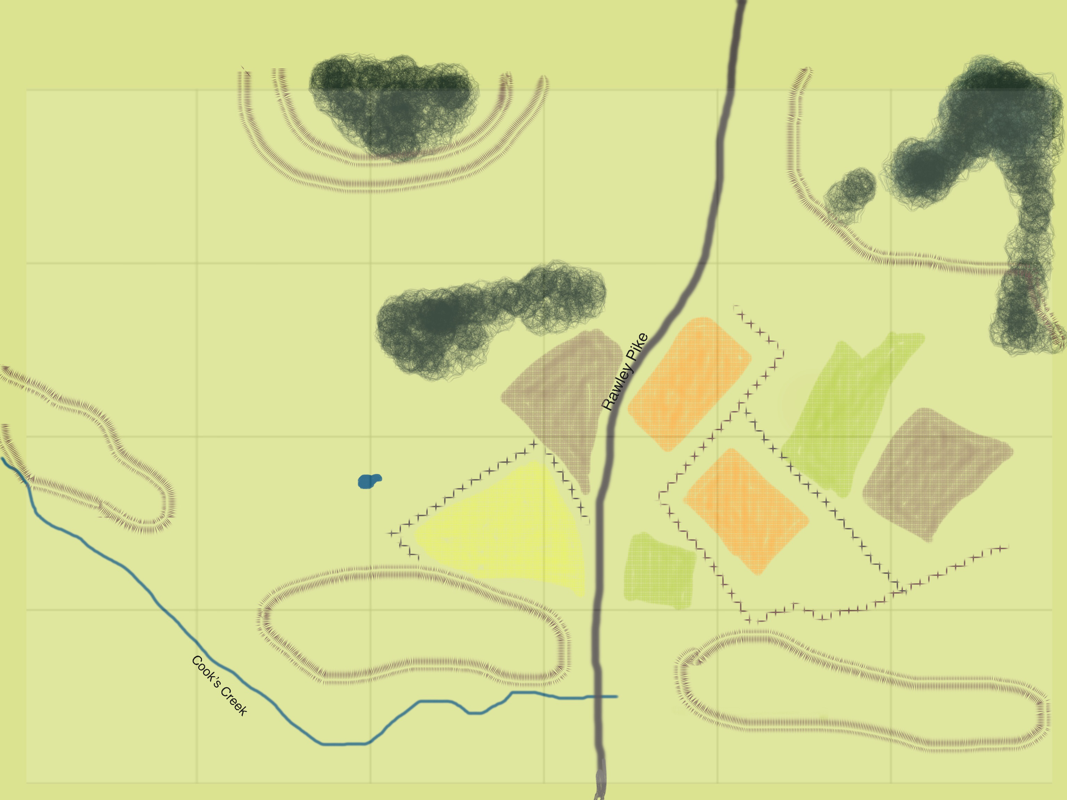
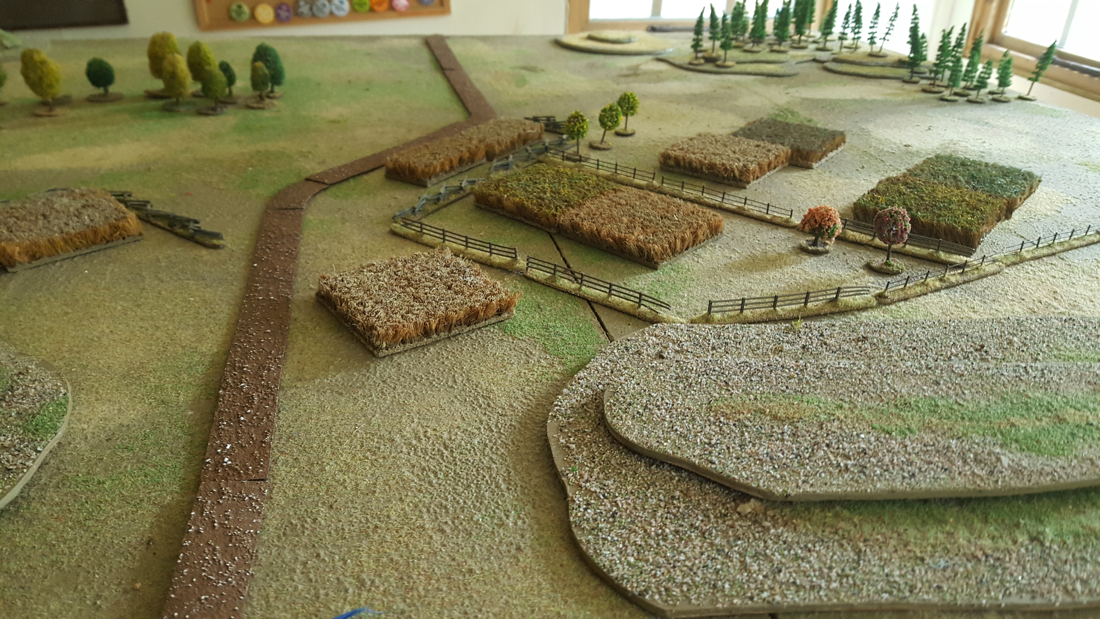
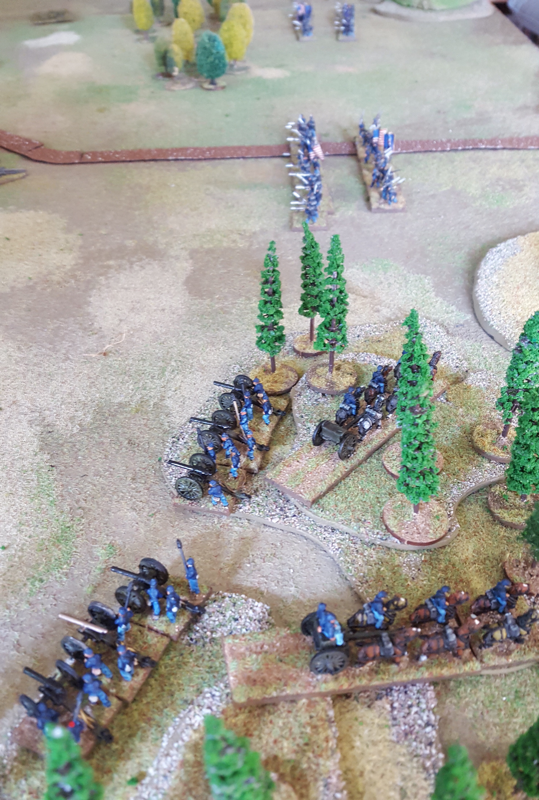
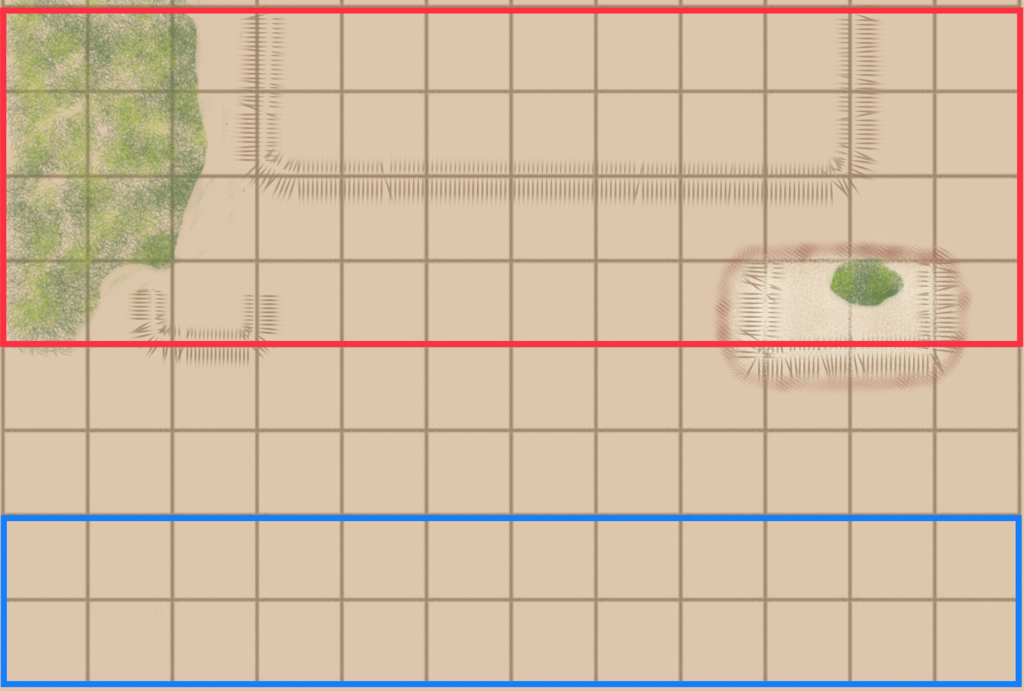
 For the past few weeks Matt, Spencer, Dan and I have been playing a campaign based on Jackson’s Valley campaign in 1862. Matt is playing the man himself, Spencer is Federal General Banks, Dan is supplying instructions for devolved commands and I am umpiring and playing battles out where necessary on the tabletop. So far Banks has had the numbers and Jackson the speed. The map and play mechanics are explained in previous blog posts. To keep a bit of pace, each ‘turn’ the players provide orders for three impulses at a time. I then play these out, interrupting the turn to resolve clashes, either with simple dice rolls or, as has now happened twice, to fight a figure wargame. If a player’s character is ‘present’ at the battle I ask them for instructions. If they are absent, Dan steps into the role of the detached commander. The story so far I am having to delay these reports a little to keep the opposing generals in an appropriate state of ignorance. But the bones of the campaign so far are as follows. Banks began the campaign by sending half his army westwards out of the valley into the Allegheny mountains, then southwards to try to get around and behind Jackson’s army. The road net outside the valley is not good and so this movement took some time, during which the other half of the federal army sat tight at Strasburg. Jackson was alerted to the movement and in turn warned General Johnson, commanding the tiny Army of the North West in the Alleghenies, to block the Federal advance. Meanwhile Jackson withdrew his own small army southwards and took a portion with him to support Johnson. There followed the battle of Franklin, at which the Federal force, ably led by Dan, broke the rebel left and pushed them back on Harrisonburg and McDowell. The momentum then swung Jackson’s way. Unknown to Banks, Jackson was reinforced by Ewell’s division arriving from the east. While still outnumbered in the Valley overall, Jackson now had local superiority as well as the benefit of surprise. His odds further improved when Banks recalled part of his detached command to Strasburg, leaving the victors of Franklin only two brigades to continue their advance against Jackson’s left rear. In the next eventful turn, there occurred two significant combats, in both of which the rebels began with a marked advantage. Had the time come for Jackson to show his mettle? The Battle of Harrisonburg Following up on his victory at Franklin, Federal general Shields advanced eastwards into the valley. He caught up with Jackson at Harrisonburg, where he saw the rebels deployed on a line of three low hills west of the town. Shields’ role was once again taken by Dan, who planned to attack first on the right, then to close with his centre and left once his right wing had taken the leftmost rebel hilltop. This plan saved him from total destruction. His right wing advanced on the enemy hill, which was occupied only by dismounted cavalry. The rebel horse mounted and charged down from the hill into Shields’ cavalry, the combat continuing for a couple of turns on the far Southern flank of the table. As Shields’ leading regiment neared the crest of the seemingly empty hill, a line of Louisianans charged into view and bowled the federals back down the slope. It was Trimble’s brigade of Ewell’s division, freshly arrived to reinforce Jackson. At the same time Taylor’s brigade from the same division appeared round the side of the hill and charged towards the federal centre. The federal right was all but destroyed. Fortunately for Dan, his centre and left were still some distance from the rebel positions and so avoided being caught in the flank. They were able to withdraw, but the rebels pursued vigorously, obliging the Federals to detach a regiment of infantry, their last unrouted cavalry regiment and a section of smoothbore as a rearguard. Under the protection of this rearguard, the rest of the command fled westwards back to the Alleghenies. The brave rearguard was eaten up however and four cannon were lost. Post-match analysis I played Harrisonburg using Honour Games’ Longstreet. It was at the limit of the rules’ applicability: a couple more brigades and I’d have used On to Richmond. The mixture of random cards and orders from absent players worked well again. I felt sorry for Dan that he was walking into a trap but on reflection, that is the appeal of a campaign: surprise attacks are harder to set up in a one-off encounter. It was also an advantage that Dan wasn’t there in person. When a player gives up their time to play a face to face game, one wants to give them a fair chance of winning. In this case, the only question was how badly Dan would be beaten up. As it happened, his plan probably gave him the least bad outcome, since his initial attack revealed the rebel reinforcements before the rest of his army had advanced too far. When I sent him the news of the trap in mid-game, he supplied the orders for the rearguard defence, which again helped save men (at the cost of the rearguard and 4 cannon). He also didn’t seem to mind having been set up! Rebels everywhere While Shields was retreating in the south of the valley, a lone federal brigade at Front Royal was manoeuvred out of its position by superior rebel numbers. This brigade withdrew to Middleton in good order, to cover the road to Winchester. But it seemed at turn’s end that Banks’ position in Strasburg was at risk of encirclement. Remove me from this hell! I would say that fully half of the campaigns I’ve played in over the years have ended through a trailing off of interest rather than the achievement of a set objective. I don’t want this campaign to go that way. I have included the following text in the latest situation reports for both sides: “Many wargame campaigns don’t so much finish as fizzle out. They continue without a clear end point, until eventually one or both players lose interest. That will not be our fate! The historical campaign ended when troops in the valley were called away to take part in a major operation in Virginia. In game terms, I am now checking each turn whether that moment has arrived, at which point I will adjudicate the effect of the campaign on your personalities’ reputations. I want to be sensitive also to your ‘real world’ wishes. In submitting your orders you may express your preferences for continuing the fight in the valley or for requesting to join the impending operations in Virginia. These will affect the dice roll for campaign’s end.” I must say this small campaign has been fascinating, watching the player’s shadow box with limited knowledge of each other’s dispositions. I think both have several reasons to be pleased with their performance. I also think the campaign can still go either way, but the next turn or two should produce a decisive result.
0 Comments
|
Archives
November 2023
Categories
All
|

 RSS Feed