|
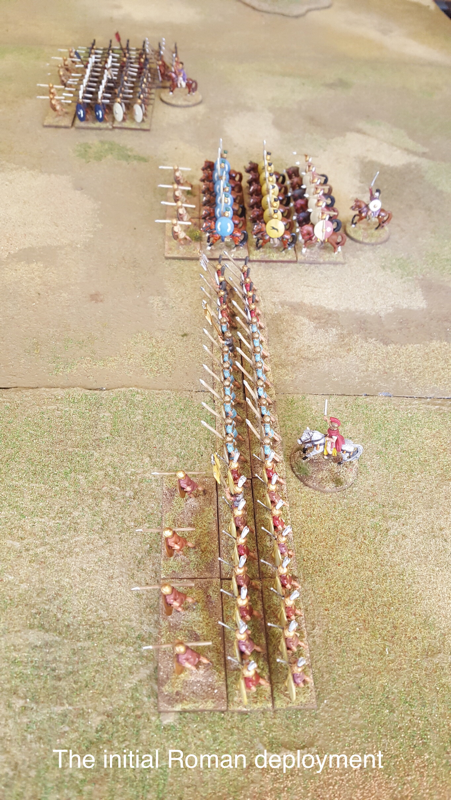
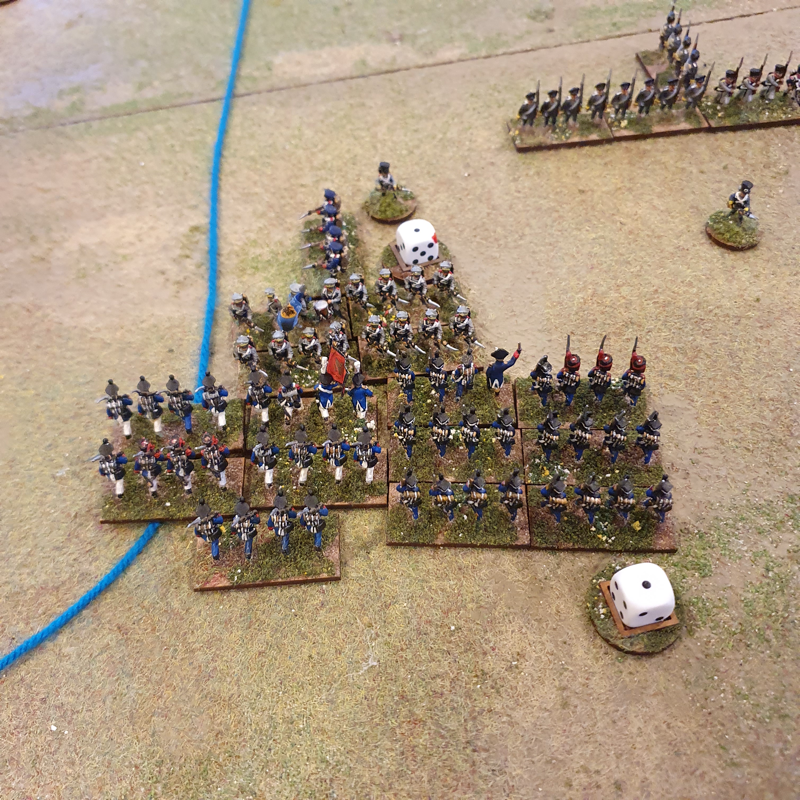
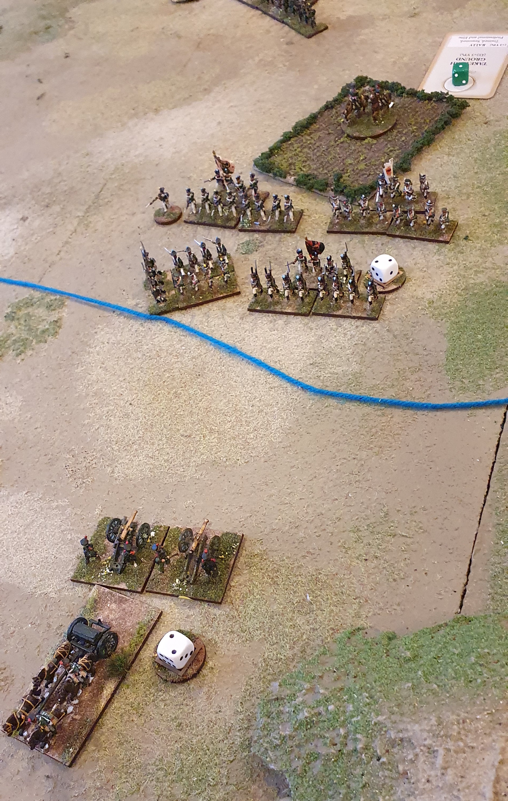
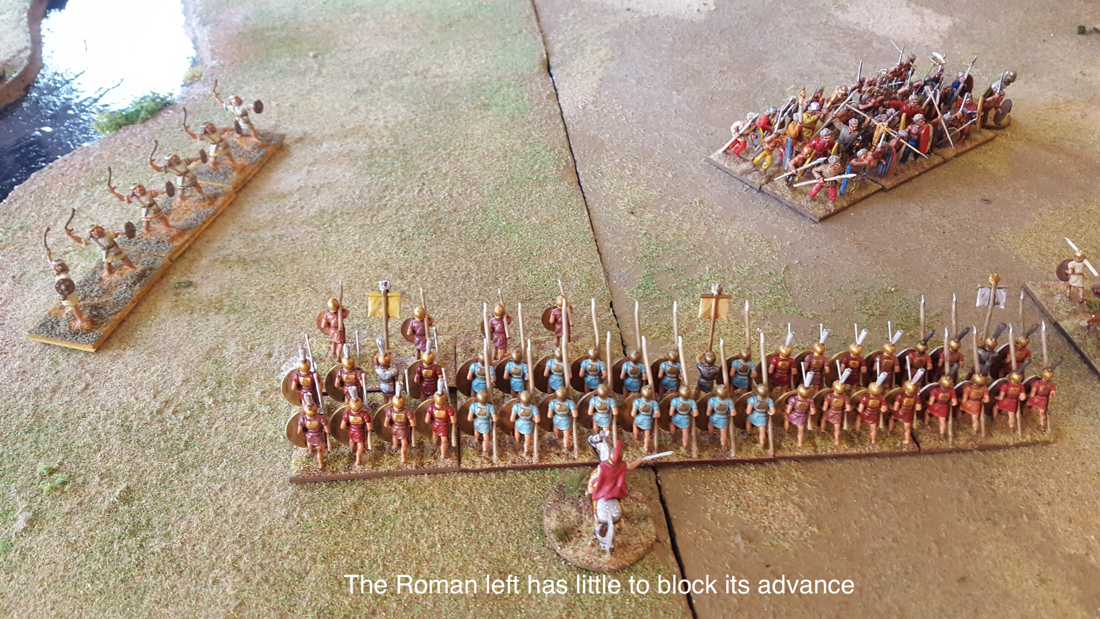
We played a 200 point game of Art de la Guerre last Saturday. Spencer having confessed a weakness for elephants, I revisited the lists for the battle of the Metaurus that we used a year or so ago. Spencer took the part of Hasdrubal, arriving in Italy to reinforce his brother Hannibal, while Matt led the combined consular armies of Nero and Salinator. The army lists were adapted in two ways to reflect the scenario. First, the Gauls in Hasdrubal‘s army were made mediocre and not impetuous, to reflect their poor quality (Roman accounts say they were drunk, but more likely they were just disaffected and wobbly). The Romans were not told about this drop in quality until the Gauls’ first combat. Second, the cavalry limit for the Romans was increased as Nero’s highly irregular decision to join Salinator had given the Romans cavalry superiority, an unusual situation in the Punic wars. The battlefield was flanked by the river Metaurus on the Carthaginian right, with open plain in the centre and rising ground on the Carthaginian left/Roman right. A hill with a steep ravine at its base ran in front of the Carthaginian left while a more gentle hill faced it on the Roman side of the table. To reflect the fact that Hasdrubal had been retreating and turned at bay when his pursuers got too close, Spencer was obliged to set up his entire army first. He placed his cavalry on his right, his Gauls in the centre and his Spanish and elephants on his left, including on the hill protected by the steep ravine. Matt set up with Nero’s infantry on the left, his combined cavalry in the centre and Salinator’s infantry (his largest command) on his right. However, instead of matching Spencer’s frontage, Matt deployed in some depth and his extreme right set up opposite Spencer’s centre. This left the Spanish on the hill with no opposition to their front. Matt’s plan was to grind down the Carthaginian right and centre before Hasdrubal’s left could engage. As the need arose, he was ready to peel off troops from behind Salinator’s front line to hold off Hasdrubal’s left wing if and when it did reach his flank. On seeing the Roman deployment, Spencer began racing his cavalry to the left behind his front line, in an attempt to get around the Roman right flank. However the gap behind his line was narrow and Matt charged this horse as they tried to pass. The horse managed to evade but now found themselves penned in behind the Carthaginian centre. Thwarted in their plan, Spencer’s cavalry then returned almost to their starting position on the right flank and got stuck in. It was a valiant attempt to seize the initiative but Matt had neutralised it by maintaining his objective, ploughing forwards and restricting Spencer’s room for manoeuvre. Unusually for a game of ADLG, we ran out of time before a clear victory was won. A points count gave a draw, although we agreed that the moral victory was Matt’s. Certainly for most of the game, the Romans chewed up their opposition and caused much more serious losses than they incurred. However in the later stages, when Spencer’s cavalry stopped manoeuvring and started fighting and his left wing engaged Matt’s right, Roman losses rose quite fast. The outcome seemed much less certain at the point when we finished than it would have, had we stopped three or four turns earlier. Even so, I think Matt would have carried the day as he still had more hitting power in a position to do damage. It’s always interesting to see how players interpret their brief. Matt took a risk by deploying on a narrow but deep front. At first it looked like he was inviting a Cannae-style envelopment. Had the terrain been more open he would have been in serious trouble. But the ravine-fronted hill on Spencer’s left, while strong defensively, would also impede a Carthaginian advance to envelop the Roman right. It was probably this fact that prompted Spencer to try to send his cavalry around Matt’s right. He nearly succeeded but Matt fended off the attempt with his steadily advancing legionaries. When Spencer did advance his left and it eventually made contact, it did a lot of damage but too late in the game to swing the balance. It was fun playing a scenario as opposed to a straight points battle. At least, I found the narrative more compelling for knowing who the players were supposed to represent. As usual, the players were great company and courteous to a fault: maybe next time we should play something from the Lace Wars so each can invite the other to shoot first... Figures are a combination of 25mm Minifigs, Garrison, Newline, Black Tree and First Corps. The Roman army in their entirety are very old Minifigs and they really can’t combine with other ranges, but I am very fond of them, telegraph pole spears notwithstanding. 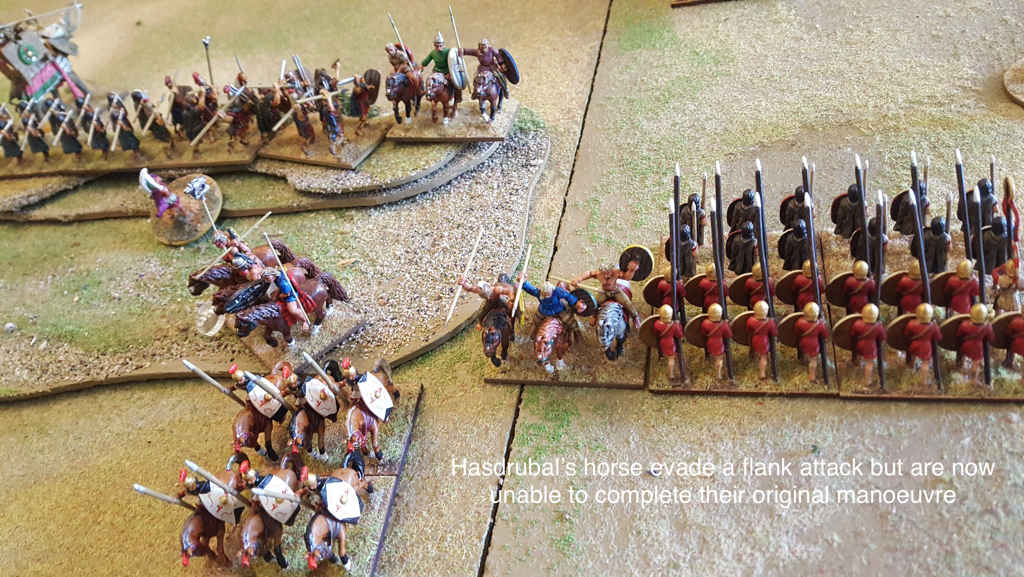
1 Comment
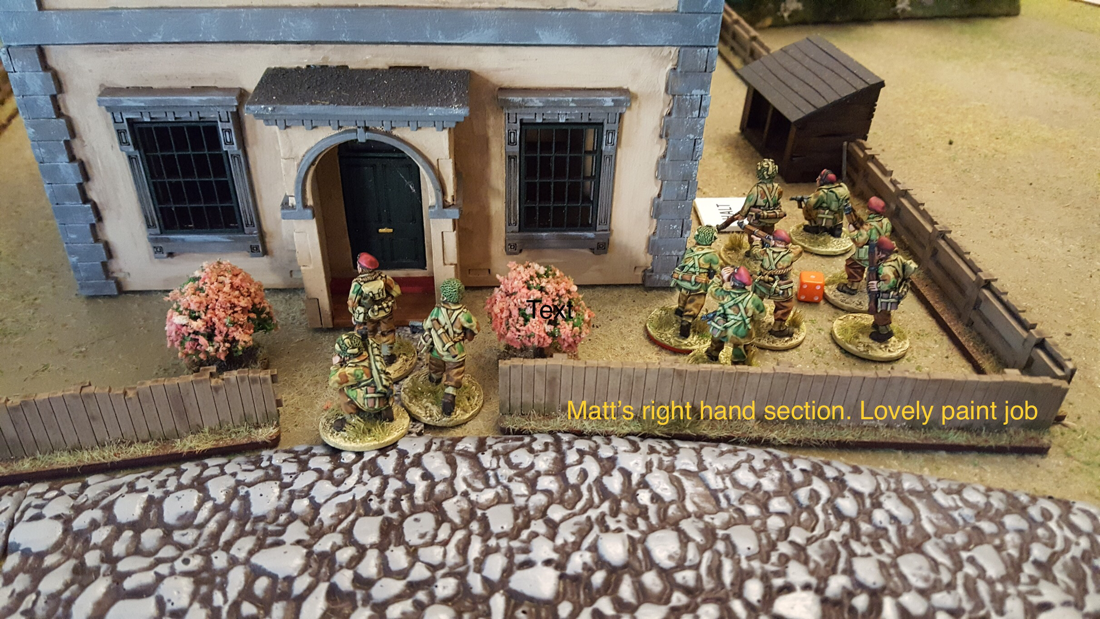
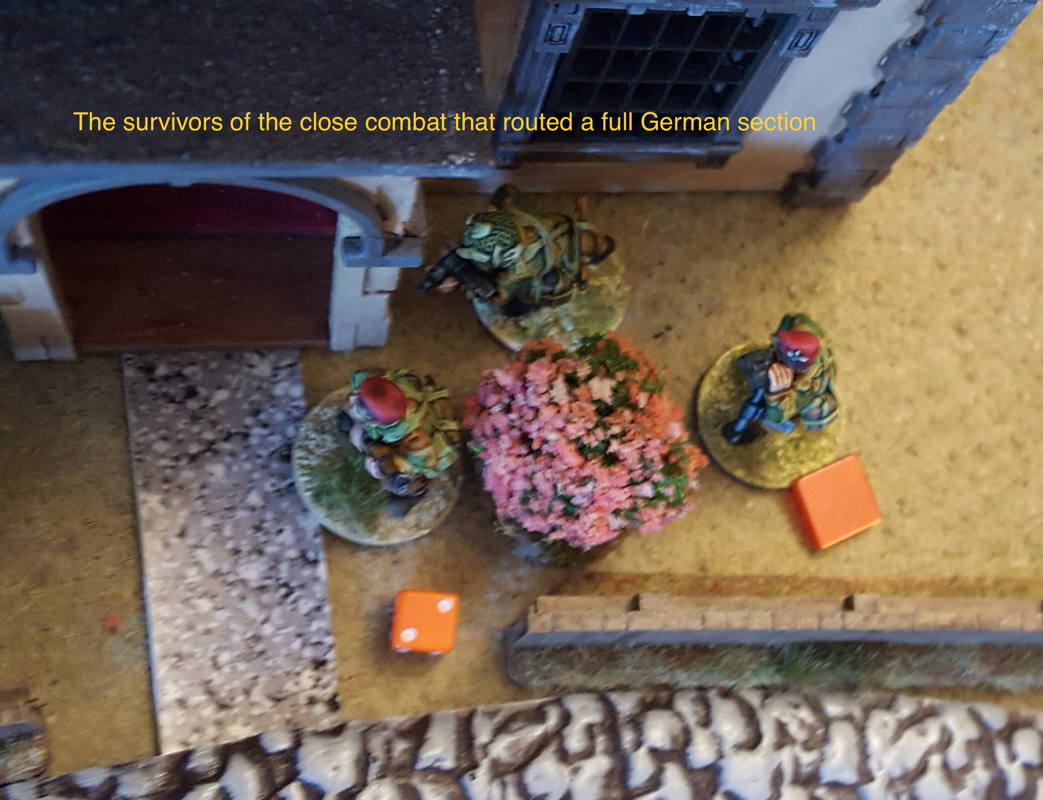
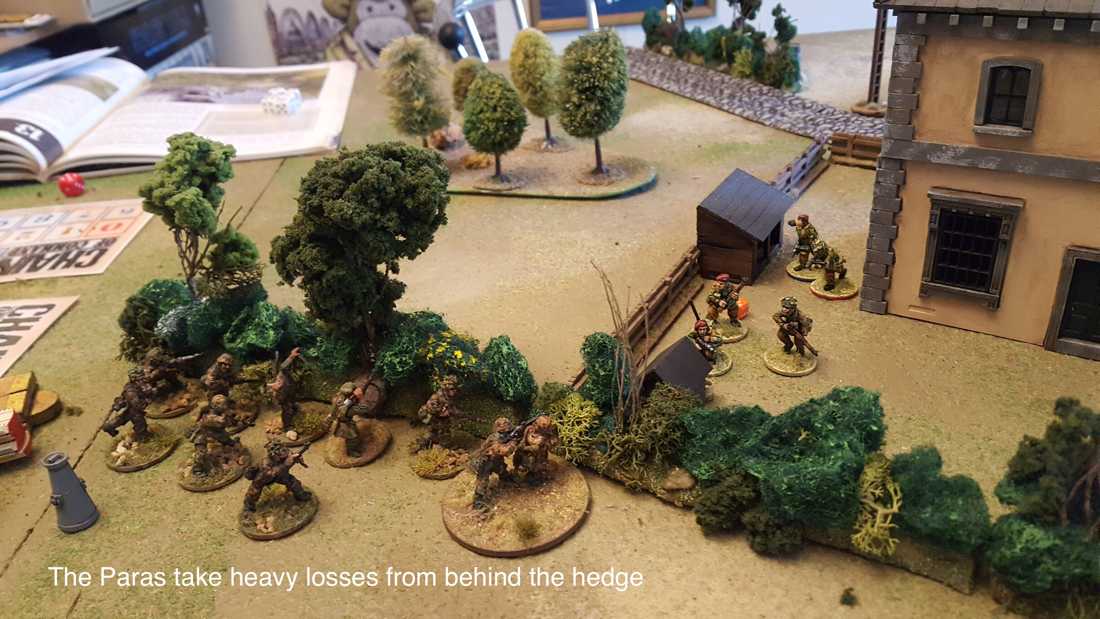
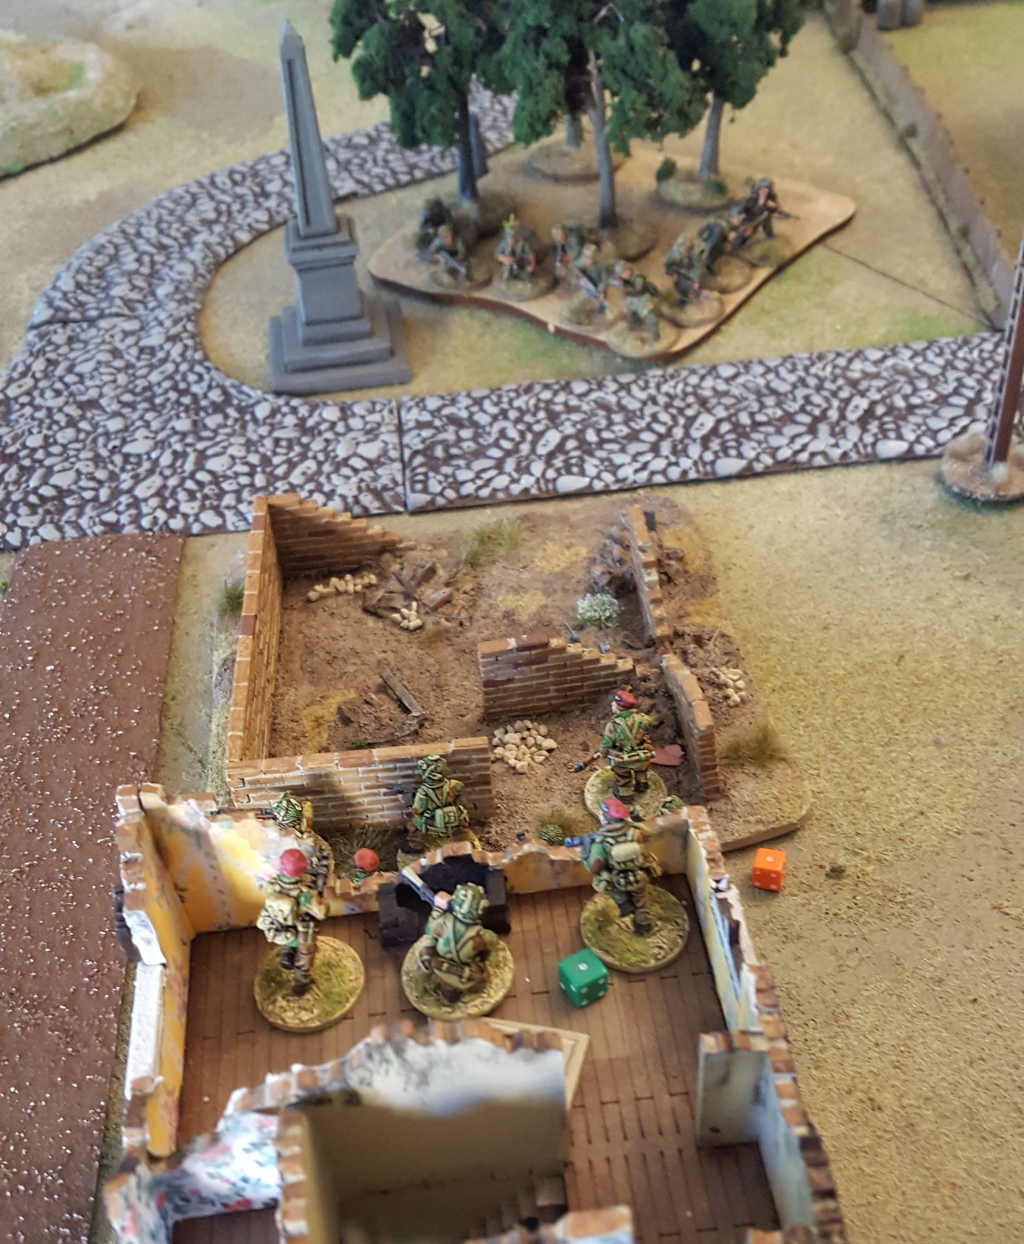 On Wednesday evening I played my second game of Chain of Command, arranged by Spencer. I took a German platoon with an extra section and HMG, plus a STUG to introduce the vehicle rules. Spencer took a platoon of British airborne, together with a Sherman and a flamethrower. Let’s get it out of the way quickly: I was pulverised. We played a patrol scenario and both came on in the same table third (my left, Spencer’s right), which had a big house around the half way line. We ended up with jump off points quite close to and either side of this house and it was the scene of an interesting sequence of events. Spencer deployed first and placed one section behind the house, one in a hard cover ruin in the centre of the table and one behind the ruin, ready to swing round to his left. I deployed a section behind hedgerow on my left, a second further along the same hedge nearer the centre, a third in woods close to Spencer’s section in hard cover (what was I thinking?) and the fourth behind a Hill on my right. On his right, Spencer advanced his right hand section along with a senior leader, aiming to knock out my left jump point. I met him with fire from behind the hedgerow and from a fence behind his left flank.This took out several Paras and he decided to withdraw behind the house. Thinking I would go for a wipeout, I sent a full strength section into close combat with his five (count them) surviving men. Well! That was quite a way to find out how tough elite infantry with stens and a senior leader can be. Spencer had many more dice to roll than I. My section lost six men and routed back to their starting hedge line, while Spencer lost only two. His depleted section took no further part in the game but they didn’t need to as they had done their work. 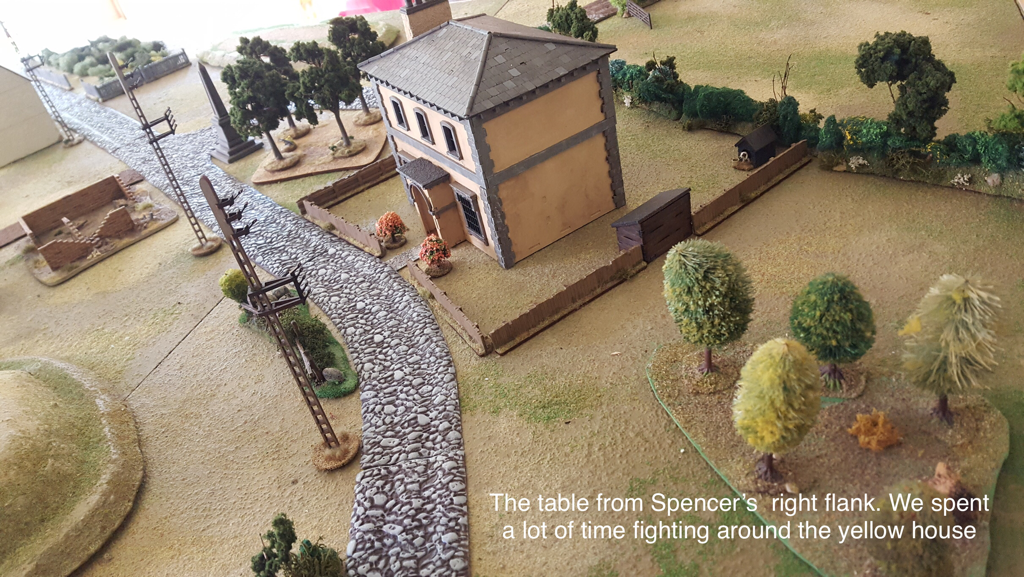 In the centre my third section in the woods fought an unequal duel with Spencer’s middle section in hard cover. I had thought my MG42 with its extra dice would partly counter their cover advantage but when that combined with elites being harder to hit, I was heading for a sticky end. On Spencer’s left I think we both took some odd decisions. His left hand section legged it towards my right flank, then ran back almost the way it had come, intending to assault my section in the woods. They stopped short in the open and got shot up good. My right hand section, meanwhile, deployed behind a hill that lacked any cover and started out to meet Spencer’s flanking section, but when Spencer turned this unit around, mine jumped up on the hill and helped to shoot it up. Next to appear were our respective AFVs. Neither made a huge impact on the game although each helped to whittle down enemy numbers. In Force morale terms, Spencer made early gains through his brutally successful hand to hand defence, reducing my morale further as he broke my guys in the woods. I made some counter gains by beating up the section he had sent to his left then brought back again, but Spencer used a chain of Command die to end the turn and two of my routed sections left the table. In the final stage he deployed a flamethrower who fried my third section then engulfed my senior leader in flame, taking my force morale to zero. Game over. Lessons for the next game? Regulars won’t win a firefight with elite troops in hard cover. Don’t even think of close assaulting elites as you’ll get stomped. Before you place a unit, think about the avenues open to it after deployment: beware dead ends. Also (and I did know this but it’s easy to forget) you don’t have to mirror your opponent’s deployment. My right hand section was wasted for most of the game and could have been more useful reinforcing the hedgerow line on my left. Finally, think more about the mechanics of the patrol phase and remember the jump off point will be some distance behind the patrol markers once these have been locked down. The game was great fun and looked good. In particular, Spencer’s Paras were beautifully painted. I’m looking forward to the next one. 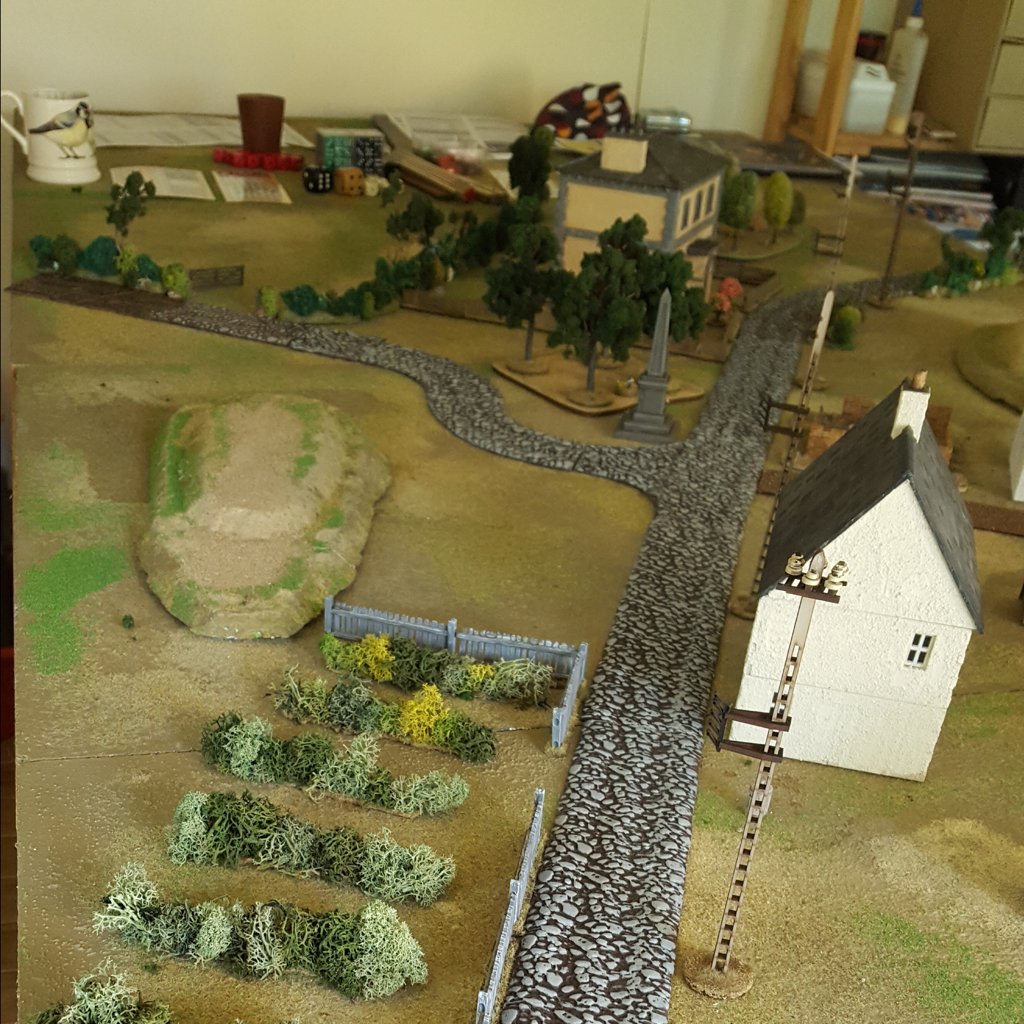 |
Archives
November 2023
Categories
All
|

 RSS Feed