|
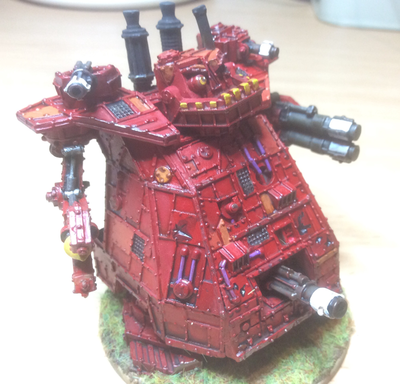
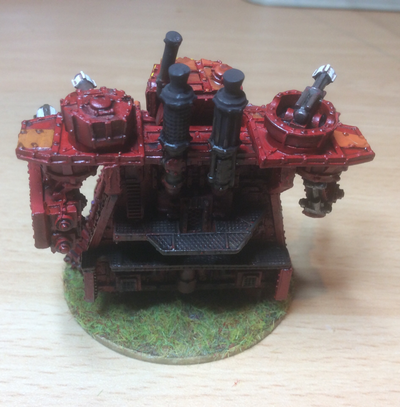
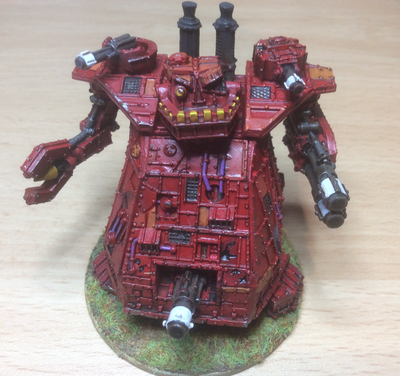
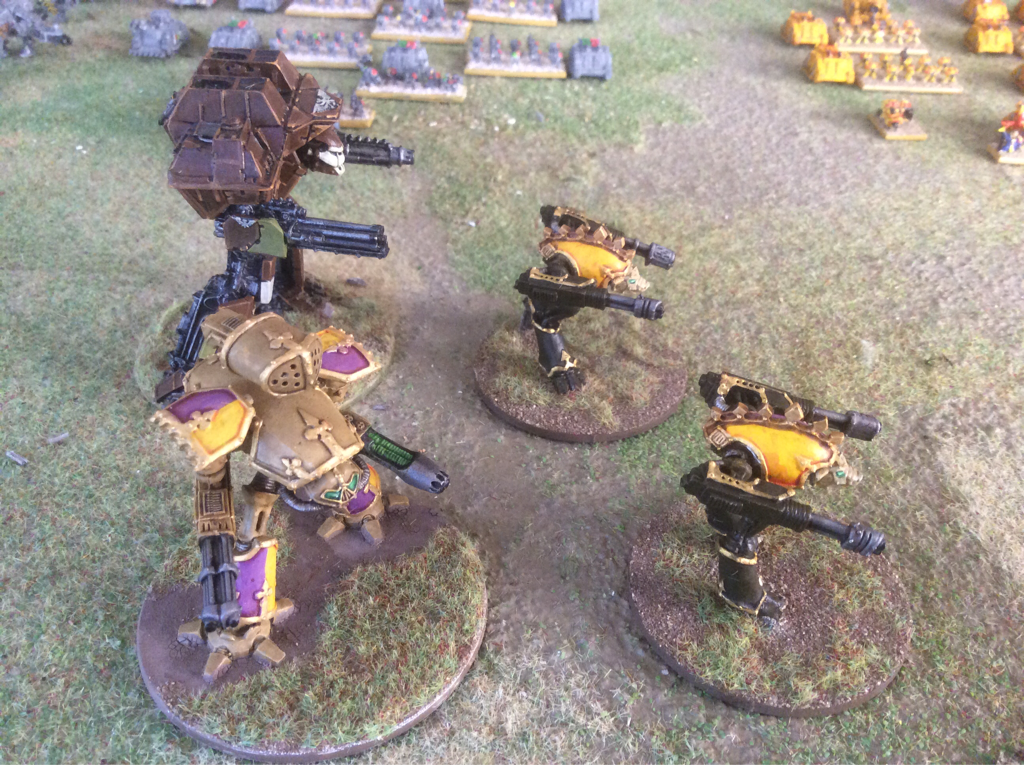
I've just finished painting my Orks to fill out a 4,000 points Epic 40k army. Saving the best fun until last, I ended with a Great Gargant for my Warlord to ride. I have a basic Gargant in shades of metal but thought Warlord Tamrine would demand a red paint job. Writing the detachment lists ready for a practice game next week, prior to the big game on the 8th.
0 Comments
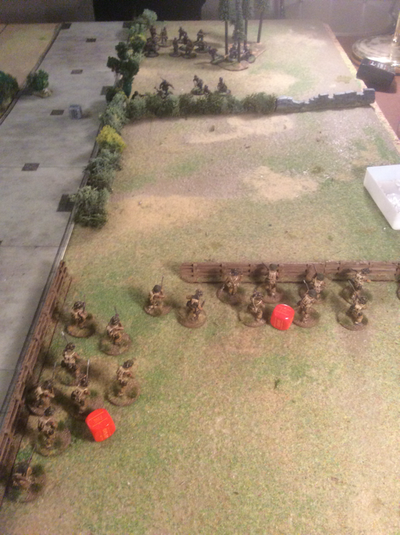
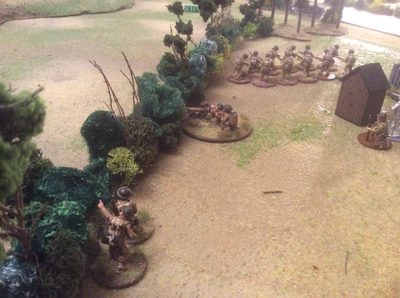
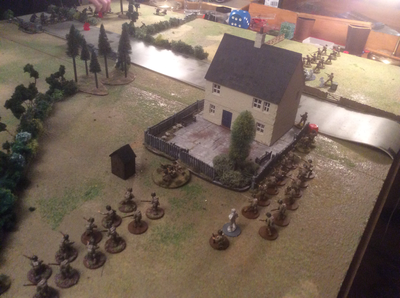
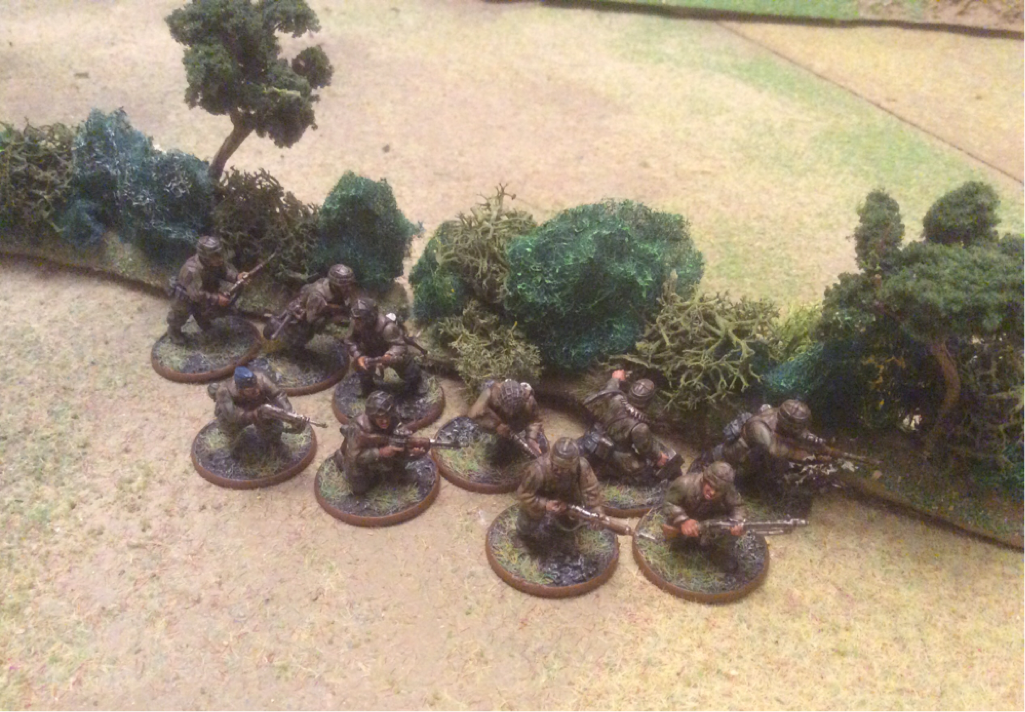
On Thursday evening we played our first game of Bolt Action version 2. Keith and Ian led a Fallschirmjägers force against Matt's Americans and my British. I drew up a crib sheet of the main differences between the two versions beforehand. I'm certain I missed a lot but the list below seemed most relevant to the troop types we have used so far. Significant Changes in Bolt Action Version 2 Officers can draw dice for other units. One unit per rank of officer. Radius of Captains and Majors has gone up to 12". Process: move units one after another then officer. HE fire resolved using discs from 1 to 4" according to calibre. Every base touched scores a hit. NB unit cohesion requires figures to be within 1" of each other so a 1" disc will inevitably touch at least two models. HE 1" now rolls D2 pins rounded up. Rally tests are now taken against base morale, ignoring pins. This improves chances of rallying significantly and means that a unit under multiple pins can recover if the enemy doesn't keep 'topping up' the pins with further fire. In shooting, a target that is down now benefits from -2 to hit, instead of -1 as before. Assault rifles now have range of 18". Holders count as tough fighters: for every hit scored in close combat, they have another roll to damage. NB these changes reduce effectiveness in both firing and close combat. LMG and MMG have one extra shot each, so now 4 and 5 shots respectively. LMG range is now 36" (from 30" before). HMG has 3 shots as before. Snipers cannot snipe at ranges less than 12". Flamethrowers now roll to hit. Multiply total number of hits achieved by D6. When testing for running out of fuel, they now run out on a 1, not 1or 2 as before. (May be an error). Vehicle mounted flamethrower has range of 12", not 18" as before. Shaped charge weapons no longer suffer a penalty to hit. Units inside buildings increase their save roll by one against hits. Empty transports can fire one onboard weapon. They are still vulnerable if they are closer to enemy than fighting friends. Both sides deployed infantry-only forces. We played a Meeting Engagement. Ian advanced two sections down the German left; a mortar, sniper and light AT gun sat back on a wooded hill in the German centre and Keith took an MMG and a flanking section round the right. Matt and I concentrated the Allies in the centre and right, hoping to overpower Ian's flank before Keith brought his power to bear.
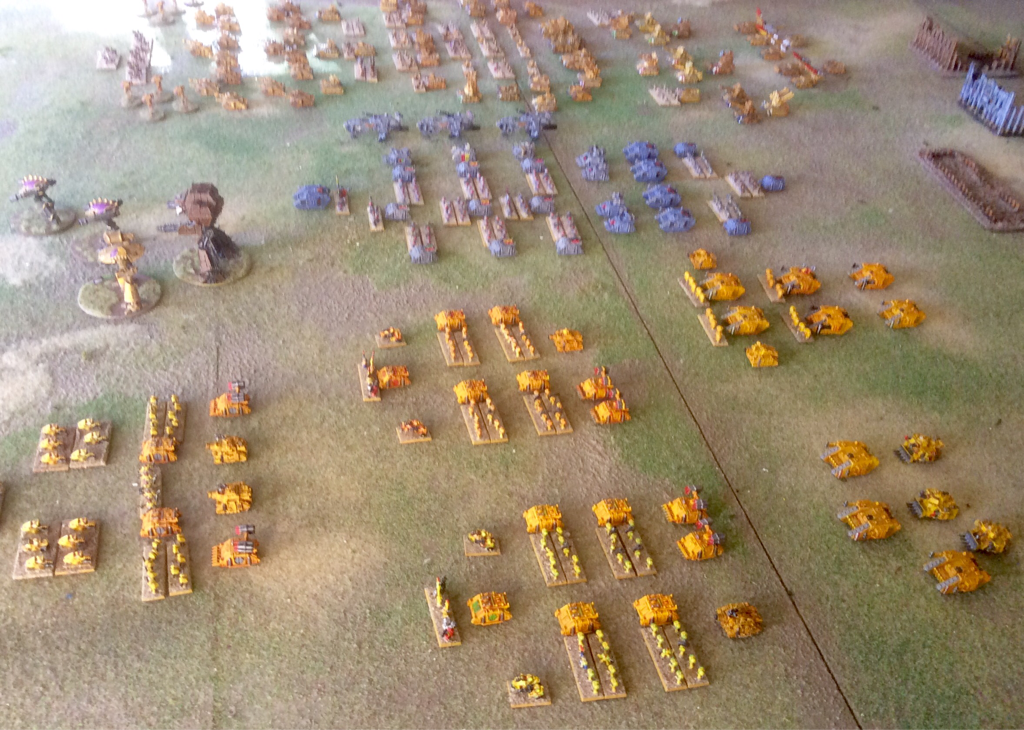
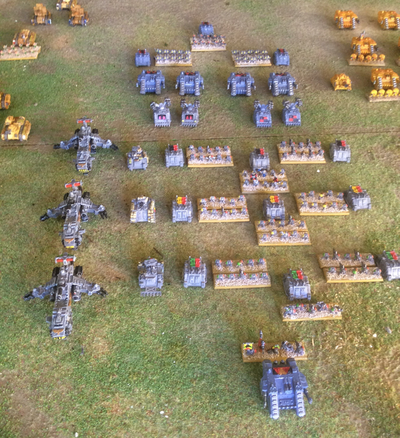
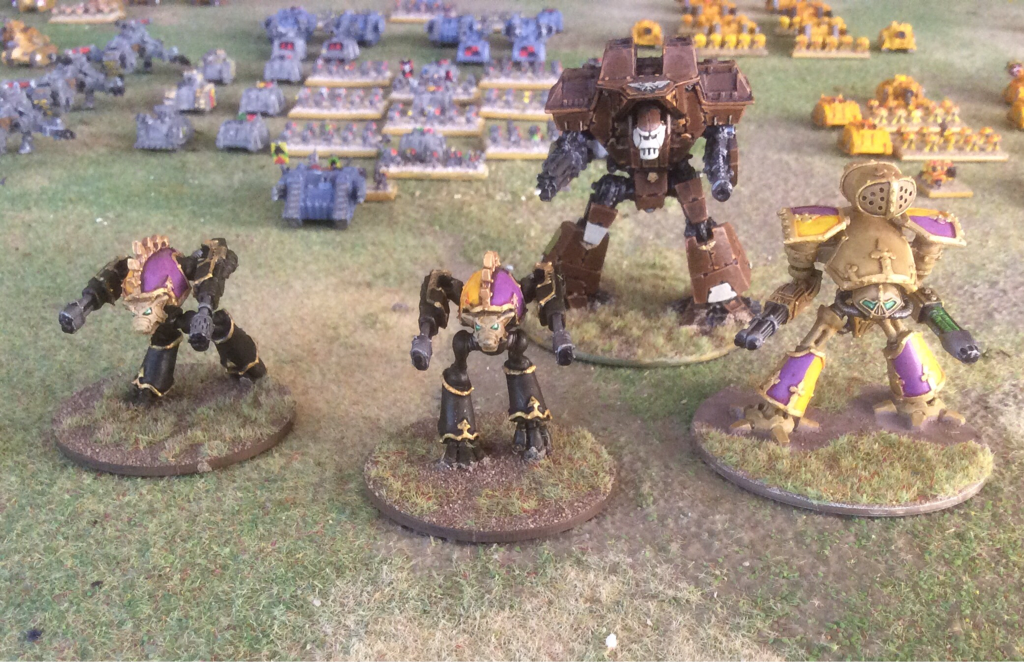
Now, a bit about our gaming history with Bolt Action. Five games in, Ian has had the better of every battle except the first one. Ian plays very well indeed and deserves his victories. But he will admit that at the moment, the dice have a German sense of humour. In their last game, Matt's air strike was devastatingly successful... against his own side. Last night, Matt's first air strike wiped out a machine gun team, only again, it was one of his own units. The joke was also on me, when a succession of lucky 6s wiped out my British officer in the first turn. Nuts! Even so, last night's game was the closest yet. The extra dice for machine guns make them pretty terrifying, especially with Hitler's Buzzsaw. The reduced range for assault rifles makes them easier to tackle and Matt and my plan was to keep the Germans at a distance, where the firefight was more balanced. I was pleased with the staying power of my British sections. Ian got his flamethrower into action against a US squad with impressive results. The flamethrower rules are now very confusing and we presume a correction, or at least clarification will issue soon. As they stand, it seems that first a D6 determines how many dice will be rolled to hit; then the total number of successful hits is multiplied by another D6. Do the authors really intend that one flamethrower could kill as many as 36 targets in one turn? I'm tempted to go back to the version one rules for flamethrowers until the new rules are explained. The new rally rules were used by both sides last night, returning two badly pinned units to full functionality. In the event neither used the snap to action rule (officers activating units when their own dice are drawn). I didn't get the chance anyway thanks to Ian's marksmanship, but we agreed that while we saw how this rule could help at key points, there can also be a cost to using up dice too soon in a turn. I think this rule brings extra tactical opportunities to the game but I'm not sure it'll change the play dynamic significantly. The game ended with two German and four Allied units destroyed, so another victory to Ian. Overall, after one game, we are happy with version two and look forward to getting to know it better. I have been tying up loose ends, painting the last stragglers from the Forces of the Imperium for our Market Garden-based game of Epic 40k. Front to back in the main picture are Imperial Fists, Space Wolves and Steel Legion, with a small Titan detachment out front. The Space Wolves, with their three Thunderhawks, will be holding the bridge. The Steel Legion and Imperial Fists will be trying to break through Ork lines to relieve them.
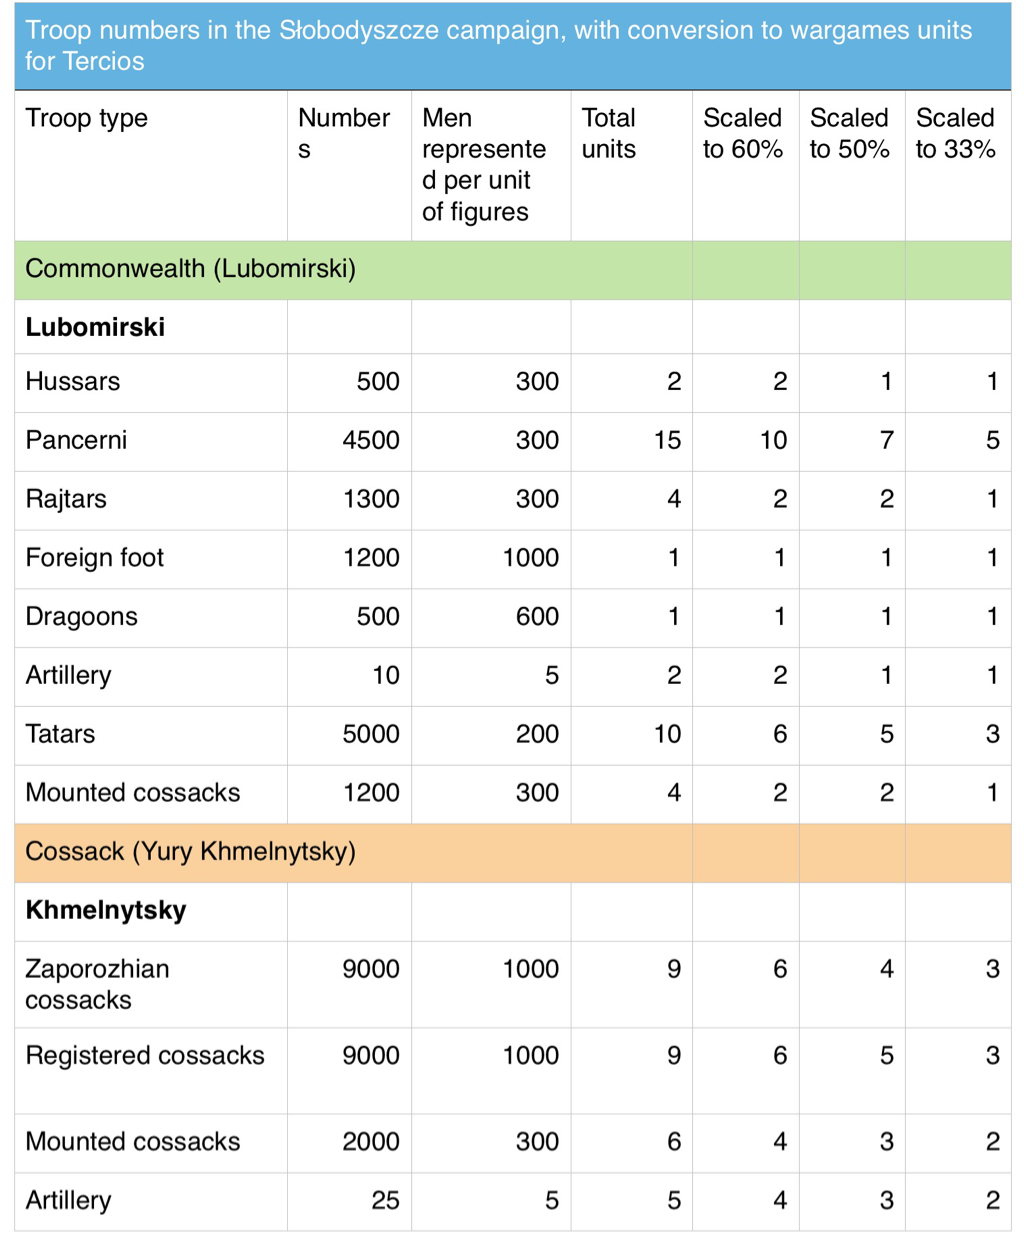
I'd forgotten how much stuff I had still unpainted The Orks are on the operating table now. Painting 6mm Battlewagons is a lot of fun. The game is pencilled in for an all day game on 8 October. It's going to look, errm, epic. I have produced a Tercios army list for the battle of Słobodyszcze, based on Łukasz Ossolinski's study of the 1660 campaign. It results in two pretty large wargame armies so I created further lists at 66 and 50% of starting strength. These broadly follow the proportions in the real armies, but with some types a little over -represented, especially hussars and Polish foot. For games using Pike and Shotte or Maurice, the number of mounted units should be halved, since cavalry units in Tercios are squadrons not regiments. However, the size of units should be roughly doubled so the broad numbers of figures remains the same. The Commonwealth army is pretty straightforward to represent. The shortage of Foot is striking: Lubomirski deliberately selected a fast moving, mostly cavalry force to surprise Khmelnytsky. The Cossack army is tricky to represent. It included a great many troops who had mutinied against their Commonwealth paymasters and joined the rebellion. In Commonwealth pay these had been known as Registered Cossacks. They wore uniforms and were better trained and experienced than the Zaporozhian regiments recruited direct by Khmelnytsky. In the absence of reliable information about the make-up of the army, I arbitrarily divided the Cossack regiments 50-50 between Registered and Zaporozhian foot. In gaming terms the Registered troops have slightly better staying power although both fight well. Another task is to represent the defended wagons around the Southern perimeter of the Cossack camp, the so-called Tabor. In the battle, Khmelnytsky lined his wagons with part of his force but held back several formed regiments which counter attacked the Commonwealth and ejected them from the camp. I allowed the Cossack player to convert up to half of its regiments into defended wagons, on a one-for-one swap. The next task is to produce the map of the battlefield. I have started one on Sketchpad, using the map on Wikipedia. It's a pretty basic one but should do the job. I just wish I had more talent for producing a polished final product. |
Archives
November 2023
Categories
All
|
 RSS Feed