|
I’ve been down another rabbit hole recently, reading up about Poles in the Napoleonic era for a Sharp Practice game about the death of Poniatowski. There is an excellent facebook group called “Epoka Napoleońska”, which often posts albums of uniforms and battle scenes from the period. Recently this group posted a link to an article from the Polish magazine “Historia”, published on 27 February 2023, about the origins of the Polish national anthem. It was so interesting that I decided to summarise it here. The story begins with the Third Partition in 1795, when the Polish State disappeared from the map, her territories shared out between Russia, Austria and Prussia. In 1797 the Polish Legions were raised in Italy under French sponsorship, attracting former soldiers and young patriots in exile. Their commander was General Jan Henryk Dąbrowski, an experienced officer who would serve the Polish cause throughout the Napoleonic wars. Also in 1797, the Polish nobleman, politician and writer, Józef Wybicki, a friend of Dąbrowski who had joined him in Italy, wrote a poem that became known as “the Song of the Polish Legions in Italy”. The words were set to the music of a popular Mazurka and sung for the first time on 20 July 1797 in Reggio Emilia in Italy. The Dąbrowski’s Mazurka soon became the Legions’ marching song and its popularity spread. In 1806 it was first printed in the partitioned Polish territories, and from then on, it became an enduring symbol of the ambition to regain independence. Despite being banned by the partitioning powers, the song kept its popularity and eventually became the official national anthem of the restituted Poland in 1927. The loyalty and courage of Polish troops in Napoleon’s service is legendary. The words of Dąbrowski’s Mazurka help demonstrate how tightly the dream of restored nationhood was bound to the person of the French Emperor. Small wonder they fought so hard for him, right up to the end. The original song had six verses, though verses four and six have been dropped in modern times (you can guess why) . Some of the words have changed slightly since 1797 but the gist is exactly the same. My loose translation is below Poland has not yet died As long as we are alive We shall take back by the sword What foreign powers have stolen. Refrain: March, march, Dąbrowski From Italian lands to Poland Under your command We shall unite with the nation. We will cross the Vistula, cross the Warta We will be Poles Bonaparte has shown us by example How we shall be victorious. Refrain Just as Czarniecki returned to Poznan From across the sea To save the fatherland After the Swedish partition. Refrain Neither German nor Muscovite shall settle (our lands) When, having drawn our sword, Our watchword will be “Unity And our Fatherland”. Refrain So the father says To his weeping (daughter) Basia “Hark! It seems our (lads) Are beating the military drums”. Refrain At this we all say with one voice “Enough of this captivity! We have the scythes of Racławice Kościuszko, if God wills it”. And the Polish original text: Jeszcze Polska nie umarła,
Kiedy my żyjemy. Co nam obca moc wzięła, Szablą odbierzemy. Refrain: Marsz, marsz, Dąbrowski —Do Polski z ziemi włoski —Za twoim przewodem —Złączym się z narodem. Przejdziem Wisłę, przejdziem Wartę Będziem Polakami Dał nam przykład Bonaparte Jak zwyciężać mamy. Refrain Jak Czarniecki do Poznania Wracał się przez morze Dla ojczyzny ratowania Po szwedzkim rozbiorze. Refrain Niemiec, Moskal nie osiędzie, Gdy jąwszy pałasza, Hasłem wszystkich zgoda będzie I ojczyzna nasza. Refrain Już tam ojciec do swej Basi Mówi zapłakany Słuchaj jeno, pono nasi Biją w tarabany. Refrain Na to wszystkich jedne głosy Dosyć tej niewoli Mamy racławickie kosy Kościuszkę Bóg pozwoli. Refrain
0 Comments
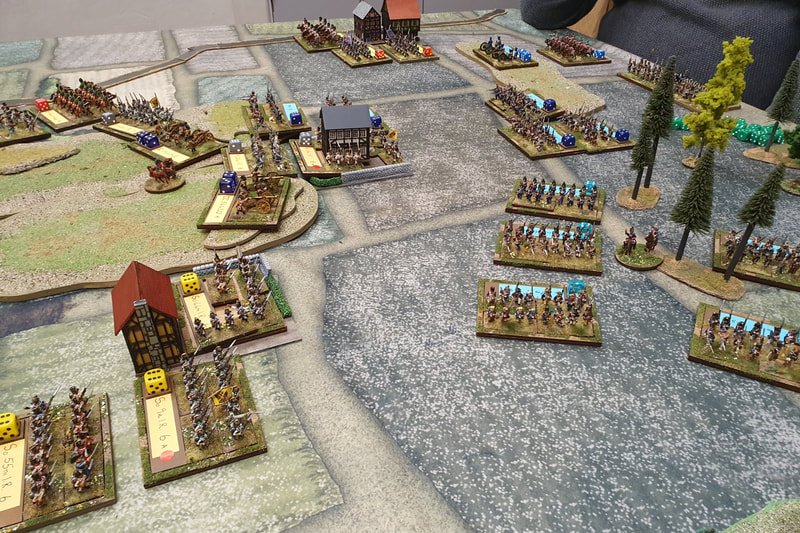
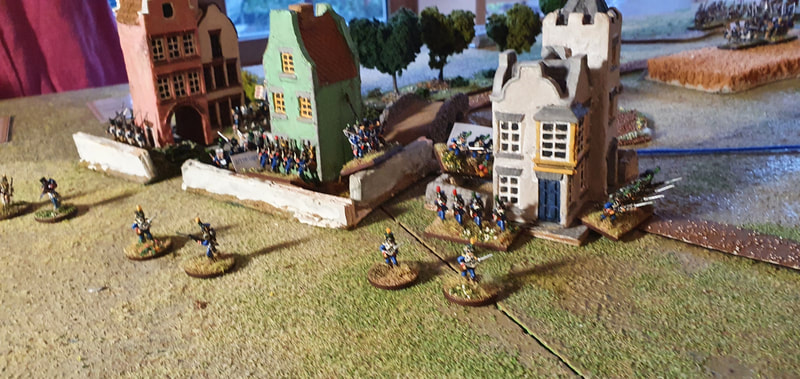
Last month, I hosted a game of Blücher in the shed for Nick, Harry, Dan, James and Jack. The scenario was Abensberg, 1809, on the Scenarios for Blücher page. We have played a few games based on the 1809 campaign using Blücher, Lasalle and Soldiers of Napoleon, but I haven’t tried to game Abensberg until now. The reason, I suppose, is that the day was more a series of separate actions than a set-piece battle. Formations appeared on the scene from different directions and it was hard to coordinate movements in the heavily wooded and hilly Bavarian landscape. The game saw Jack and James’ Bavarians put early pressure on the Austrian right flank under Nick and centre under Dan. Nick and Dan had weak forces and several dummy unit cards, the threat of which slowed the Bavarians somewhat but of course were removed as soon as the enemy got within spotting distance. The French then appeared behind the Austrian right flank, though curiously, they advanced with some caution. Meanwhile Dan was shifting his Austrian forces from the centre to the right, as Harry’s reinforcements arrived on the left and he finally got moving. Poor Harry had spent much of the game watching Dan and Nick play, but he didn’t complain and declared himself happy to be moving his grenadiers and kürassiers. Athough slow, the French advance threatened to encircle Nick’s remaining troops and he withdrew his paper-thin units towards Dan. As the Austrian right folded backwards, Harry on the left began to swing around the Bavarian right, and so the front rotated steadily clockwise. For a time, the Austrians looked as if they were going to lose too many units but Franco-Bavarian losses mounted too and as the gaming day drew to a close, it was clear that Austria had done enough to thwart Napoleon’s ambitions for the day. The two French objectives were still comfortably in Austrian control and more Austrian reinforcements had arrived on table. Victory, albeit marginal, went to the Kaiserlicks. The game moved at a good pace and the players had no difficulties with the Blücher rules. One personal innovation I think worked well was to give each player two tokens at the start of the game that they could spend, either in combat or in rallying a damaged unit. We found when we played Waterloo last year that the ability to rally troops in the rules as written was too generous, meaning that a commander capable or rallying units dashed around restoring fighting power left right and centre: not realistic. On the other hand I like players to have choices they can exercise on how they influence the game. The two tokens meant intervention could be significant but did not dominate.
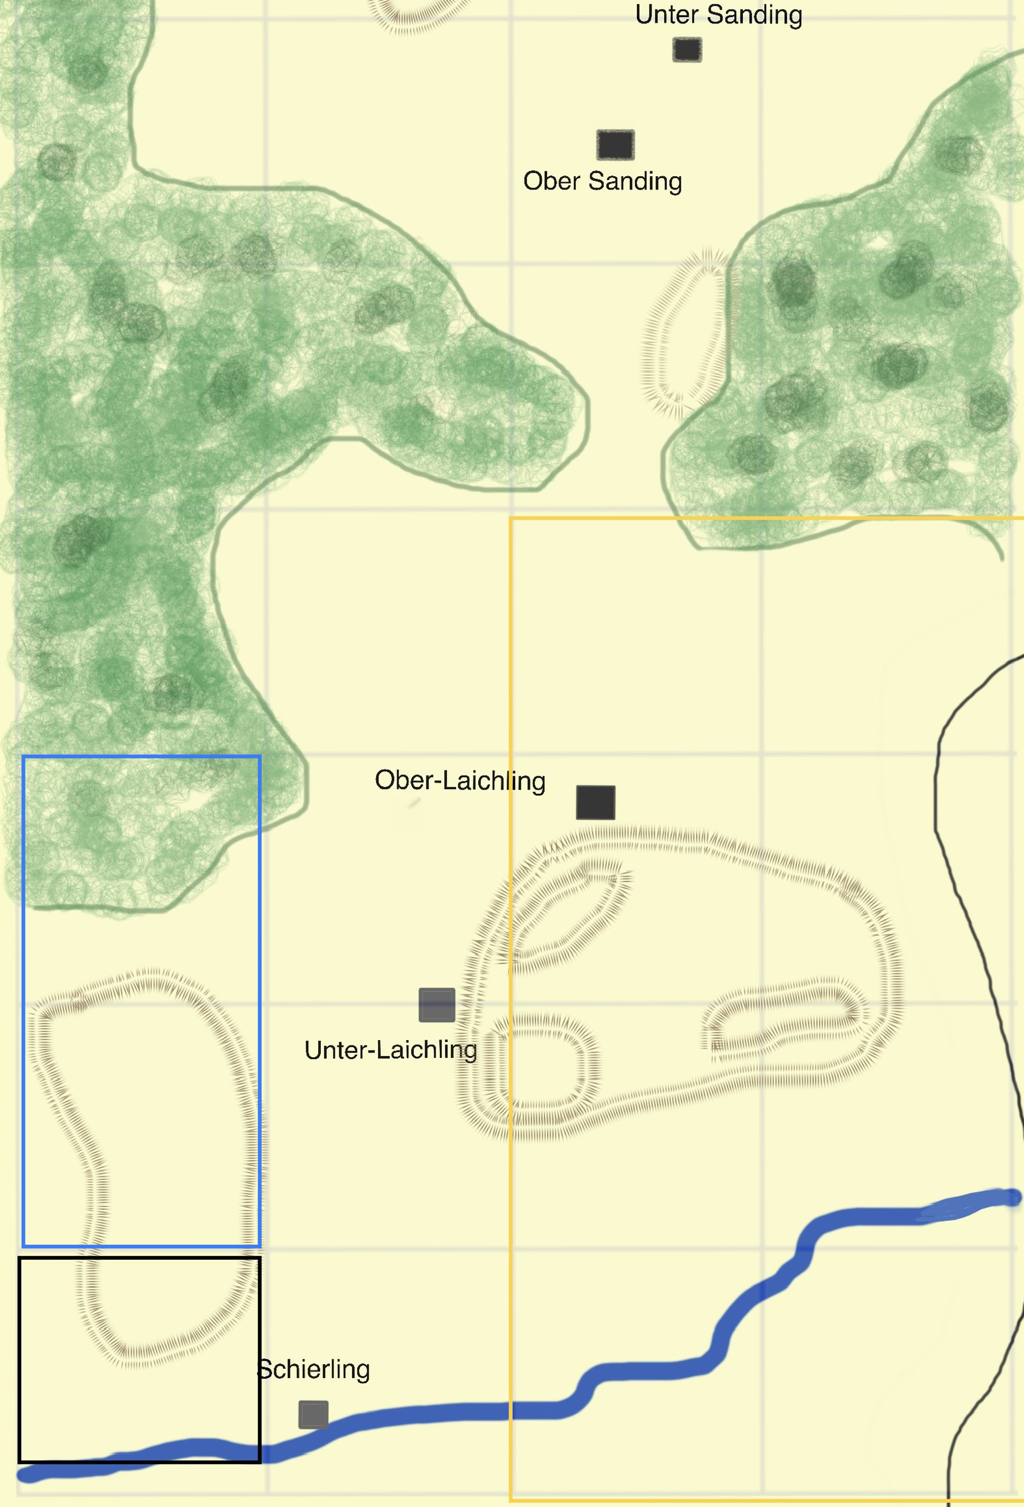
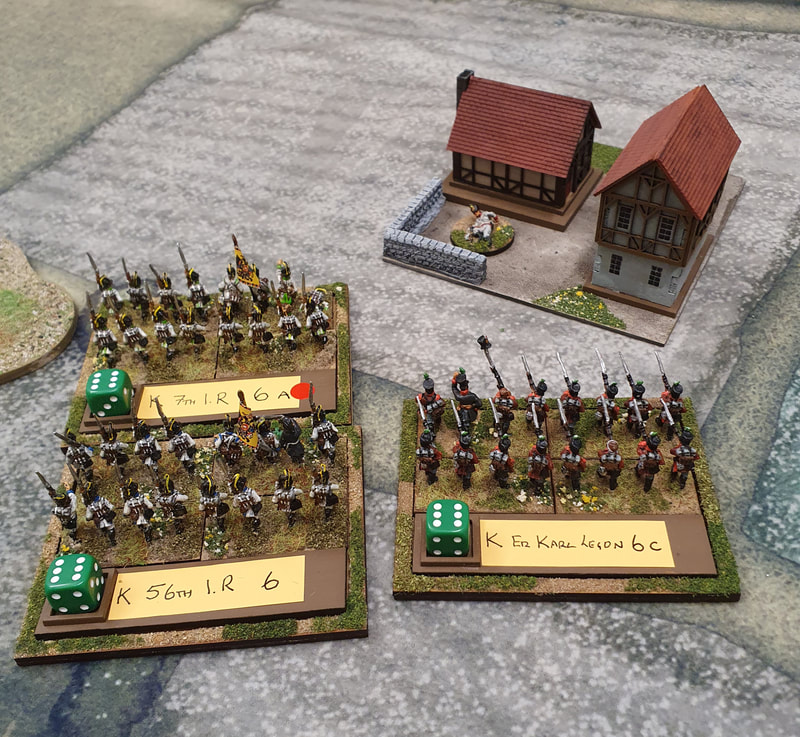
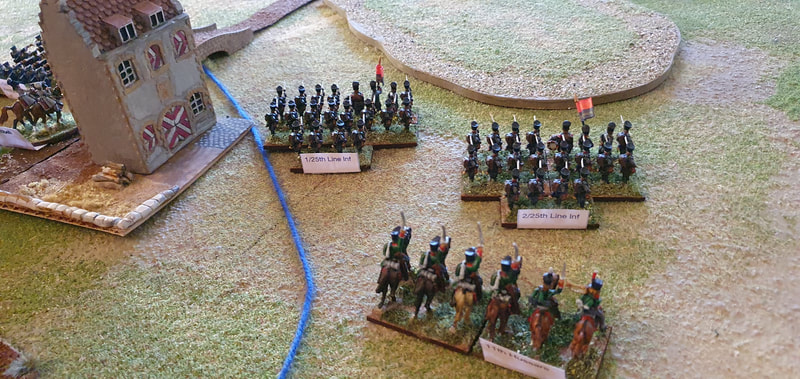
Overall, I think the battle went well and I enjoyed the company of the other players very much. I plan to host the same game with a different group of players next month. Blucher at the ClubLast Friday I ran a four-player game of Blucher at Staines Wargames Club. The scenario was Laichling 1809, on the scenarios page here. This was the fight between Davout and Rosenberg on 21 April, the day before the battle of Eggmühl. Ian and Harry led the French against Chris and Nick’s Austrians. This scenario is unusual in having a lot of woodland, especially on the French side. In the real battle, Friant’s division moved northwards through the woods without much difficulty, before emerging to assault the village of Ober-Sanding. I found the Blucher rules as written too restrictive to permit the French to recreate this advance, since reserve movement is not permitted in woods and all movement in them is classed as ‘difficut’. I introduced a house rule for this game only, that infantry with the skirmish ability is able to make an easy move in woods. This covered all French infantry and the Austrian Grenzers, but Austrian Line did not benefit. Opening MovesChris as Rosenberg set up the on-table Austrians, with garrisons in the villages of Unter and Ober Laichling and his cavalry on his far left. Ian deployed the Bavarians on the French right and Friant in the Centre, and Harry took St Hilaire on the left. The game began with Ian/Friant assaulting Unter Laichling and Harry moving north through the woods towards the Sandings. Ian’s first two attacks on Unter Laichling were repulsed at some cost, but he was third time lucky. The rest of the game saw Austrians and French taking and retaking the village, with possession finally in French hands. The Bavarians also advanced on Friant’s right. The infantry held their own but their cavalry were given a bloody nose by the Stipcisz Hussars. Meanwhile Nick’s first Austrian reinforcements arrived and moved to occupy Ober Sanding before Harry could get there. Harry was so fixed on reaching this village that he veered a bit too close to the Austrians around Ober Laichling and Chris charged two of Harry’s regiments in the flank. Harry got off very lightly in the ensuing combat but he was obliged to turn two regiments to face the Austrian centre, which reduced the French resources available to assault the Sandings. Crunch Time at Ober SandingHarry’s first assault on Ober Sanding was seen off in style, with Nick rolling either a 5 or 6 for every single combat die. Harry’s next attempt succeeded and his depleted regiment occupied the village. At this point, the French already held Unter Laichling and would win the game outright if they held both villages at the end of the next Austrian turn. Chris and Nick tried their damnedest to evict the French, with Nick sending in two units against Harry’s regiment in Ober Sanding. Despite having many more dice than the enemy, Nick’s rolling let him down for this combat and both Unter Laichling and Ober Sanding remained in French hands, bringing the game to an end.
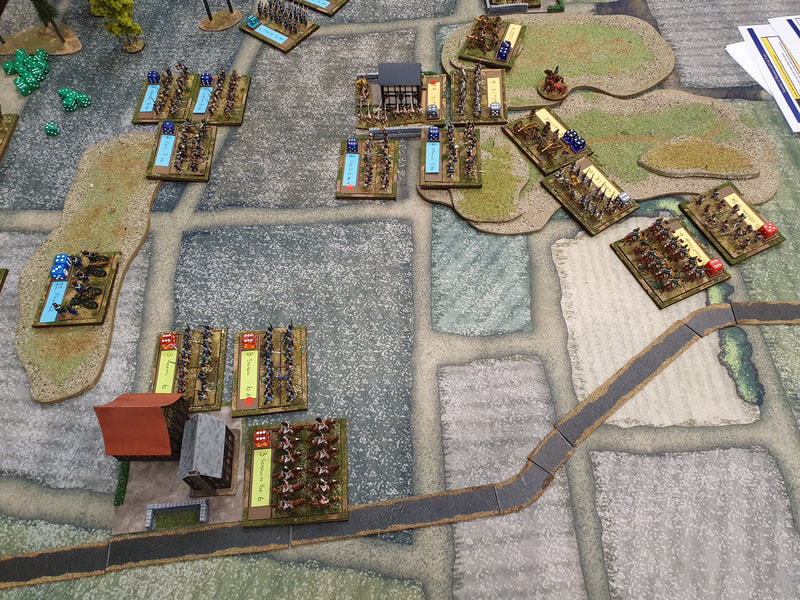
This was a tense game, which almost went the full 26 turns. It rattled on at a good pace and the players seemed to enjoy themselves. I thought the scenario was well balanced and could genuinely have gone either way. Had the French sudden death conditions not been met, I reckon the Austrians may have inflicted enough damage to win the day. As it was, the honours went to Davout. Thanks to all the players for getting stuck in. Commiserations to Chris and Nick and congratulations to Ian and Harry. On 17 October, Dan, Harry, Will and I played a game of Lasalle. If I’d been thinking about the date I’d have run a Leipzig scenario but my brain was on go-slow and we played an 1809 game instead. The scenario was “Feeling for the enemy”, Friant’s attack towards Ober Sanding on 21 April 1809. It is downloadable here. The scenario begins with Rosenberg’s Austrians deployed along the Regensburg-Eggmühl highway facing West and Friant’s French arriving in the south west corner of the table. The French aim is to take the village of Ober-Sanding on the Austrian right, which would cut the highway and hence the Austrians’ connection to Regensburg. The table is unusual in having a lot of woodland, especially on the French side of the valley. Dan took the Austrians and Will and Harry, the French. Friant versus RosenbergThe game began with the French 15th Light, the best French regiment, advancing eastwards through the woods in the centre. Dan had deployed two Grenzers battalions on the edge of the woods, ready to slow the French down, but the 15th despatched them almost immediately (to my embarrassment since I had encouraged Dan to place them there). Meanwhile the French left, comprising 6 battalions, moved northwards through the woods and came out opposite and slightly overlapping the village. Up to this point, Dan had had atrocious luck with his dice rolls, his artillery barely troubling the French as they emerged from the woods. Also his reinforcements failed to show, which was less surprising since they needed two sixes to appear (each turn the players roll a number of dice equal to the turn number. Standard reinforcements arrive when one 6 is rolled; delayed reinforcements like Dan’s require two 6s). Fortunately for him, Dan began rolling better as the French attack on Ober Sanding started. As Harry now had to leave, Will assumed full command of the French and began his attack on the village with three battalions in line and three in battalion mass to the rear. His firing reduced the garrison to rubble but Dan was able to race a reserve battalion into the village before the French could occupy it. This battalion was then assaulted by two French battalions who were repulsed in short order. Meanwhile Dan advanced his centre to support his village and, at just the right moment, his artillery and musketry so disrupted the 15th Light that it ceased to be a factor in the game. Post-match analysisThe game ended with Will still outside the village but his reserves ready to mount another assault; the French centre incapable for now of forward movement; and the French right poised to put pressure on Dan’s outnumbered left. Dan’s centre was well-placed and holding their own and he still held the town on the right but he no longer had a reserve available should the garrison be bundled out by the French assault. Dan’s off-table reinforcements were still refusing to appear.
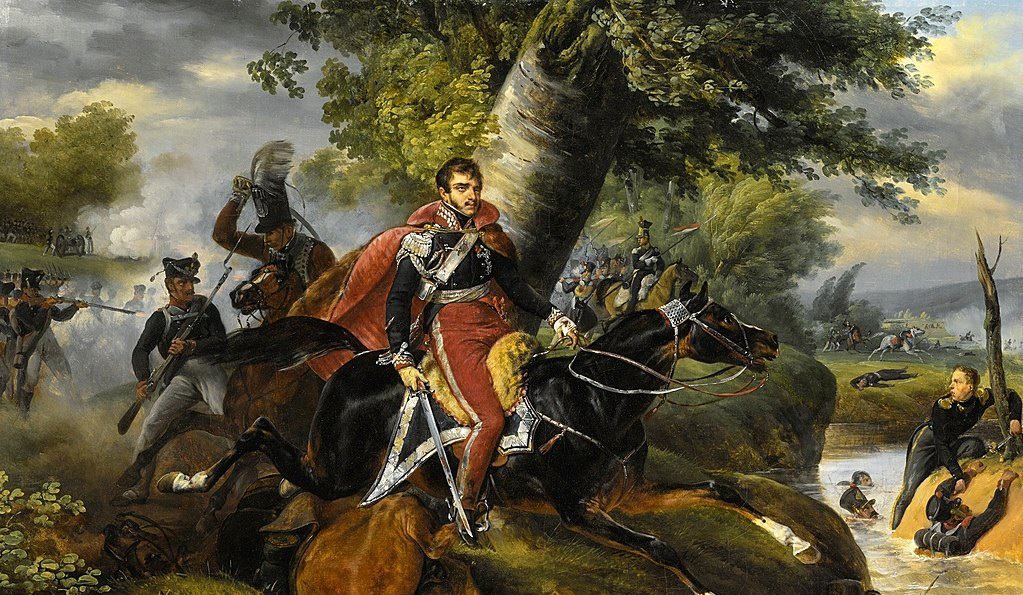
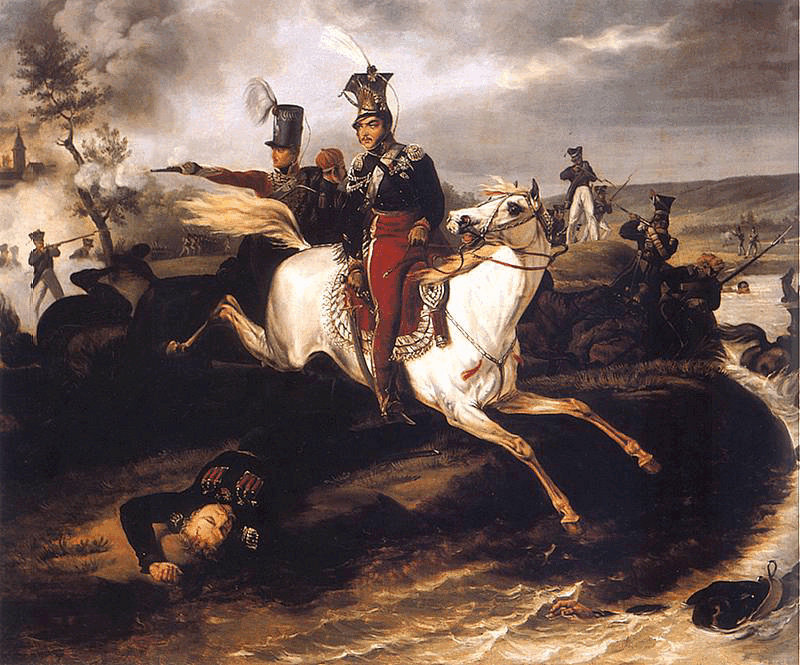
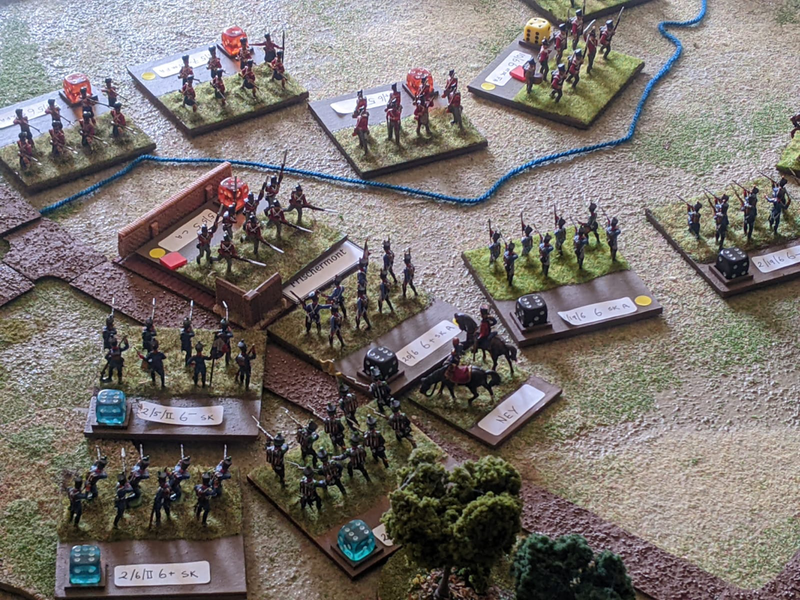
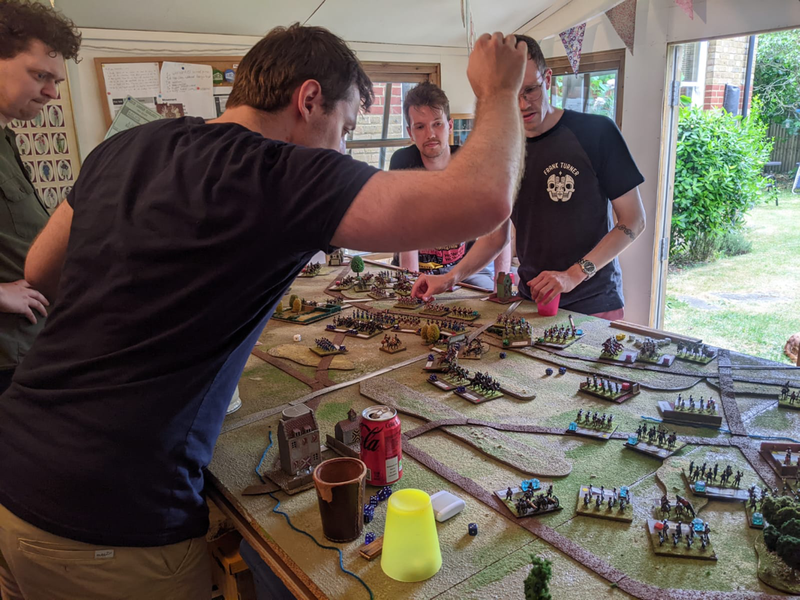
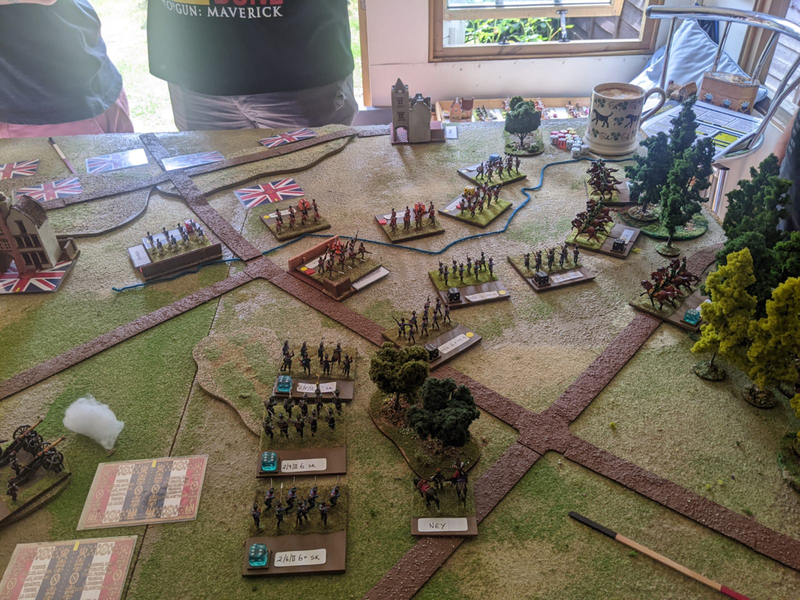
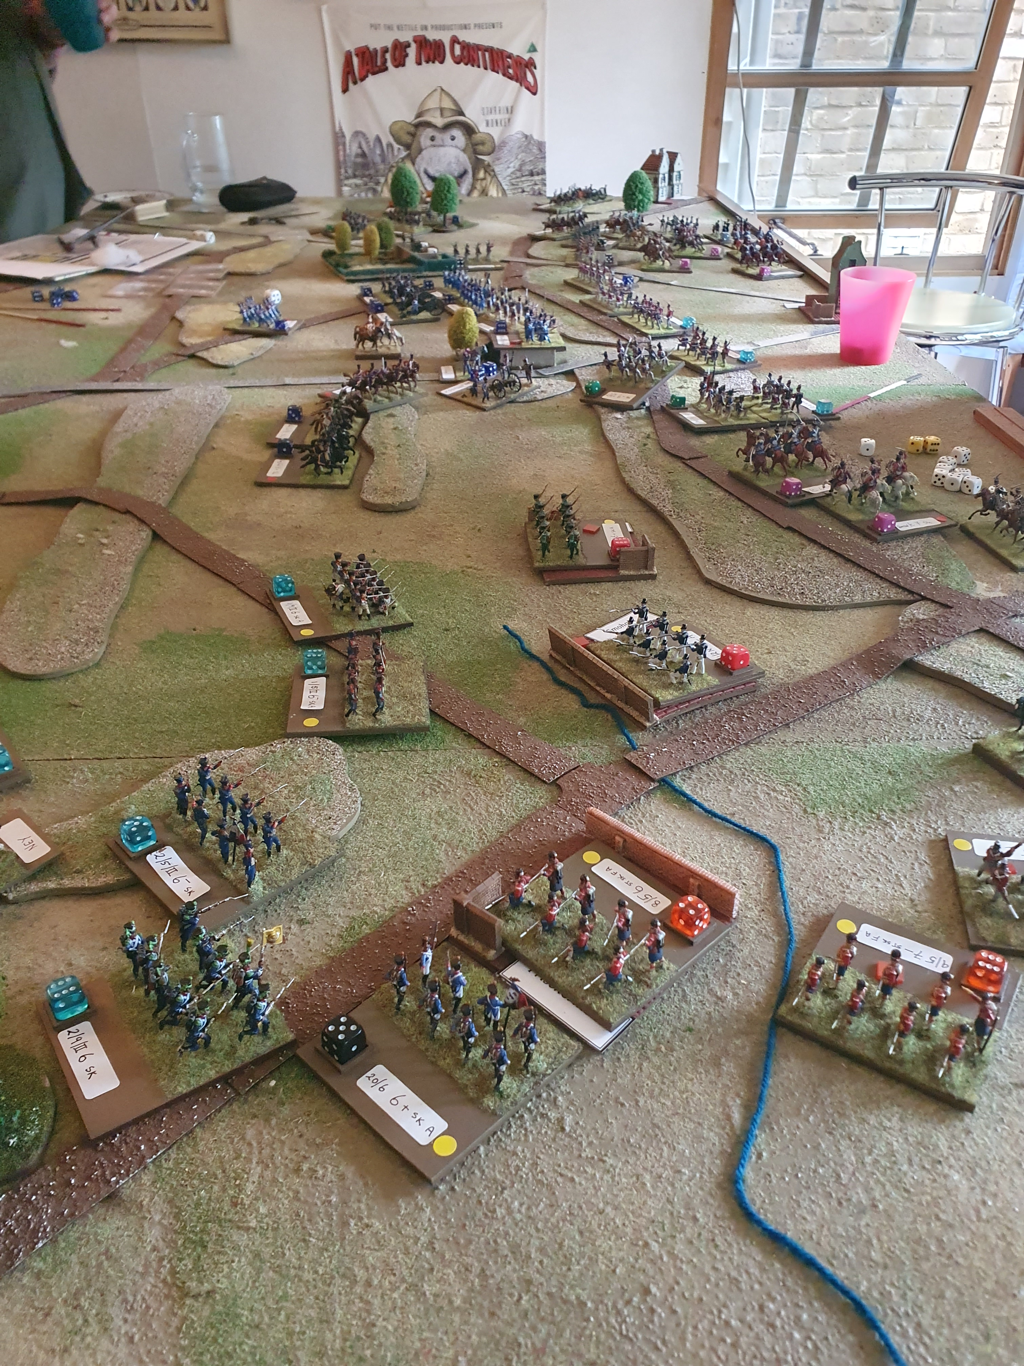
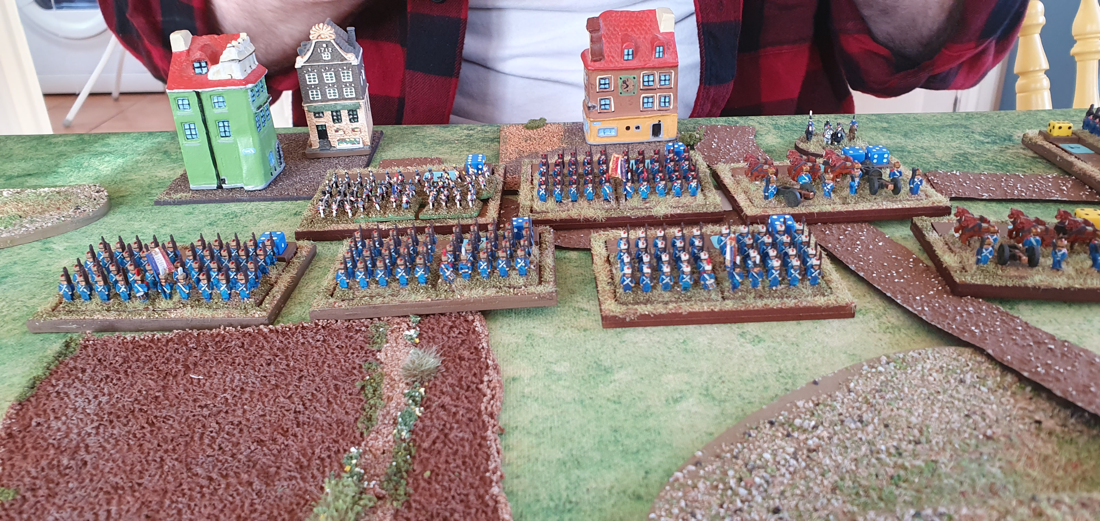
We agreed the game was a draw since it could still have gone either way. I’d give bragging rights to Dan however as I realised too late that the scenario heavily favoured the French, in two important respects. First, the French had such a big skirmish advantage that they went first every turn and had way more momentum than they needed. This negated any challenge arising from moving through the heavy woodland. Second, the French reinforcements only needed to roll one 6 to arrive, which happened quickly and gave them too much of a numerical advantage. After the game I amended the scenario to reduce the French skirmish advantage (though they do still have one) and to require reinforcements on both sides to roll two 6s before they could appear. I hope this will make the Austrian task a little easier. The scenario and orders of battle were taken from John H Gill’s Thunder on the Danube (volume 1). The Lasalle rules worked well and Will and Harry, both new to the rules, picked them up effortlessly. Next time, I’d like to try the same scenario using Soldiers of Napoleon to see how it compares. I was grateful to all players for the enthusiasm with which they assumed their Napoleonic roles! I have been gathering ideas for a Sharp Practice scenario of the last moments of Prince Józef Poniatowski, Commander in Chief of the army of the Duchy of Warsaw, who died on the last day of the battle of Leipzig in October 1813. I found two accounts in Polish, one by Mariusz Lukasiewicz in his book “Armia Ksiecia Jozefa, 1813” and the other in “Lipsk”, by Jadwiga Nadzieja. Both accounts drew on eye witness reports and are almost identical. The following is a translation of the account in Lukasiewicz, with a small comment from Nadzieja’s book. Introduction: On 19 October 1813, Napoleon’s army was retreating westwards from Leipzig, covered by a rearguard including Poniatowski’s Polish VIII Corps. The army had only one route out of the city and while the details are still disputed, the single bridge over which the troops were retreating was blown up prematurely, leaving several thousand troops of the rearguard on the far side, including the Poles. With the bridge gone, the only way the stranded troops could avoid death or capture was to cross two rivers, the Pleisse and then the Elster, either on makeshift bridges or by swimming. Meanwhile, Russian and Prussian skirmishers were racing to cut them off. “Poniatowski retreated from the water fountain, together with his headquarters staff and remaining soldiers. They moved through the Reichel‘s garden and the Rudolf garden towards the river Pleisse under fire from approaching enemy skirmishers. The cuirassiers and some chasseurs were still fighting. General Bronikowski strongly urged the commander-in-chief to swim his horse across the Pleisse. Poniatowski was reluctant to withdraw, but eventually ordered his escort to gain time with one more charge and then jumped into the river. The Pleisse was deep and fast moving due to the autumn rains and Poniatowski’s horse couldn’t make it up the far bank. Seeing him in trouble Hypolite Blechamps, a young French captain on the Headquarters staff, ran to help. (Jadwiga Nadzieja says he was assisted by another aide, Ludwig Kicki, who was shot soon after dragging Poniatowski to the bank). He freed Poniatowski from his horse and pulled him onto the riverbank. The prince now proceeded for a time on foot. As he retreated through the gardens he was wounded for a fourth time, this time by a musket ball in his side. The wound was serious and only quick attention stopped him from bleeding to death. Poniatowski fell unconscious into the arms of his escort but soon regained his senses. His staff begged him to hand over command to one of his generals and surrender to the Allies so his wounds could be properly treated. Now half-conscious, Poniatowski refused, saying that his honour and duty to his Fatherland would not permit him to do this. With the help of his adjutants, he mounted another horse and supported from both sides, rode along the River Elster towards a crossing place that had been indicated by an officer of engineers. Allied troops had by now already reached the river and some had even crossed to the other side, shooting at the soldiers as they tried to swim to safety. Bleeding heavily and losing consciousness every few moments Poniatowski’s path was suddenly blocked by an enemy detachment and he turned his horse and jumped in the river. The horse managed with difficulty to reach the far bank, but as it scrambled to get out of the water, Poniatowski was hit again by a musket ball. He slid off the horse into the water and began to drown. Captain Blechamps again jumped in to help him, but soon they both disappeared in the current and neither was seen alive again. Poniatowski’s corpse was recovered from the Elster by a local fisherman on 24 October and his identity confirmed by Polish prisoners.” Back in 2015, a group of us played a game of the Battle of Waterloo using Sam Mustafa’s Blücher rules and a collection of polythene 1/72 scale figures, some of them dating back to 1970. A few years later we played Ligny. The figures have spent the years since then in boxes, labelled up and waiting for the Waterloo itch to return. In February this year I got the figures out, repainted a few and rewrote some faded labels, then hosted a Waterloo refight for four of us in the dining room (too cold for the shed). I had read a few more Waterloo histories since 2015 and changed the deployment rules from the original scenario. Ian and Paul led the Allied and Prussian armies while Chris was Napoleon. We had a great game that ended with Chris breaking through the Allied centre and opening the road to Brussels. A couple of months ago I noticed that 18 June this year would be on a Sunday, as it was in 1815. Not exactly a rare coincidence but I’ll use any excuse to play the battle again. This time, we had six players: Nick, Dan and Will played the French (Napoleon, Ney and D’Erlon); versus Harry, Jack and me (Wellington, Picton and Blücher). I took the Prussians so I could help with easing newcomers into the rules. Blücher is a very easy game to learn but with both Jack and Will playing for the first time, we cut them some slack for the first 5 minutes - and were then ruthless, obviously. In fact, both teams were well on top of the system in no time. The orders of battle, reinforcement schedule and briefings are on the Napoleonic Scenarios page here Opening moves The game began with the French going wide on both flanks: Will took two cavalry Corps and part of I Corps around the West of Hougoumont, while Dan led II and VI Corps in an assault on Papelotte, Smohain and Frischermont on the Allied left. Both attacks were intended to pin Allied reserves in place while Nick went straight up the Brussels road with the Guard. Harry and Jack used the reverse slope effectively, thereby negating much of the power of Nick’s artillery. In the East, they ran an aggressive defence against Dan, which led to a sticky end for one Hanoverian infantry brigade that overreached itself and dissolved in the French rear area. On the opposite flank, a plucky Dutch brigade bought valuable time, as it survived repeated cavalry charges before finally going under. The mid-game While the flank fights settled into seesaw combats, the Guard made its move up the centre of the field. Nick took La Haye Sainte but his leading units suffered heavy losses from Allied artillery and musketry and he withdrew them before they disintegrated. Fortunately for him his reserves were close behind, including the Guard cavalry who made it onto the Allied ridge. Harry and Jack sent units up and down the line to plug gaps and their line between the Brussels road and Hougoumont held firm, but they started to run out of reserves and a hole developed in the line between the Brussels road and Papelotte, which the French Guard Cavalry filled. Meanwhile the Prussians, on a fixed variable reinforcement plan (available at most High Street banks), were delayed by two turns, which was unfortunate for the Allies as they were unable to strip troops from their left to create a new centre. When the Prussians did arrive, they got stuck in to Dan’s right flank but did not trouble him too much: he refused his right and although his line was now bent backwards, he didn’t need to ask Nick for more troops. Final Whistle Throughout the day, the Allies had been losing more units (and hence morale points) than the French, partly because of some aggressive counterattacks and partly, I think, because being on the defensive, they could only guarantee that a damaged unit would not be drawn into combat again if they sent it off the table. In the second half of the day they adopted this approach which preserved morale points but meant they eventually lacked the units to man the whole front line. We were approaching nightfall and if they could hang on to their morale, the day would have been theirs as the Brussels road was still not open (though the ridge to its east was filling up with Frenchmen). However, at the start of the last French turn of the day, the Allies had 2 morale points remaining and first Nick, then Dan was able to destroy an Allied unit, breaking Allied morale. The day had been very close but this time, Napoleon would spend the night in a Inn at Waterloo while Wellington sped back through Brussels and on to the sea. Went the Game well? I had a lovey day and at my age, that’s what matters! But I do believe the rest of the crew enjoyed it too. I have the following thoughts about the scenario:
I am really grateful to my five co-players for a game played with good humour and Peroni. Thanks also to Caroline, ably assisted by Will (2) and Katie, for the catering and general hospitality.
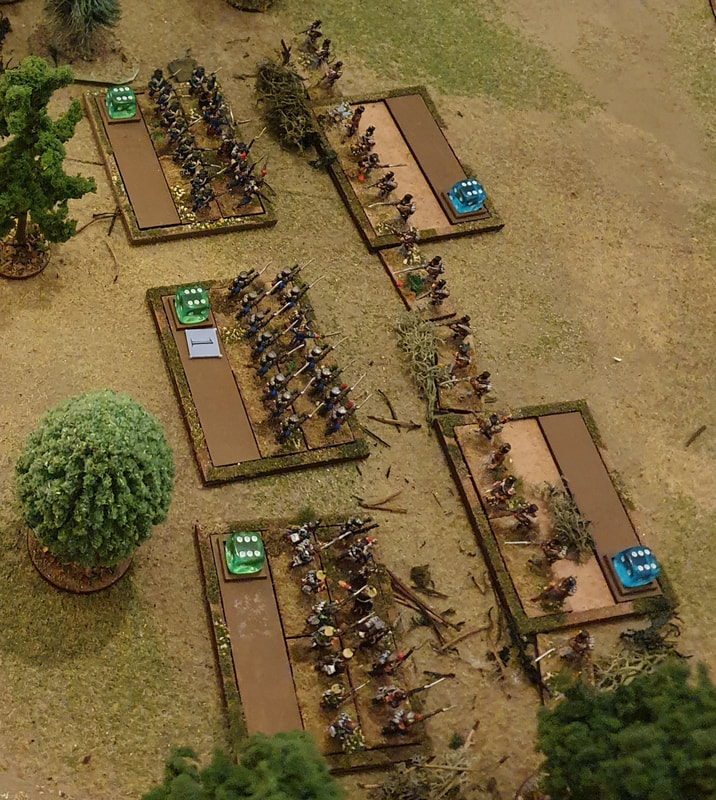
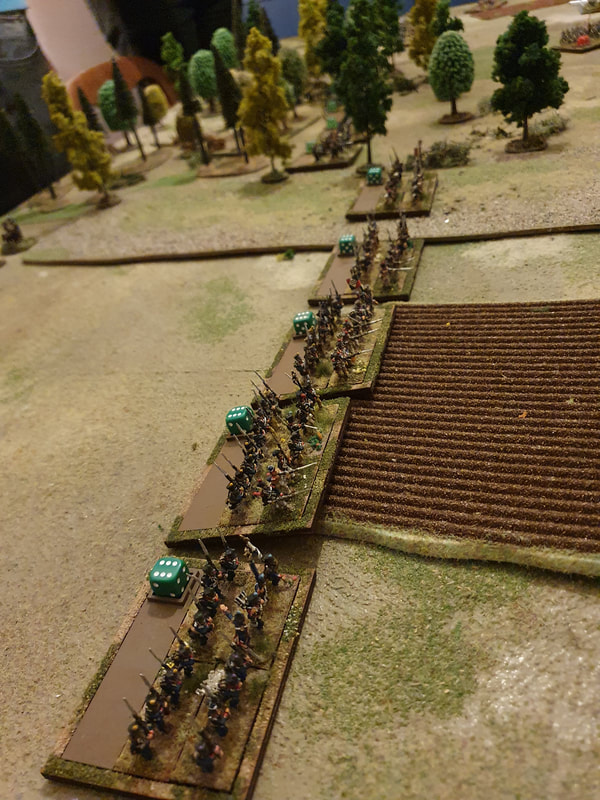
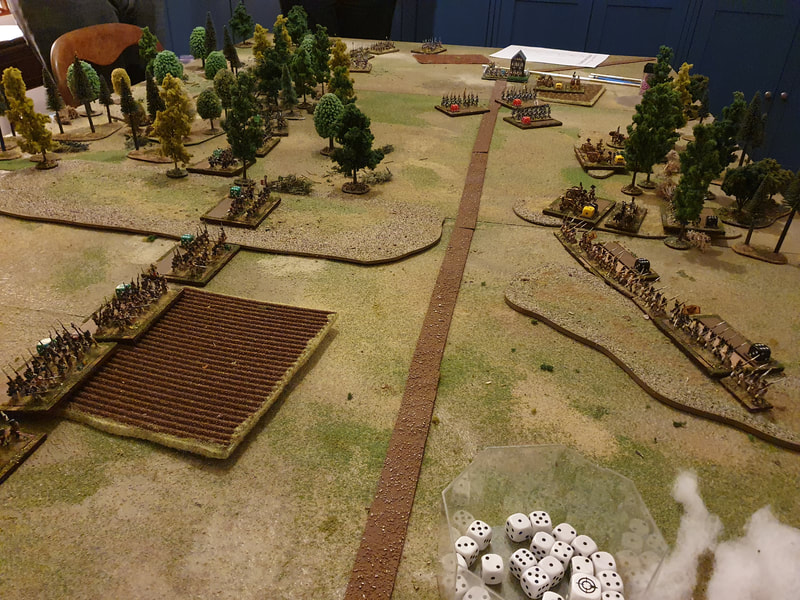
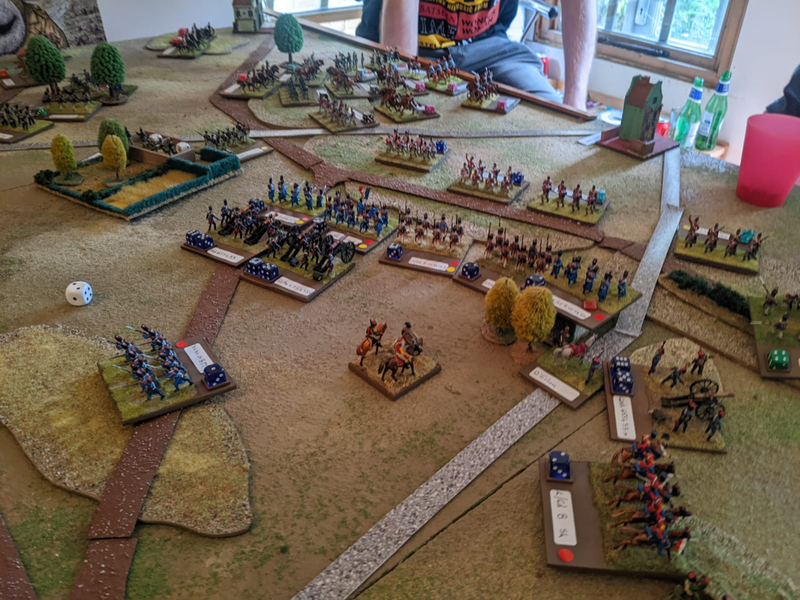
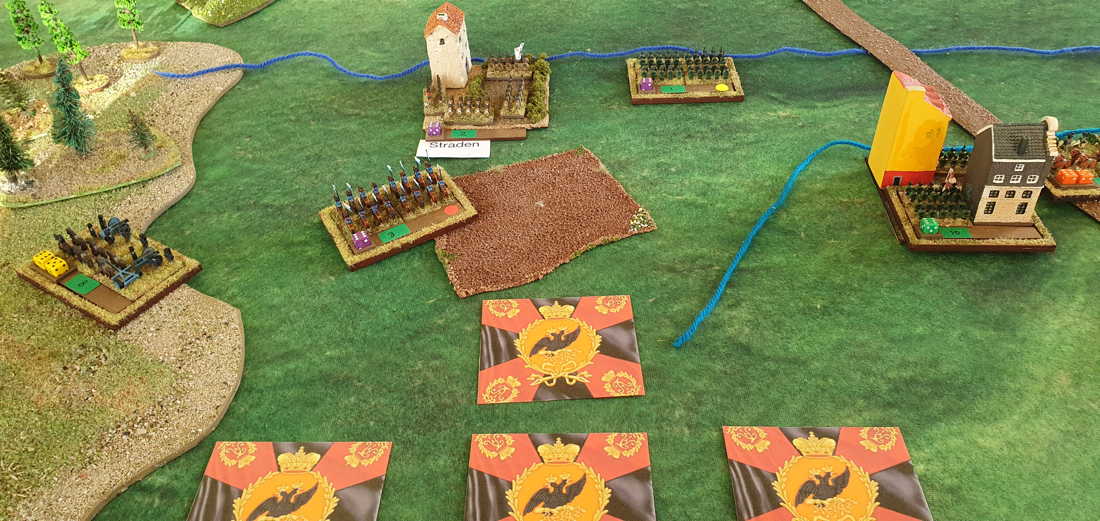
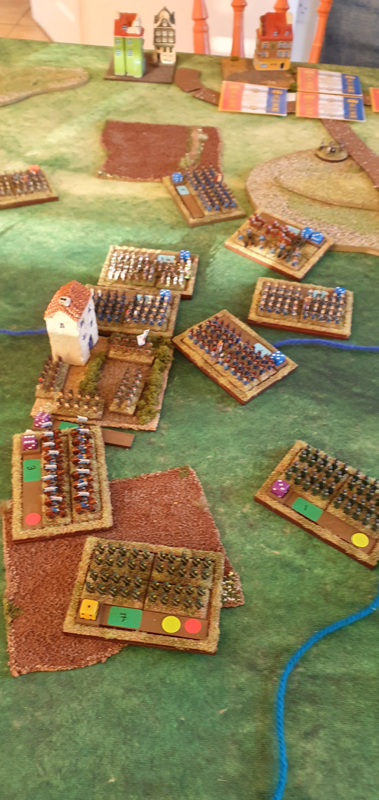
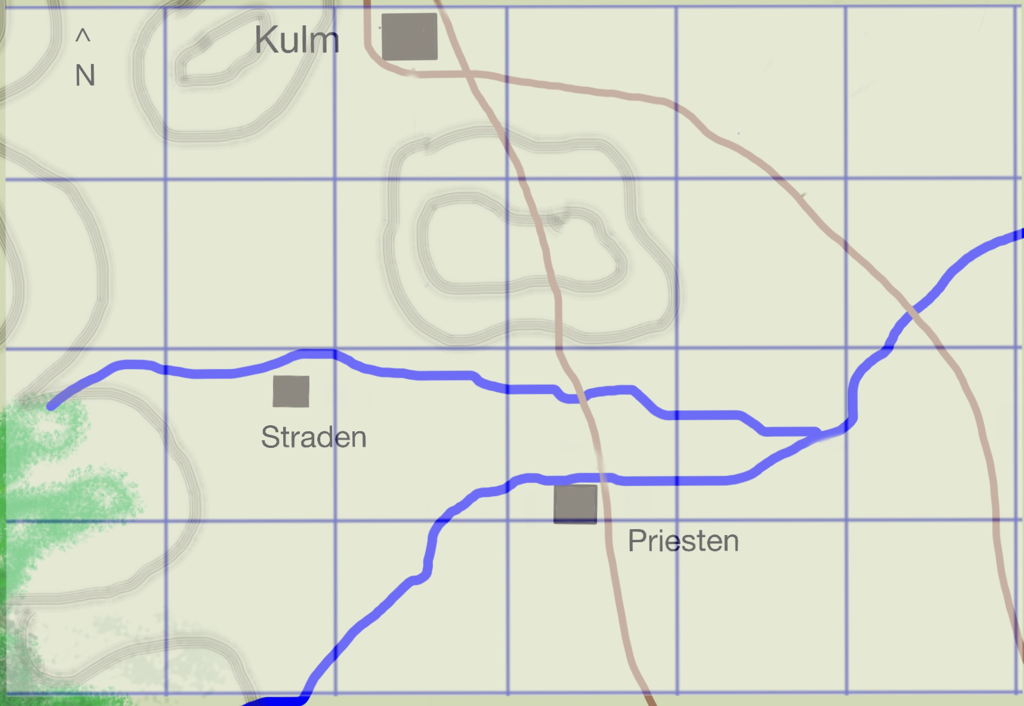
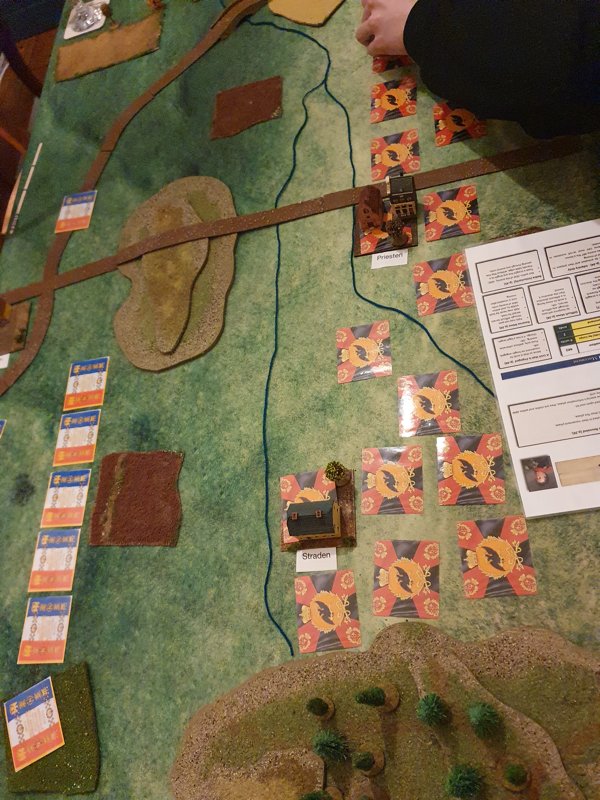
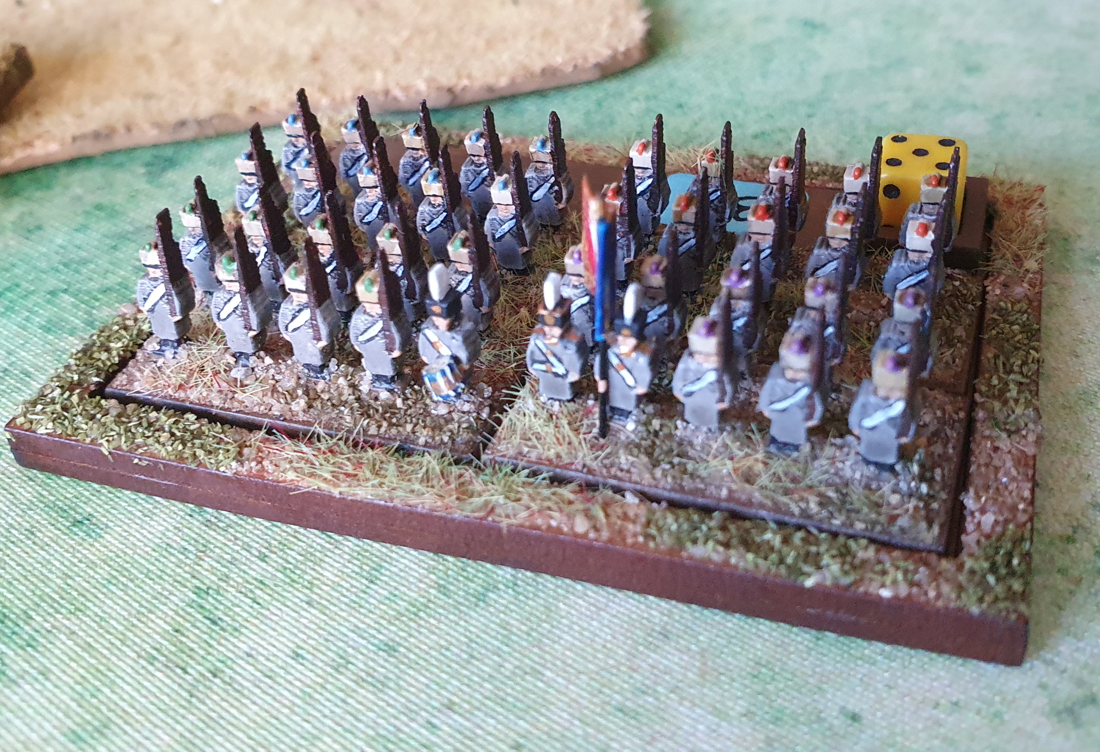
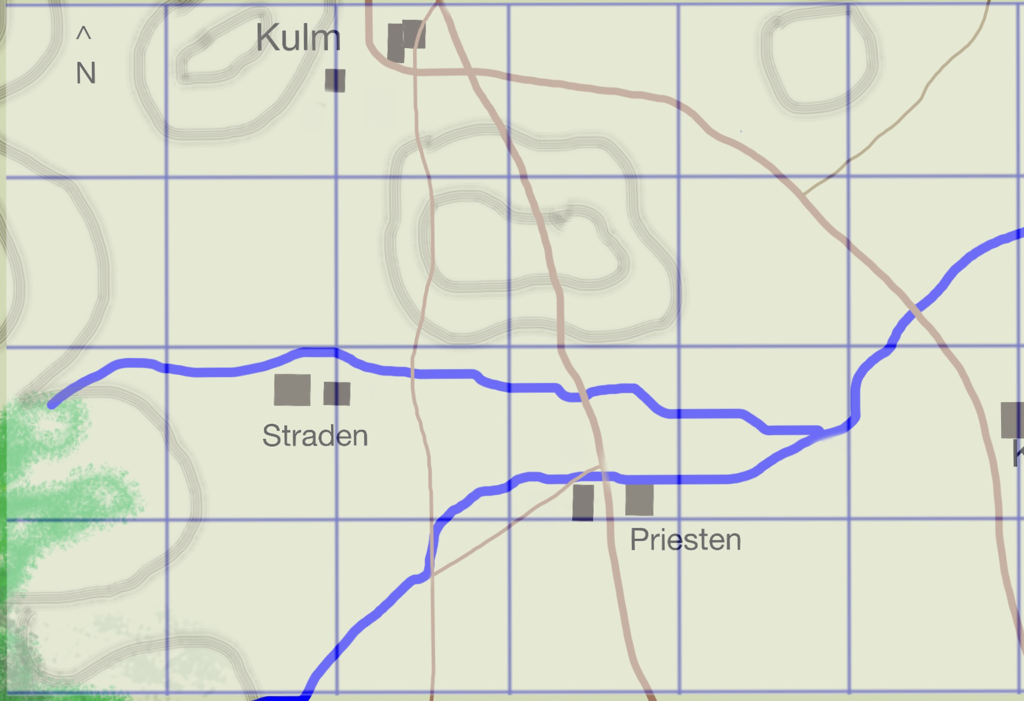
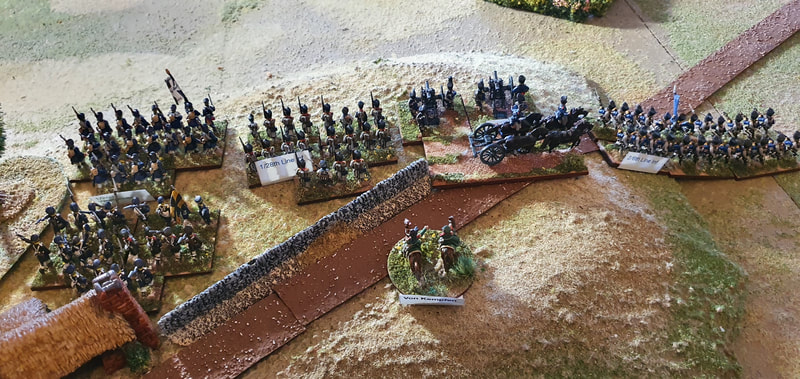
In my last post I said I had written a new scenario for the first day of the Battle of Kulm, 29 August 1813, using Sam Mustafa’s Blücher rules. It is on the Blucher Scenario Page. We have now played the scenario three times, with two wins for the Russians and one for the French. All three games were close and the players seemed to enjoy them. We played the first game at my local club with two players a side and me as umpire. One player had played the rules before but the others were all new to them. They picked them up quickly, all being experienced with the period and with various other Napoleonic rules. The second game was between me and my son Nick, who has played Blücher several times. I umpired the third game for Harry and Dan, both new to Blücher and still quite new to Napoleonics. Over the three games and between these eight people, I believe the rules passed the tests for accessibility, plausibility and fun. Hats off to Sam Mustafa and his play testers for such a polished product. He does make exceedingly good rules! The figures we used are 6mm on 80mm x 40mm movement trays. Most are MDF Commission Figurines, with a few metal Heroics figures. The scenario held up well but I tweaked it between the first and second games, mainly to simplify the map. I had got out of the habit of making maps for Blücher’s scale and on the first version I included secondary tracks and altogether too many building bases. The table was cleaner for games two and three. The orders of battle and reinforcement schedules remained the same for all three games. For game three I added traits to the two commanders, because it seems to encourage player engagement if their model general plays a distinct role in the battle. I made Vandamme inspiring (+1 die in combat) and Ostermann-Sacken heroic (has the Rally ability). From time to time when we play Blücher, somebody proposes a House rule, normally regarding the (in)ability of infantry to fire into or out of a built up area. Another recurring suggestion is to allow prepared infantry to fire a proportion of their elan out to their flanks. I’ve been happy to make house rules for various sets, especially Napoleon’s Battles, which acquired a mass of add-on rules over the decade or more that we played it. However, I still resist adding house rules to Blücher because it flows so well and the justification for most rules decisions is provided by the author. For example, his argument against firing into/out of BUAs is that this rule doesn’t mean musketry didn’t take place, just that at the concentration it occurred, neither garrison nor troops in the open would have suffered an appreciable drop in combat effectiveness. Infantry cannot shoot a garrison out of a town: it has to kick them out. And of course, combat in Blücher represents everything involved in an assault, including close range musketry. So anyway, as yet we have no house rules and I doubt we will ever add them. How the games playedI’m never sure how interested people are by blow-by-blow battle reports. But the differences between how the three games played were interesting. The first, which was a French victory, saw the French concentrating on the right wing and pouring a lot of effective skirmish fire into the Russians, who were all deployed forward along the stream between the two villages. The Russians had almost no units in reserve, which meant the French, with superior skirmishing ability, were able to grind them down before closing. When the French attacked across the stream, the already depleted Russians were easier to defeat.
In game two, a Russian win, the Russians deployed some way back from the stream line (except for garrisoning the two villages) and kept a big reserve that they sent forward sparingly. In this game the French ran out of time to take their objectives and found that the fresh units they needed to assault the villages were too far away to affect the final phase. The third game saw the French take both Straden and Priesten, but they were kicked out of both by Russian counter-attacks. Straden changed hands four times, ending up n Russian possession. I really like Blücher’s mechanics for fighting for BUAs. The initial fight to eject a garrison is tough but if/when it succeeds, a seesaw fight can follow as each side sends in fresh units to try to retake the BUA before the enemy occupying it can form into garrison. This chimes with accounts of village fighting being far more fluid than some rules make it, and where final possession often went to the side with the last formed reserves to send in. All three games were close. My notes to self after playing them include: don’t put all your units up front; reinforce when you have to but don’t expose units unnecessarily; cavalry can affect more enemy units when it is a threat than once it has charged a target; and remember that even winners take a loss in combat, so you can grind a strong enemy down by sending in a succession of assaults. Overall, this has been a fun scenario and I’d like to reuse it in a year or so. I have uploaded a new scenario for Blücher on the Napoleonic Scenarios Page, based on the first day of the battle of Kulm. It is a chance to deploy the Russian Guard who, while used in combat more frequently than the French Old Guard, are not often seen slogging it out in the front line. We are playing this scenario on 12 December with 6mm figures and a scale of 1BW to 2”. I will report on how it plays.
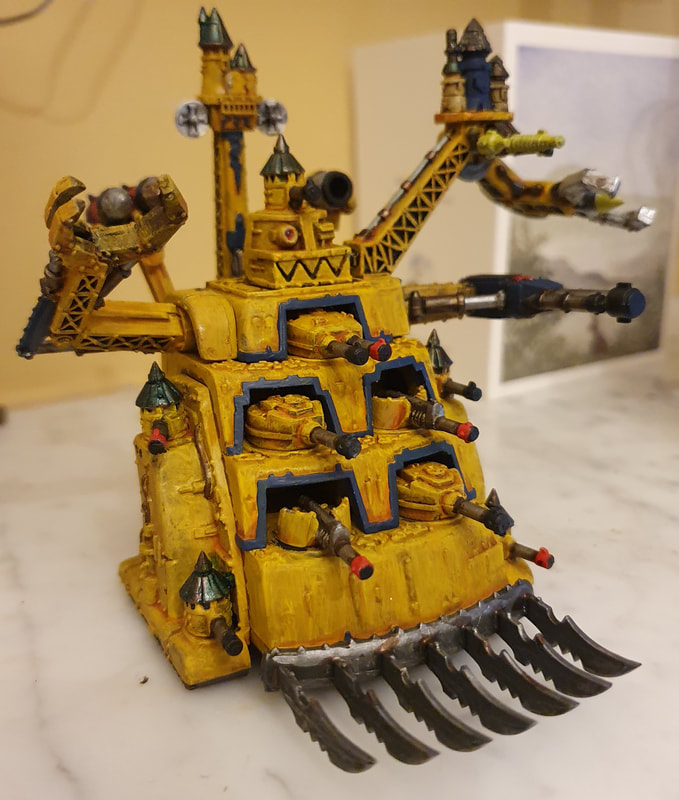
We are playing a game of Epic 40K (3rd edition) on Saturday, with armies of 5,600 points apiece. The notes below are for those players who want to put themselves into the story beforehand (I’m looking at you, Dan!). The scenario is adapted from the Rescue scenario in the Epic Battles Book. Background: the fair planet of ArcadiaAgri-world 966, known to its inhabitants as Arcadia, was already inhabited by primitive Orks when the Imperium first colonised it. The Ork population was small, unusually peaceable and concentrated in the remote western fringes of the main continent, which are unsuitable for human agriculture. After a half-hearted, expensive and unsuccessful campaign to eliminate the indigenous Orks, the planetary Governor decided to live and let live. The two races slowly learned to rub along together, with only the occasional spat in the Western Fringes, quickly suppressed by Imperial forces. This near harmonious coexistence ended centuries later when an Ork hulk crashed into the Western Fringes, bringing the mightily ambitious Bad Moon Warlord, Tamrine. Disgusted by the unwarlike traits of the native Orks, he decided to whip them into shape and then to wipe the Imperium off the face of the planet. Waagh! Tamrine was born. Lulled by generations of coexistence with the indigenous Orks, the Arcadian Planetary Governor was slow to recognise the danger posed by Waugh! Tamrine. She reckoned the latest Ork incursion could be dealt with by the Planetary Defece Forces, without seeking help from off-world. This proved a major miscalculation, as Waagh! Tamrine smashed through the Imperial defences and laid waste to thousands of square miles of Arcadian farmland. Realising her error, the Governor begged for assistance from the Sector Council, warning that her forces could not hold out for long unaided. Fortunately for Arcadia, the Sector Council was able to respond to the governor’s pleas, sending, first, a detachment of Imperial Fists and subsequently, a smaller detachment of Space Wolves to assist the PDF. These reinforcements arrived on Arcadia not a moment too soon. Scenario: The Battling Bastards of BastionAt the point our game begins, Waugh! Tamrine has driven deep into Imperial territory. In the chaos of the Arcadian retreat, Imperator Titan Tiberius, undergoing a refit at the settlement of Bastion, has been cut off by the Ork advance and is behind the front line. Tiberius is one of only two Imperator Titans on Arcadia and its loss is unthinkable. It is protected by a small detachment of Imperial Guard. Tamrine is as determined to take the Titan as the Imperium is desperate to recover it.
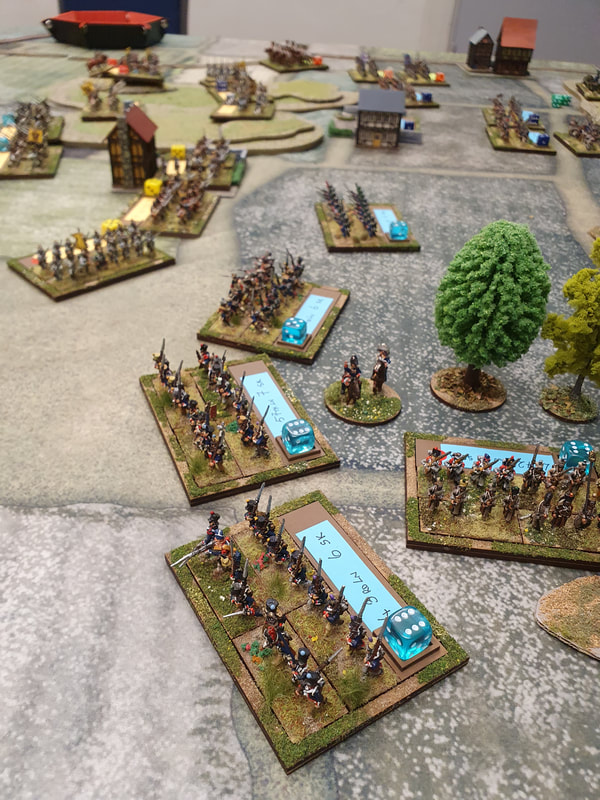
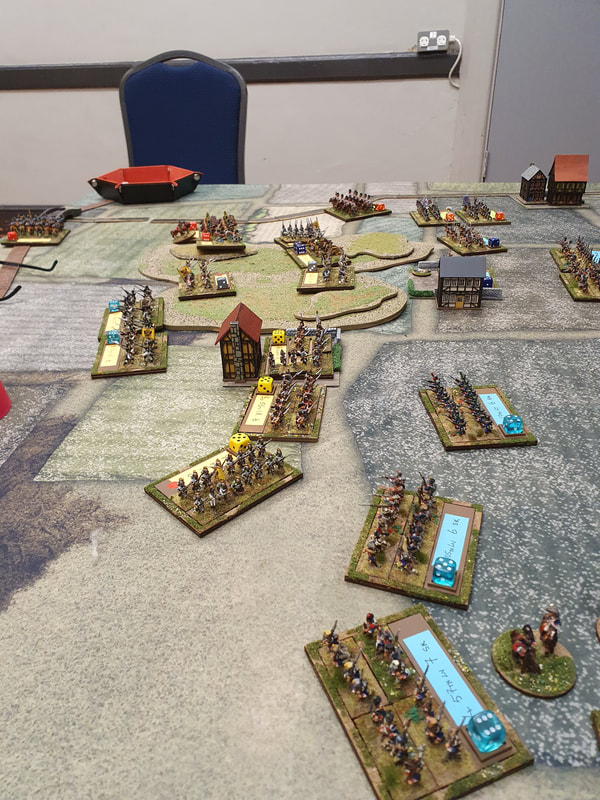
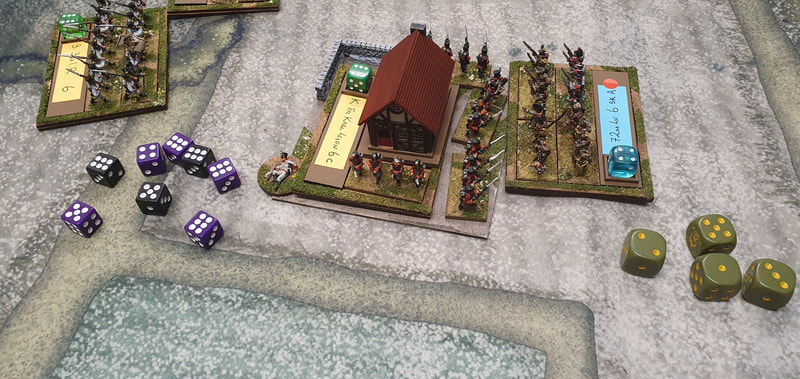
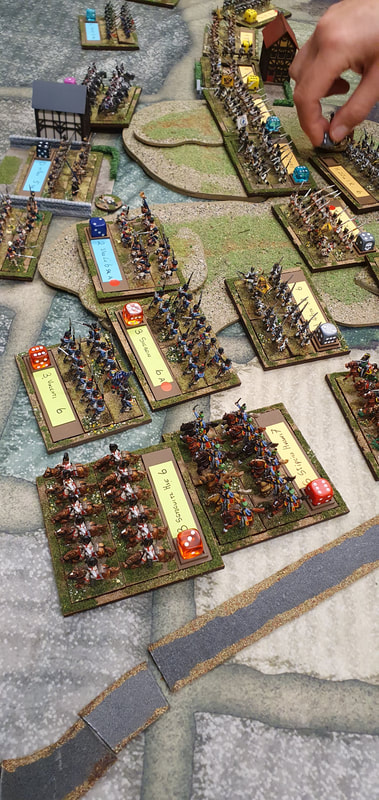
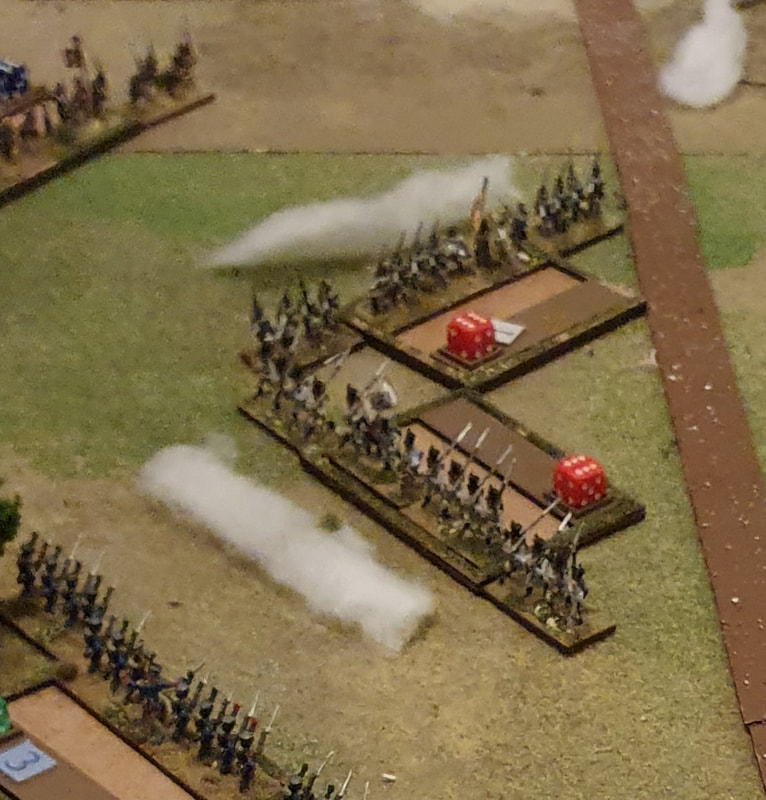
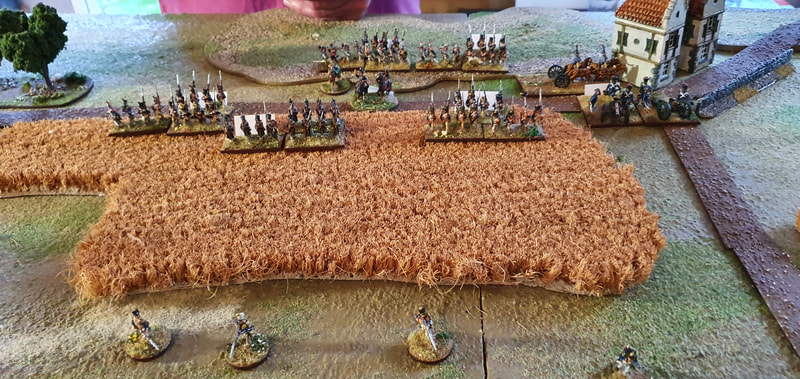
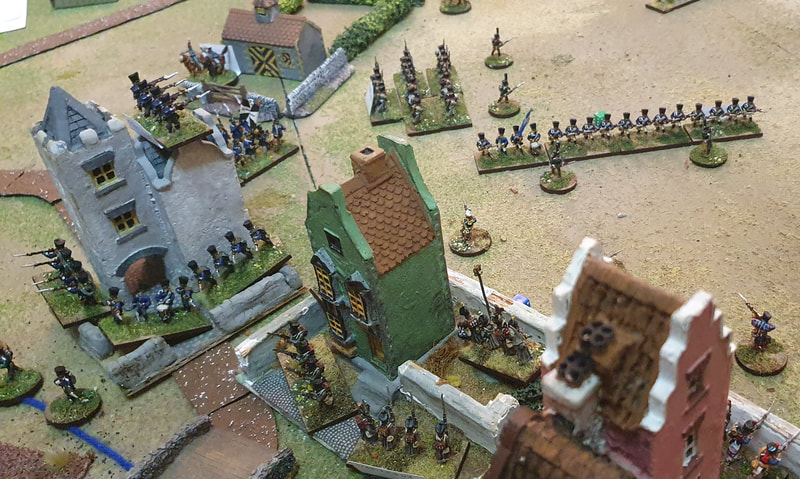
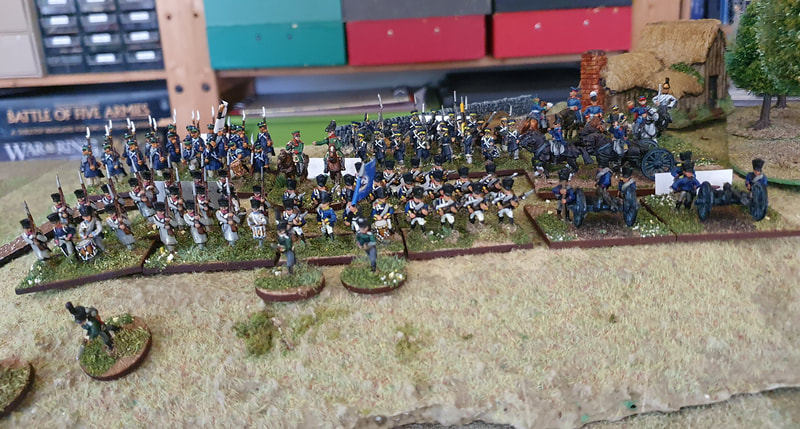
Tiberius is placed in the settlement of Bastion. Deploy up to 1,400 points of Imperial Guard detachments to protect it, within a 60cm square. The Orks then all deploy in an area 60cm deep, starting 60cm from the nearest defender of Bastion. Exception: up to 3 Ork detachments may begin off table. Place their HQs on any of the three table edges, level with the perimeter of the Imperial garrison. They will enter on turn 1. Finally, the Imperial players place HQs for the rest of the Imperial army on the short table edge furthest from the Titan. Every HQ must be placed within 15cm of the first HQ placed. Exception: up to 4 HQs may be placed anywhere along the table edge. The Imperial objective is to keep control of Titan Tiberius. The Ork objective is to capture or destroy it. Tiberius has enough power to operate its void shields but can neither move nor fire. Victory conditions. The side that controls the Titan at the end of turn 6 wins the game. Before then, if either side’s morale drops to zero, it loses immediately. The Orks may target the Titan but if they destroy it, they can only win by reducing Imperial morale to zero. On 10 September, my friend Keith came up from Devon to attend Colours at Newbury and then play a game of Soldiers of Napoleon. We played the Ligny scenario mentioned in my last blog post, on the Napoleonic scenarios page here. On 26 September, Dan, Spencer and I played the scenario again. They were both cracking games. Skip this bit if you already play SoNAs Soldiers of Napoleon (SoN) is still a new set, it might be worth summarising the way the rules work. The USP is the deck of cards, which regulate various aspects of play. The players start the turn with a hand of cards each, which they play alternately until both run out and the turn finishes. Each card can be played for one of three purposes: to issue orders to a variable number of units in one brigade; to rally all eligible units in a brigade; or to launch a special event. Of course, you can’t use a card for more than one purpose at a time so there are always tough choices to be made. Movement and shooting are both straightforward processes, in much the same mould as other Napoleonic rules. There are a couple of unusual orders that we really like: light cavalry can ‘harass’ enemy skirmishers, with the possible result that the skirmishers will fall back to rejoin their parent battalions. Heavy cavalry, meanwhile, can intimidate enemy by their very presence. I like it that your cavalry can influence the battle in more subtle ways than charging at the first target. The rally and stand removal mechanic is highly original and takes some getting used to. An important point to remember is that while every card has a Rally function, you can only rally troops of the quality levels specified on that card. Pretty much every card lets you rally elite and professional troops but very few cards allow you to rally militia. So if, like the Prussians in 1815, you have a lot of Landwehr militia in your army, make every card that can be used to rally militia count. Sadly, this will mean forgoing some neat special events and high digit orders, but your army will dissolve if you don’t rally your militia when you can. The Rally process involves different steps that it is important to follow in sequence. You can soak off disruption points in different ways including stand removal. While stand removal is seemingly voluntary, it is better to lose a stand or two in a rally action than to lose the whole unit at turn’s end because it had more disruption points than stands remaining. Anyway, we were both set up and ready to go. The First Game beginsIn game 1, Keith took Girard’s 7th Division, holding St Amand La Haye, while I led the Prussians, tasked with expelling Girard from the village. In Turn 1, the Prussians began with two special events, both to boost their artillery: one round of off-table grand battery fire and a card that allowed all on-table artillery to fire. Neither made much difference, to my deep annoyance. The Prussians advanced on both wings, towards St Amand La Haye in the East and through Wagnelée towards Le Hameau in the West. In front of Le Hameau, the French focussed artillery and skirmish fire on one Landwehr battalion, nearly bringing it to break point in one turn but fortunately, I had a rally card that included militia so avoided a rout, at the cost of a lost stand. In the East, the Prussian advance got off to a slow start but by turn 2 I was ready to charge St Amand La Haye. Or not. The 28th Line, ordered into the village, declined to advance so fired an ineffectual volley instead. I hate/love the Charge mechanic! In retrospect, that might have been the time to use a Command Point for a discipline test reroll. So turn 2 ended with no serious combat in the East and some enterprising French skirmishing and artillery bombardment in the West. At this point, we called time for food and drink. Phase 2 of the game saw a change to solo play as Keith was sent back to Devon. The two sides were now in striking range and each made aggressive moves on their left. In the West, helped by the arrival of their reserves, the French stopped the Prussian right dead and pushed it onto the defensive. In the East, the Prussians tried again to assaut St Amand La Haye and this time, at least they managed to charge home. However, the first combat went against them. The Prussians regrouped and the second assault pushed one French battalion out of the village. The French lacked reserves on the right so transferred two battalions from the left to try and retake the lost sector of St Amand la Haye, which they successfully did. All the while, victory points were accumulating as both sides had to shore up crumbling units. At the end of turn 4, French VPs exceeded the Prussian morale total so Girard won the day. I don’t play solo games that often but enjoyed playing this through to a conclusion. The Second GameIn the second game, Spencer took the French while Dan and I shared the Prussians (Dan on the left, me on the right). To cut a long story short, the Prussians attacked St Amand La Haye from two sides and after shooting up a seasoned French Line battalion, they got a battalion into St Amand La Haye and managed to hold on there. The French left came out swinging to try and disrupt the Prussians right, but rolled some very unlucky dice and stalled in the Standing crops. On the French right, a lone battalion charged and roughed up some Landwehr and French skirmishers caused a ot of disruption, but when it mattered, French dice rolls were particularly unlucky. Dan meanwhile ground steadily forward, his men watched by Blücher himself. French morale broke at the end of turn 4. At this point French reinforcements were just arriving on the table, too late, alas, to alter the outcome. Post-Match AnalysisThese were two very entertaining games. The rules flow easily and both battles ‘felt right’. We especially like the skirmishing rules, which, for me, are way better than the bucket of dice palaver used in Lasalle 2. The choices players face are constantly challenging: is this card more valuable for its order value, for its special event or for the troop qualities it can rally? It will take a few more games to be sure but my evolving feeling is that special events should be used sparingly, however much fun they seem. This is particularly true for the attacking side. By all means play a special bombardment event before charging in but every card played for its special event is one card fewer for moving units towards the enemy. Also, make sure you hang on to the rally card that covers the troop qualities in your army. The Prussians in this scenario have 4 Landwehr units who can quickly get into trouble if you don’t have a rally card that covers their militia quality.
In the Facebook Soldiers of… Group, somebody wondered if small units would survive for long on the table against much larger opponents. This scenario has a number of 3-stand French battalions and overall, the Prussian battalions are significantly larger than their French opponents. We certainly found that the smaller French units held their own well. Unit size is of course a factor, but so are troop quality, skirmish ability and formation. I was impressed in the second battle by how quickly the game played. We had all got our heads around the mechanics by then so we rattled through each turn. In truth, the movement, firing and melee mechanics are very straightforward and logical. The challenges in these rules derive from the card play, not from long lists of dice modifiers. This is as it should be. I have no niggles with these rules. There are however a couple of unit stats in the rulebook that I am not sure about. For example, in the Army lists Prussian Foot artillery is only allowed to be 12 pounders, whereas in reality the majority of Prussian field foot batteries were 6 pounders. This might even be a typo I guess, and it’s no hardship to ignore the lists and give the Prussian foot batteries 6 pounders. I am also tempted to revisit the stats for Prussian Landwehr, some of whom were, by 1815, veteran units with fearsome reputations. We needn’t go overboard here but it may be fitting to increase the quality of Landwehr from the older Prussian provinces (and hence recruited first) from Militia to Trained. This small shift would make quite a difference to the staying power of a Silesian Landwehr battalion. Finally, the scenario worked well, though I tweaked the objectives for Prussia between games 1 and 2 to make St Amand la Haye more important (they were given the Take a Strongpoint objective, but only redeemable in that village). Overall, I am delighted with these rules and I look forward to the first supplement. |
Archives
November 2023
Categories
All
|


 RSS Feed