|
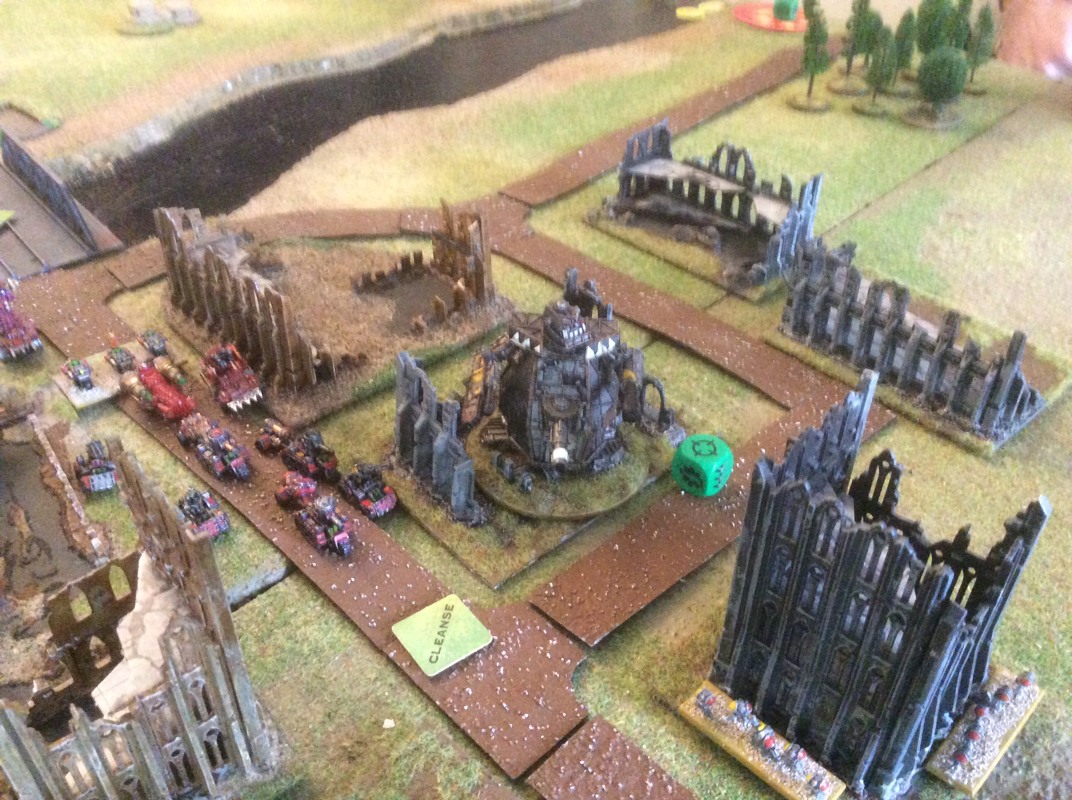
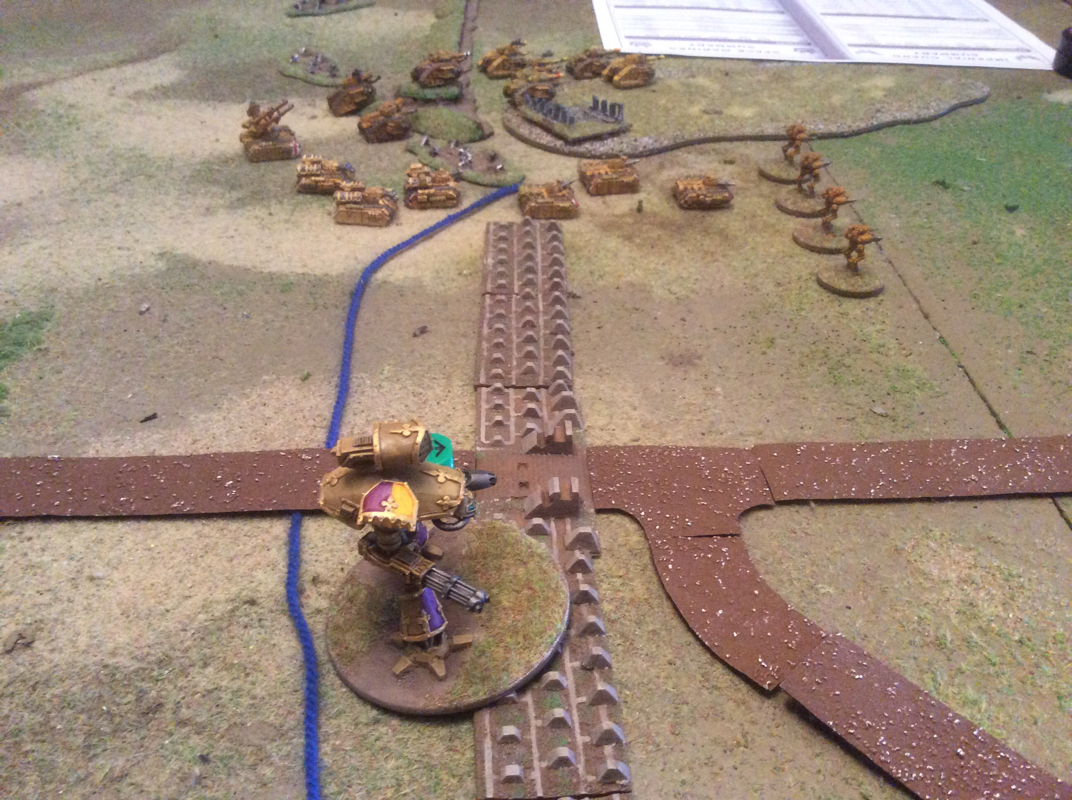
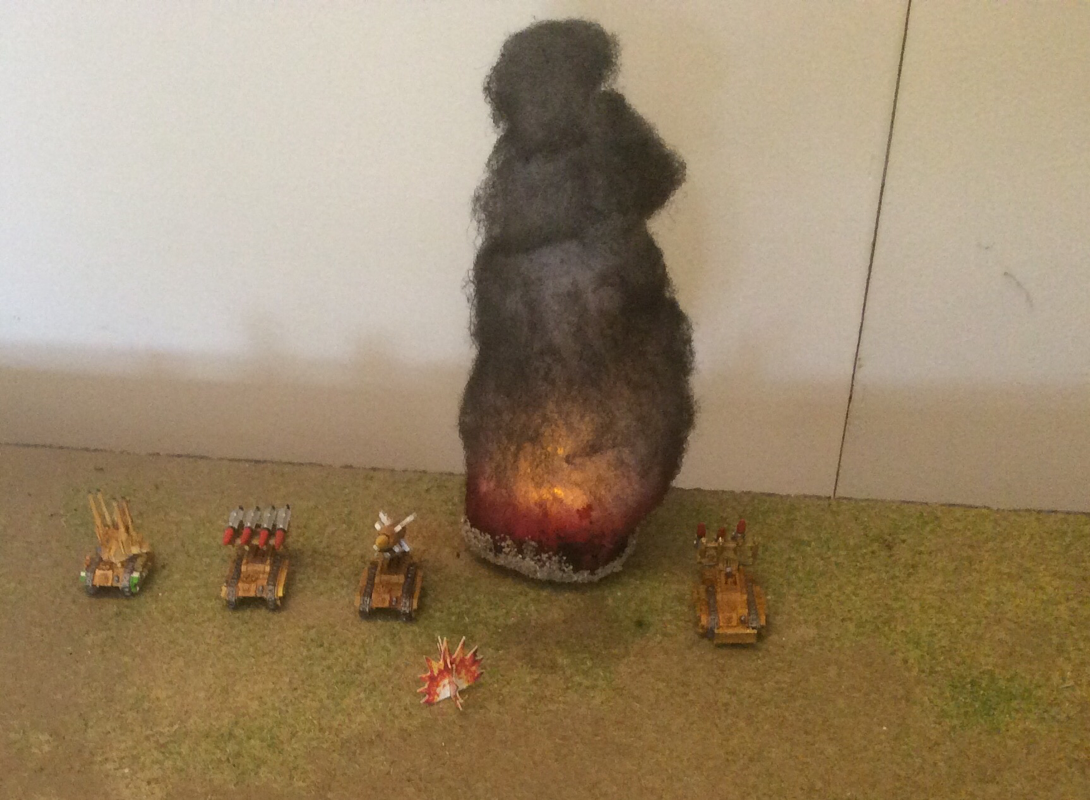
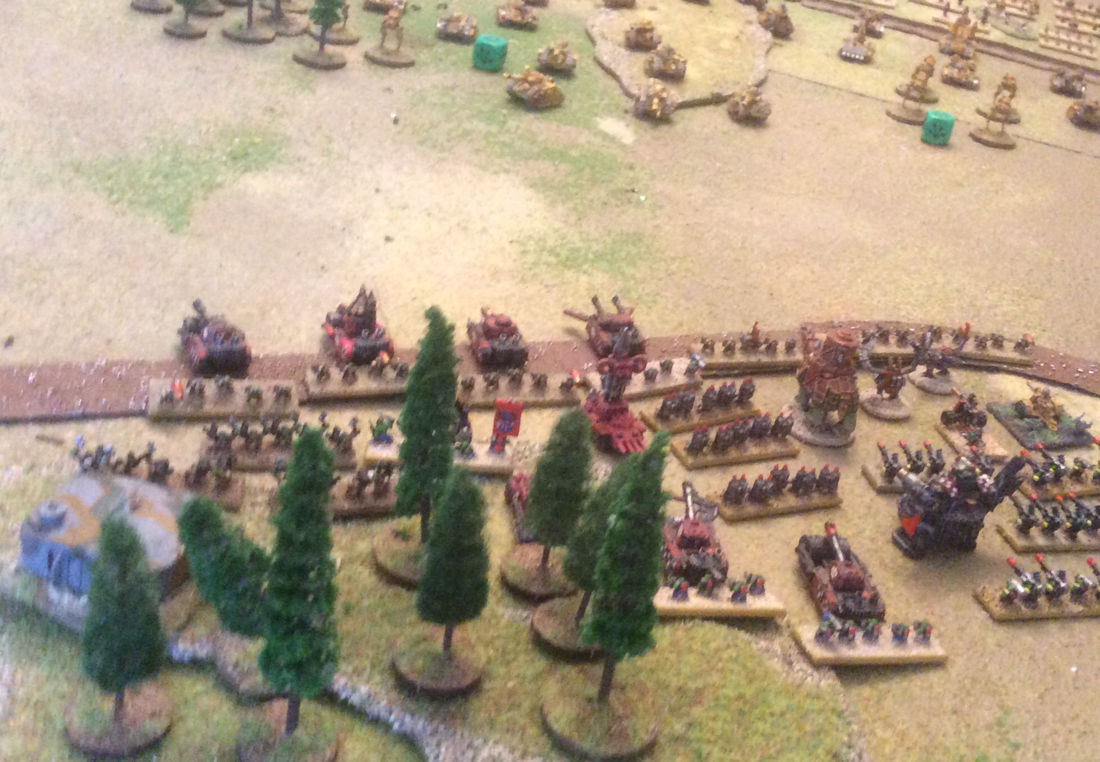
Yesterday we played an Epic 40k game, very loosely based on Operation Market Garden. Nick and Matt led the Orks; Ian commanded the Imperial Guard ground forces and I combined scenario management with leading the Space Wolves force, air-landed to take and hold the Bridge over the river Grime. We had around 4000 points a side. The player briefing was in my last blog. Turn one The Space Wolf detachment landed on open ground north of the river. An Ork Gargant began in the Imperial ruins north of the river, while a Kult of Speed set up just south of it. On turn one, nearly half the Imperial army arrived on the South table edge. The Orks decided to concentrate on wiping out the Space Wolves, so left the Imperial advance unopposed. Morale levels at end of turn I: 88 O: 103 Turn two The Imperials marched up the field while three Ork detachments arrived from the flanks. Imperial siege artillery and armour took out a great many Orks from Zeke'z Army. Using a Fate card, the Orks brought in an orbital barrage against the Imperial siege guns. The Space Wolves were obliterated north of the river. I: 76 O: 90 Turn three More Ork reinforcements arrived on the field and started to form a defensive line north of the river. An imperial deathstrike missile hit the Gargant, causing massive damage: the Gargant just survived the turn with three damage points left, three onboard fires and only one weapon unbroken. Two Ork detachments were taken below half strength, but with all objectives still in their possession, their morale stayed pretty resilient. I: 76 O: 76 Turn four The Ork line solidified north of the river. The Reaver Titan finished off the damaged Gargant. Ork assaults went in on both flanks: Alarik's Ardboyz, led by Alarik on a Boar, obliterated the Catachan armoured detachment in the East, while Zeke'z Army assaulted but bounced off the Fighting 207th. I: 63 O: 69 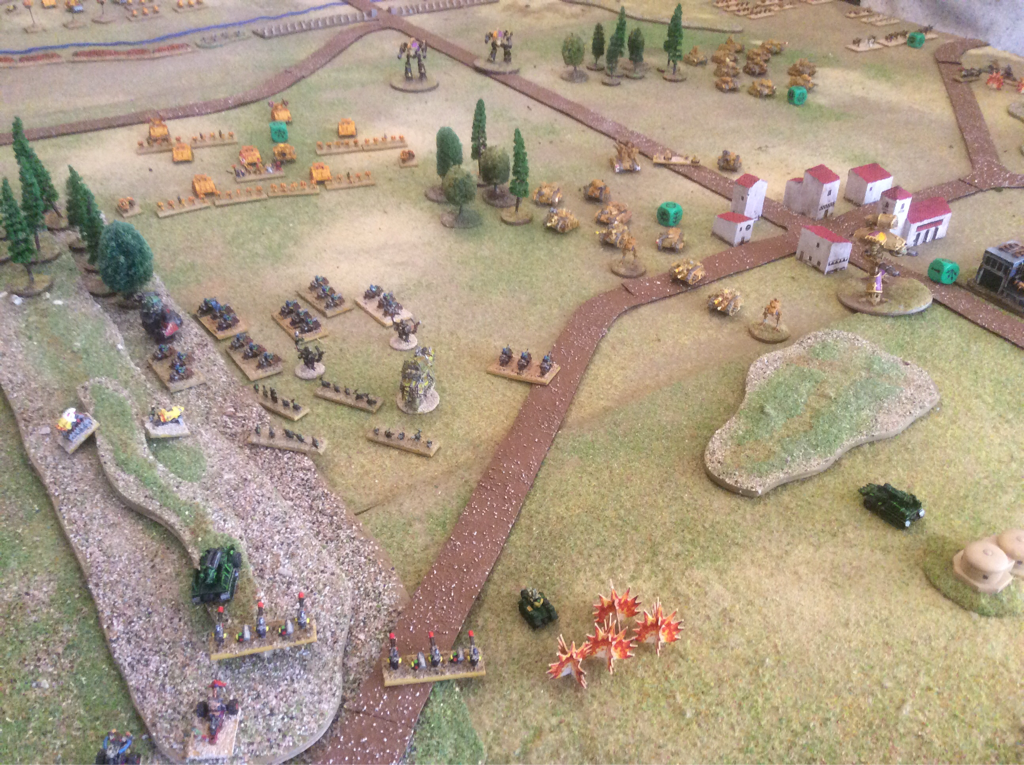 Turn five The Great Gargant and Mega Gargant arrived at the North table edge (to their frustration as it meant a long walk). Meanwhile three flights of fighta Bommaz appeared on the horizon and nearly wiped out a marching Detachment of Imperial armour. Zeke'z Army managed to stay alive for another turn. Alarik's Ardboyz with their boarboyz spearhead assaulted and broke another Imperial armour detachment. I: 41 O: 63 Turn six Alarik and his boars suffered heavy damage from advancing Space Marines but heroically charged a Warhound Titan, who promptly squished them. Thus passed the mighty Alarik. The Orks on the north bank of the Grime started to crossed the bridge to engage the Reaver, surrounding it on three sides. Four detachments broke down its shields then a detachment of battle fortresses destroyed it. One reactor meltdown later and the Reaver was no more. On the Western flank, Zeke and the not-so-fighting 207th both failed to remove a single blast marker, so stalemate fell over that part of the field. The mega Gargant fired a krooz missul into the Imperial siege artillery and took out a manticore and a hydra. Imperial morale took a serious tumble this turn. I: 25 O: 55 Turn seven The Imperial Fists closed up to the river, while the Great Gargant waded into the water intent on making its mark. Three squadrons of fighta bommaz smacked the Imperials in the West; both great and mega Gargant let rip their armaments and both Warhounds ceased to exist. A second Krooz missul took the Imperial siege artillery below half strength and by turn's end, imperial morale went into the negative. The I: -3 O: 48 Post mortem Until turn five, the game seemed well balanced. However, the outcome was already becoming inevitable. The Imperials did have some poor reinforcement rolls that delayed the arrival of two big artillery detachments, the Imperial Fists and the Warhounds. Their advance fell into successive waves, which the Orks were able to contain one after the other. Perhaps the most significant decision of the game was in turn one when the Orks ignored the southern front to concentrate on crushing the Space Wolves north of the bridge. The removal of this threat cleaned up the Ork front and made passage over the bridge easy. Obliged to cover ground fast, the Imperials used a lot of March orders and when Ork air power turned up, this proved lethal to the marching Imperial armour. I hope it was some compensation for the Imperials that the outcome in our game mirrored the outcome of Market Garden. Even with more strength coming up the road, the Imperials would be obliged to halt south of the river. The day flew by and the game was great fun. As the forces on the table multiplied, it looked pretty impressive too. Hats off to Matt and Nick, and commiserations to Ian, who may have felt a little puzzled that despite being on his side, I seemed to take as much pleasure in the outcome as the Ork players. Of course I'd rather we had won, but I was delighted that the scenario had given a tense game and arresting spectacle. What will inspire us next? The Bulge maybe? 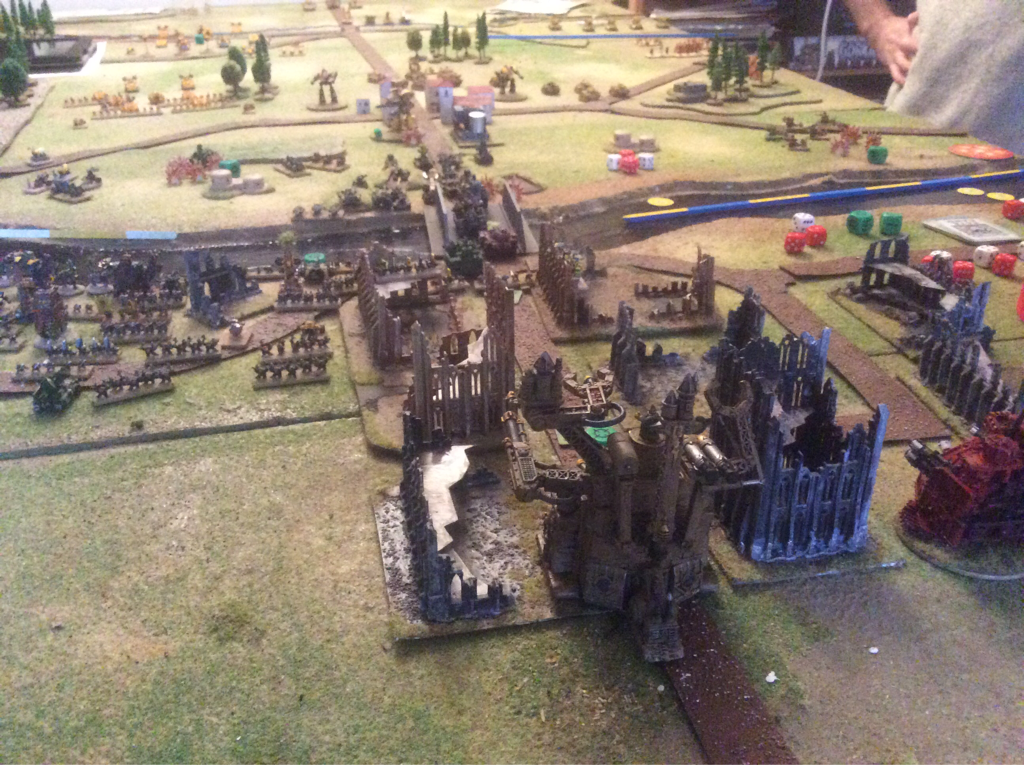
2 Comments
Uzrug Slasha
9/10/2016 05:35:29 pm
"...hold the Bridge over the river Grime."
Tim S
9/10/2016 06:11:57 pm
Thanks! For this game we used the 1997 Epic 40k set that came in a boxed set. It is less complicated than NetEpic or EpicEA but with the numbers involved we thought it best to go with the simpler rules this time. For smaller games I play EA. Leave a Reply. |
Archives
November 2023
Categories
All
|


 RSS Feed