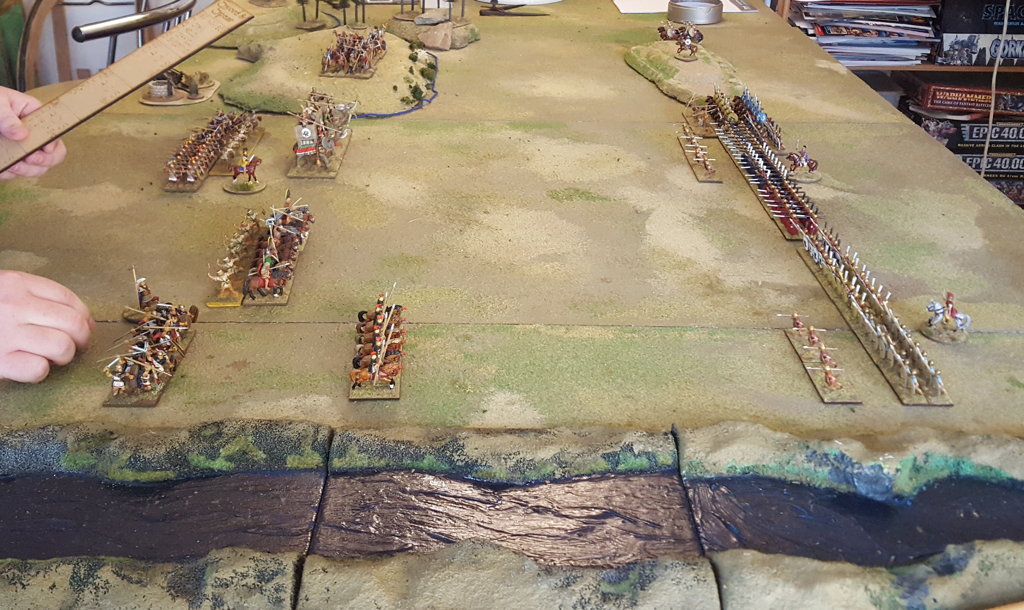
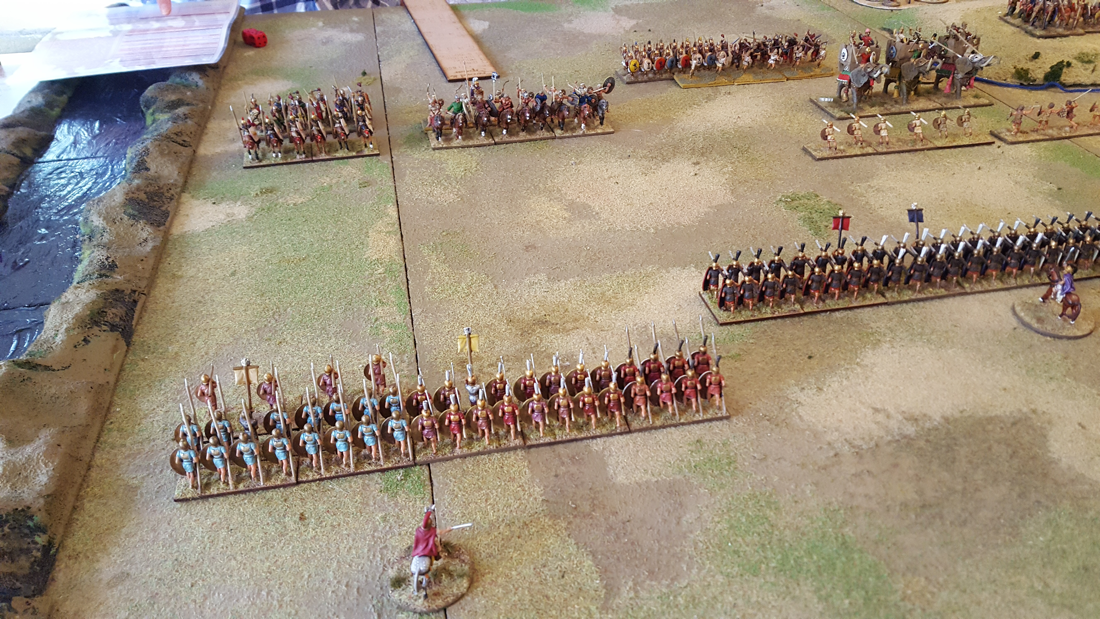
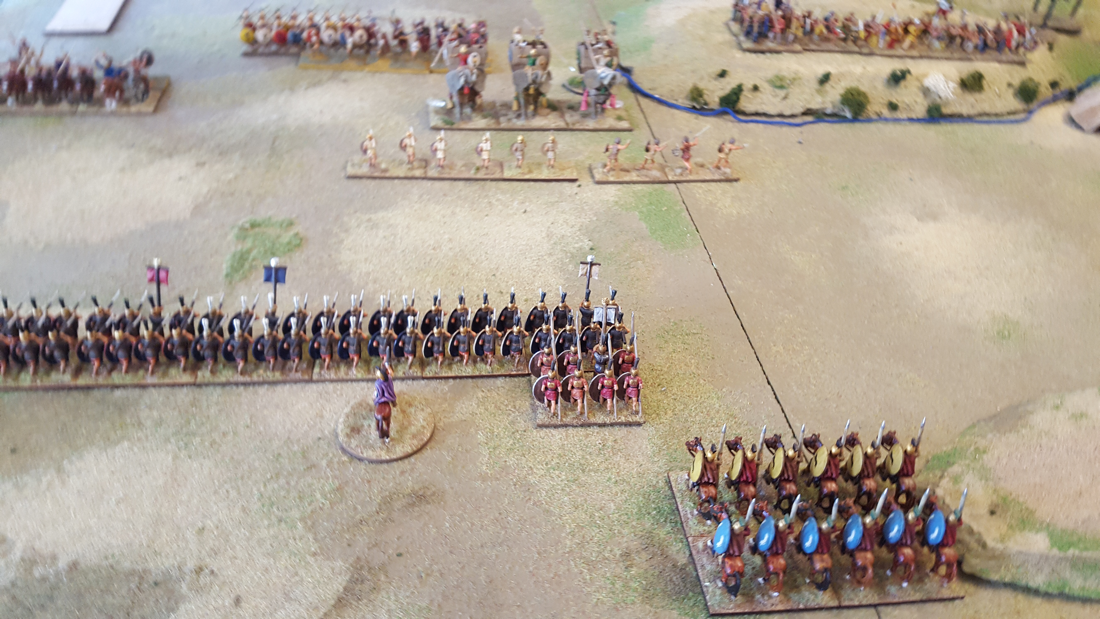
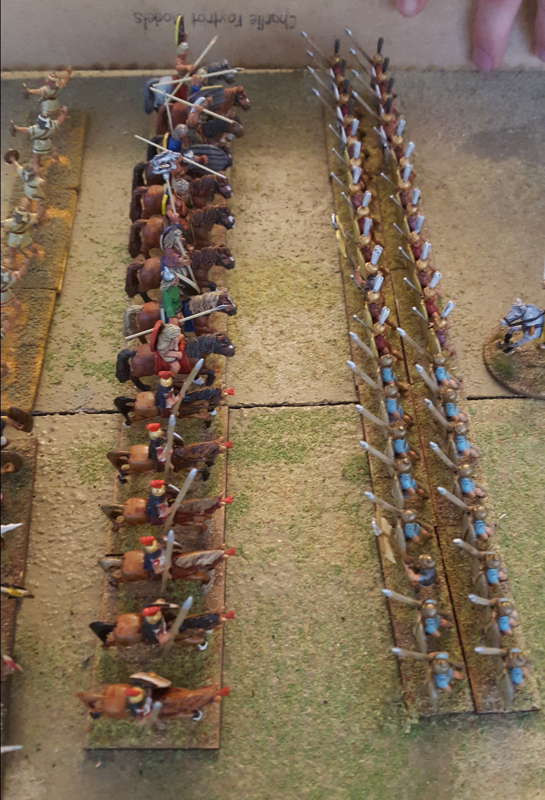
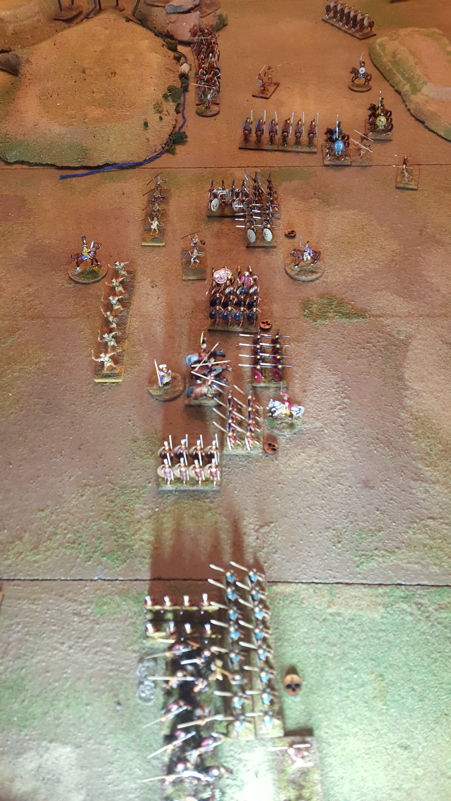
 Hamilcar on the left, Nero and Salinator on the right Gaming the Metaurus My previous blog post explained how we created an ADLG scenario for the battle of the Metaurus. This post tells you how the game went. Ben took the role of Hamilcar and Matt commanded the Romans. Ben followed Hamilcar’s deployment, putting his Gauls on the high ground protected by a strip of difficult terrain. He put his elephants in the centre, with Spanish and African foot behind them, and his cavalry on the right, supported by two more stands of Spanish foot. Matt deployed one infantry command on his left, the other in the centre and his cavalry on his right. Phase one of the game saw Ben’s elephants crash into Matt ‘s centre and pretty much slide off. We had expected them to be destroyed while disrupting the Roman centre but they barely made a dent. Matt’s dice rolling was consistently luckier than Ben’s, setting the pattern for the evening. On the Carthaginian left the Gauls and Roman cavalry looked at each other, while by the river, Ben’s cavalry advanced on Matt’s infantry but wisely chose not to attack. 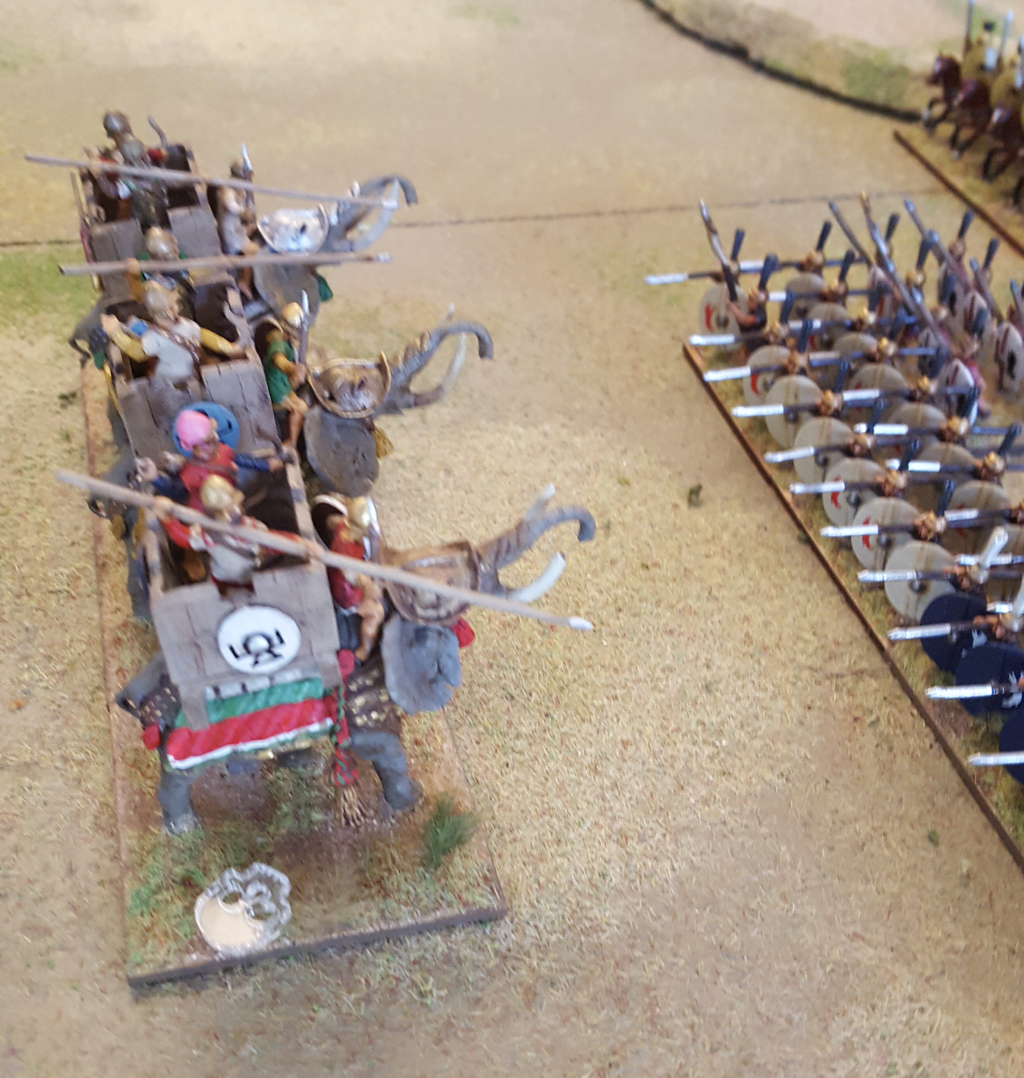 The elephants looked imposing but melted fast In Phase two the two centres came to blows. Ben’s troops fought rather better than their elephants had done and the fight was quite balanced. Meanwhile a couple of stands of Gauls came off the high ground, to be mauled by Matt’s cavalry. Then, Ben decided to launch his cavalry at Matt’s unruffled left wing. Matt again rolled some lucky dice but he also had the edge in modifiers all along this combat. Ben lost several stands in one combat phase, taking him perilously close to break point. In the final phase the rest of Ben’s Gauls came down from the high ground, too late to have an effect on the battle. His cavalry nearly all routed and his centre started to crumble, mainly because his Spanish MI were less resilient. The game then ended as Ben’s morale losses hit 26. At that point Matt’s losses were only 9 points, of which only 4 were due to units routing. Measuring up to the history
According to the generally accepted account of the battle the Carthaginians deployed pretty much as Ben did in our game. The Romans on the other hand placed their cavalry by the river, Salinator in the centre and Nero on the right. Phase one of the battle saw the Carthaginian elephants attacking in the centre, with similar unimpressive results to what happened in the game. On the left the cavalry wings clashed and the Romans began to push the Carthaginians back. The infantry in the centre then closed, with neither side gaining the advantage. On the right Nero soon abandoned any intention to charge the Gauls, who were too well positioned on the high ground. He then marched his wing around the rear of the Roman line to the left and assaulted the Carthaginian centre in its right flank. With this, Hamilcar’s army collapsed and he spurred his horse into the melee. The first Hannibal knew of the defeat was when his brother’s severed head was catapulted into his camp. The big difference in our game was of course Matt ‘s deployment of infantry on his left and cavalry on the right. This made Nero’s manoeuvre impossible. I could, I guess, have imposed historical deployment on both sides but would argue that the more restrictive the setup, the less satisfying the game. To be frank, I was surprised by Matt ‘s deployment and wondered at the outset if he was squandering his cavalry by placing it facing the Gallic Hill. As things turned out, I couldn’t argue with his emphatic victory so what do I know? Nevertheless his cavalry played only a bit part in that victory. I think he was helped by Ben’s decision to charge Roman heavy swordsmen with medium cavalry, rather perhaps than to shift this cavalry to face the Roman horse. In the last turn Ben had to take a survival roll for his C in C when the unit he was with routed. He passed it, so at least our Hamilcar kept his head
0 Comments
Leave a Reply. |
Archives
November 2023
Categories
All
|
 RSS Feed