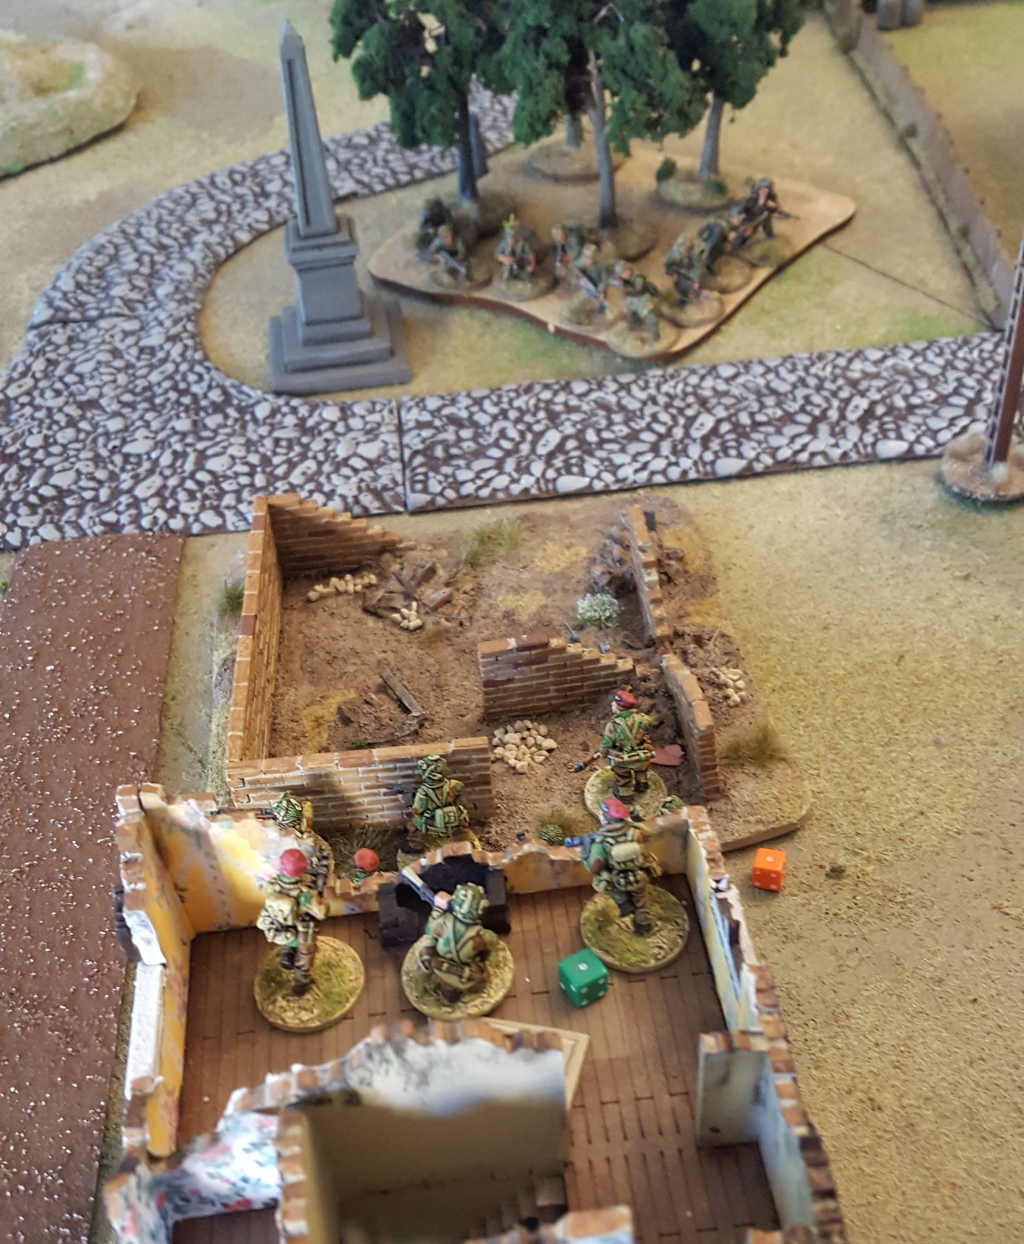
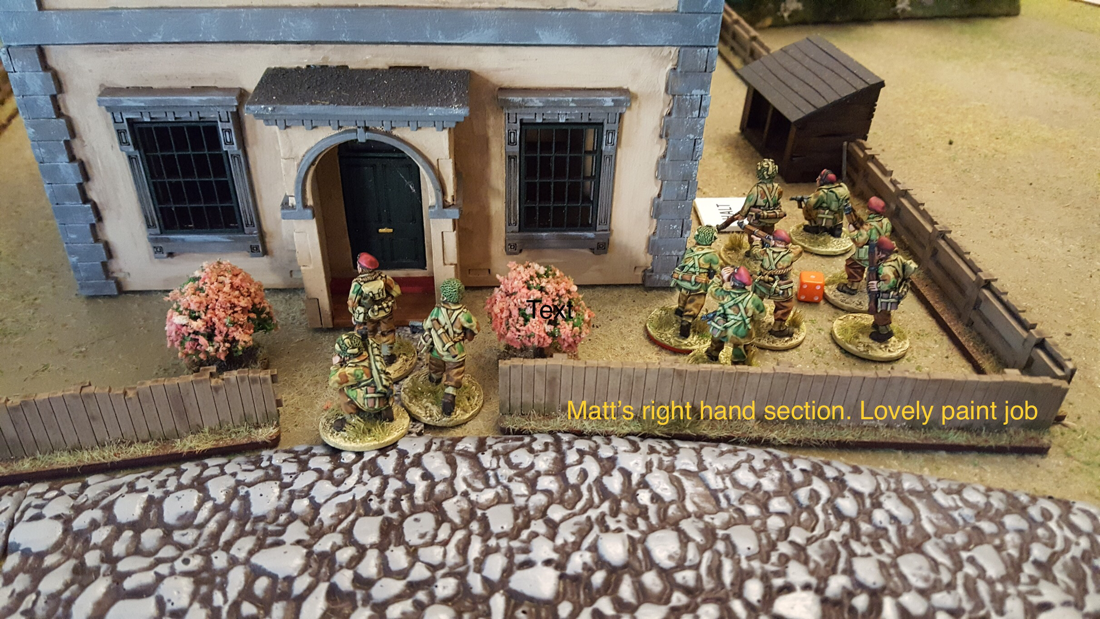
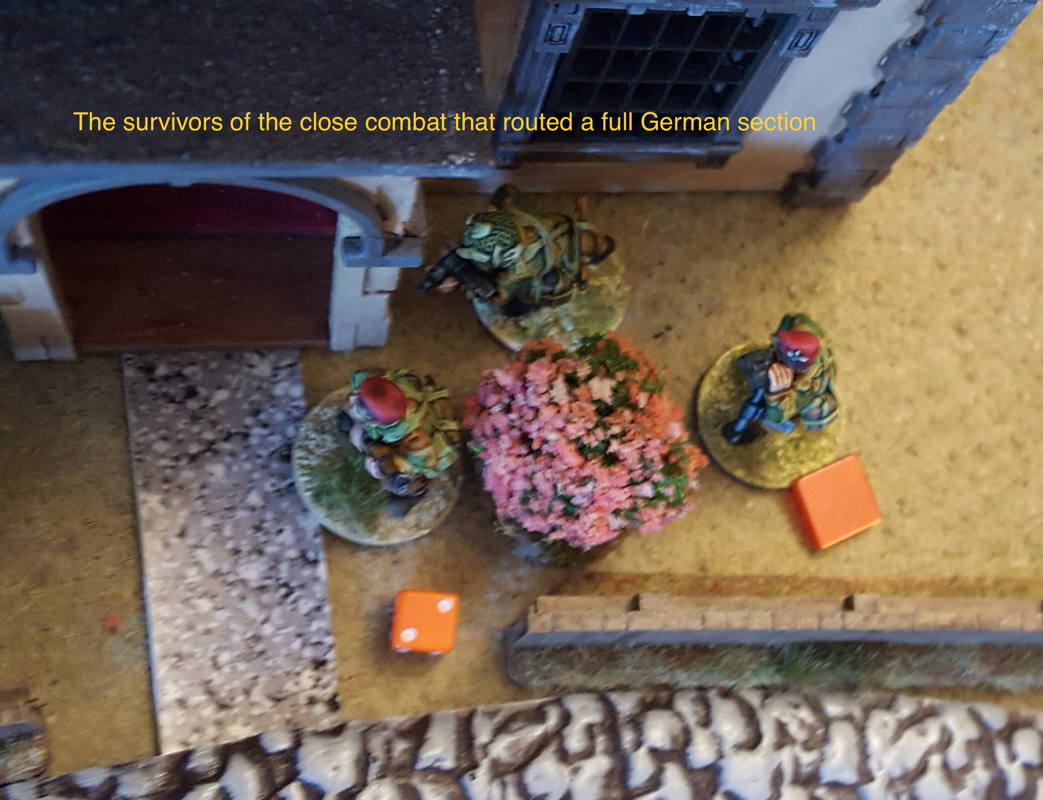
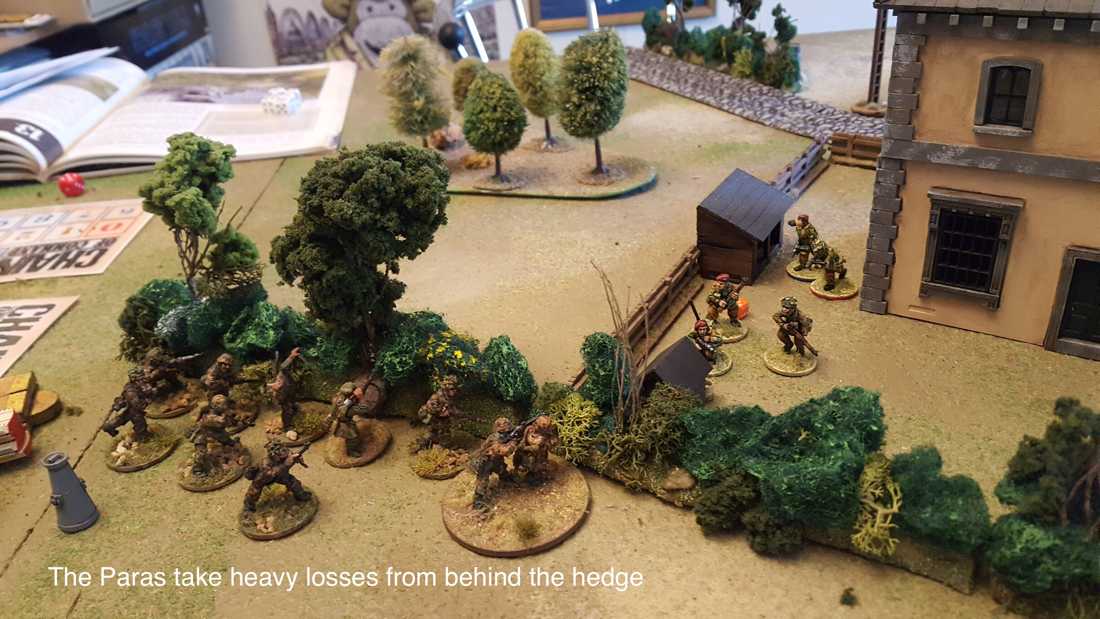
 On Wednesday evening I played my second game of Chain of Command, arranged by Spencer. I took a German platoon with an extra section and HMG, plus a STUG to introduce the vehicle rules. Spencer took a platoon of British airborne, together with a Sherman and a flamethrower. Let’s get it out of the way quickly: I was pulverised. We played a patrol scenario and both came on in the same table third (my left, Spencer’s right), which had a big house around the half way line. We ended up with jump off points quite close to and either side of this house and it was the scene of an interesting sequence of events. Spencer deployed first and placed one section behind the house, one in a hard cover ruin in the centre of the table and one behind the ruin, ready to swing round to his left. I deployed a section behind hedgerow on my left, a second further along the same hedge nearer the centre, a third in woods close to Spencer’s section in hard cover (what was I thinking?) and the fourth behind a Hill on my right. On his right, Spencer advanced his right hand section along with a senior leader, aiming to knock out my left jump point. I met him with fire from behind the hedgerow and from a fence behind his left flank.This took out several Paras and he decided to withdraw behind the house. Thinking I would go for a wipeout, I sent a full strength section into close combat with his five (count them) surviving men. Well! That was quite a way to find out how tough elite infantry with stens and a senior leader can be. Spencer had many more dice to roll than I. My section lost six men and routed back to their starting hedge line, while Spencer lost only two. His depleted section took no further part in the game but they didn’t need to as they had done their work. 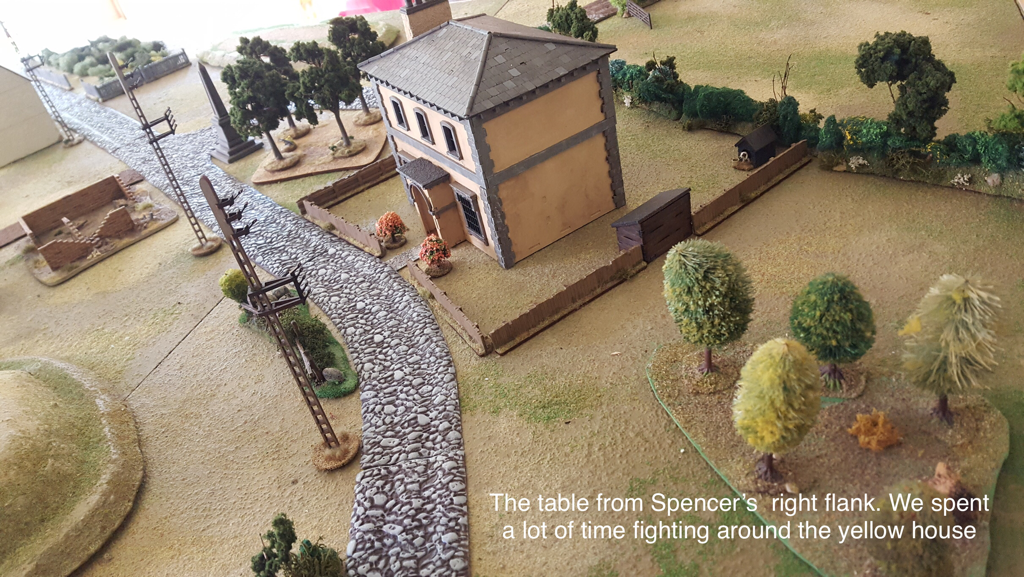 In the centre my third section in the woods fought an unequal duel with Spencer’s middle section in hard cover. I had thought my MG42 with its extra dice would partly counter their cover advantage but when that combined with elites being harder to hit, I was heading for a sticky end. On Spencer’s left I think we both took some odd decisions. His left hand section legged it towards my right flank, then ran back almost the way it had come, intending to assault my section in the woods. They stopped short in the open and got shot up good. My right hand section, meanwhile, deployed behind a hill that lacked any cover and started out to meet Spencer’s flanking section, but when Spencer turned this unit around, mine jumped up on the hill and helped to shoot it up. Next to appear were our respective AFVs. Neither made a huge impact on the game although each helped to whittle down enemy numbers. In Force morale terms, Spencer made early gains through his brutally successful hand to hand defence, reducing my morale further as he broke my guys in the woods. I made some counter gains by beating up the section he had sent to his left then brought back again, but Spencer used a chain of Command die to end the turn and two of my routed sections left the table. In the final stage he deployed a flamethrower who fried my third section then engulfed my senior leader in flame, taking my force morale to zero. Game over. Lessons for the next game? Regulars won’t win a firefight with elite troops in hard cover. Don’t even think of close assaulting elites as you’ll get stomped. Before you place a unit, think about the avenues open to it after deployment: beware dead ends. Also (and I did know this but it’s easy to forget) you don’t have to mirror your opponent’s deployment. My right hand section was wasted for most of the game and could have been more useful reinforcing the hedgerow line on my left. Finally, think more about the mechanics of the patrol phase and remember the jump off point will be some distance behind the patrol markers once these have been locked down. The game was great fun and looked good. In particular, Spencer’s Paras were beautifully painted. I’m looking forward to the next one. 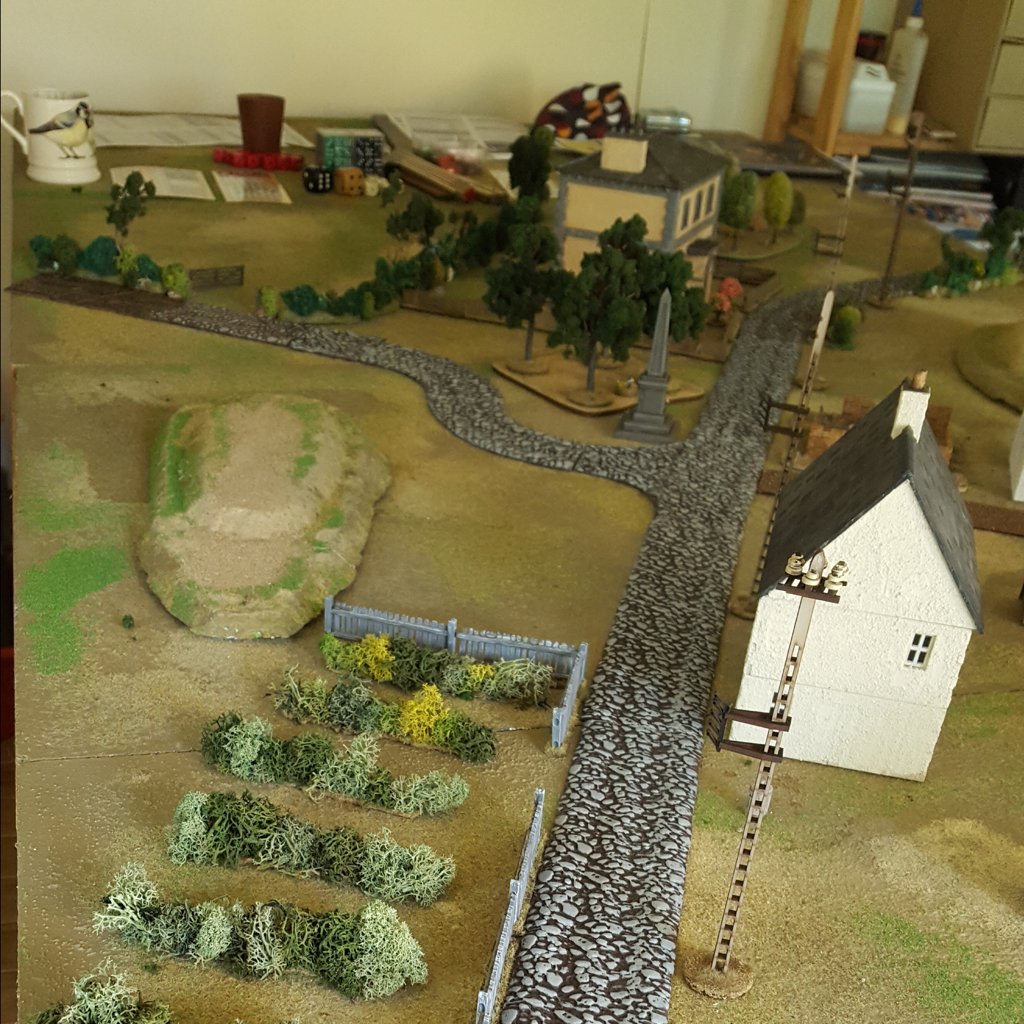
4 Comments
Tim
8/7/2019 06:45:18 am
Thanks John. There’s a lot to take in!
Jonathan Carruthers
6/7/2019 06:01:41 pm
Great write up, do you have the force lists?
Tim
8/7/2019 06:44:13 am
The German Heer had a senior leader and Panzerschrek, four regular ten man sections, a tripod MG42, a sniper team and a STUG G. The Paras had two senior leaders, three elite ten man sections, a sniper team, a flamethrower and a Sherman M4. Leave a Reply. |
Archives
November 2023
Categories
All
|
 RSS Feed