Game reportThis post completes the story of our refight of Waterloo, played in 2015.  Deployment, made easy by Honour Games' '100 Days' cards Special house rule: garrisons for strongpointsI have a lot of skirmisher bases from Volley & Bayonet days, mounted on 1.5" squares. The Allies were allowed to use these to garrison La Haye Sainte and Hougoumont if they wished. A small base began with up to 3 élan points, subtracted from a parent unit. It would benefit from the attributes of its parent brigade as well as the usual urban area benefits (+2 for it, -1 for the attacker). In the Allied turn, a friendly brigade within 3" and unengaged may reinforce the garrison by transferring élan points to it, reducing its own élan accordingly. However the most élan points that may garrison either strongpoint at any one time is 3. I prepared similar markers for the French in case they took either strongpoint and wished to garrison it.  1st French Corps advances in the West Player briefingsEach side had three players. They selected cards to determine side and whether CinC or subordinate. The briefing notes for Napoleon and Wellington are below. "Napoleon Your army is all present on table. You will set up second, on the ridge of La Belle Alliance including, if you wish, the spur east of La Haye Sainte. Your objective is to open the road to Brussels and knock Wellington out of the war. You have two subordinate players, to each of whom you should allocate an infantry corps. You may also allocate other formations to these players although you may retain as many of these formations under direct control as you wish. Each of you should deploy your forces in accordance with your instructions as CinC. During the battle you may devolve control of any formation to a subordinate, but with a one turn delay: they may only move the added formation the turn after you allocate it to them. On the other hand, you may take direct control of any units of any formation yourself, immediately and without consulting your colleagues. In the early hours you heard from Grouchy that he is before Wavre. This means he is unlikely to reinforce you today, as to do so he would have to pass through the Prussians. However if he presses his advance this morning as you have ordered him to, he should at least prevent the Prussians from reinforcing Wellington." "Wellington You will set up first. Your objective is to stop the French from advancing on Brussels and to hold on until help arrives from Blucher. Your army may deploy anywhere on table, no further South than the two strongpoints. You have two subordinates, to whom you should allocate at least two infantry divisions apiece and as many as you wish. You may also retain direct control of a reserve. During the battle you may devolve control of any formation to a subordinate, but with a one turn delay: they may only move the added formation the turn after you allocate it to them. On the other hand, you may take direct control of any units of any formation yourself, immediately and without consulting your colleagues." I admit the instructions on allocating troops to subordinates don't match the historical command structure but this is a game after all and I wanted everyone to have a satisfying command. Keith, our eighth participant and seventh player agreed to help as umpire from the start and to take on the role of any reinforcing commander (of either nationality) if and when they arrived on the field. He was reconciled to the possibility that he might not arrive at all but he is a natural umpire who genuinely enjoys the job. He was also the only other person who had played Blucher before. 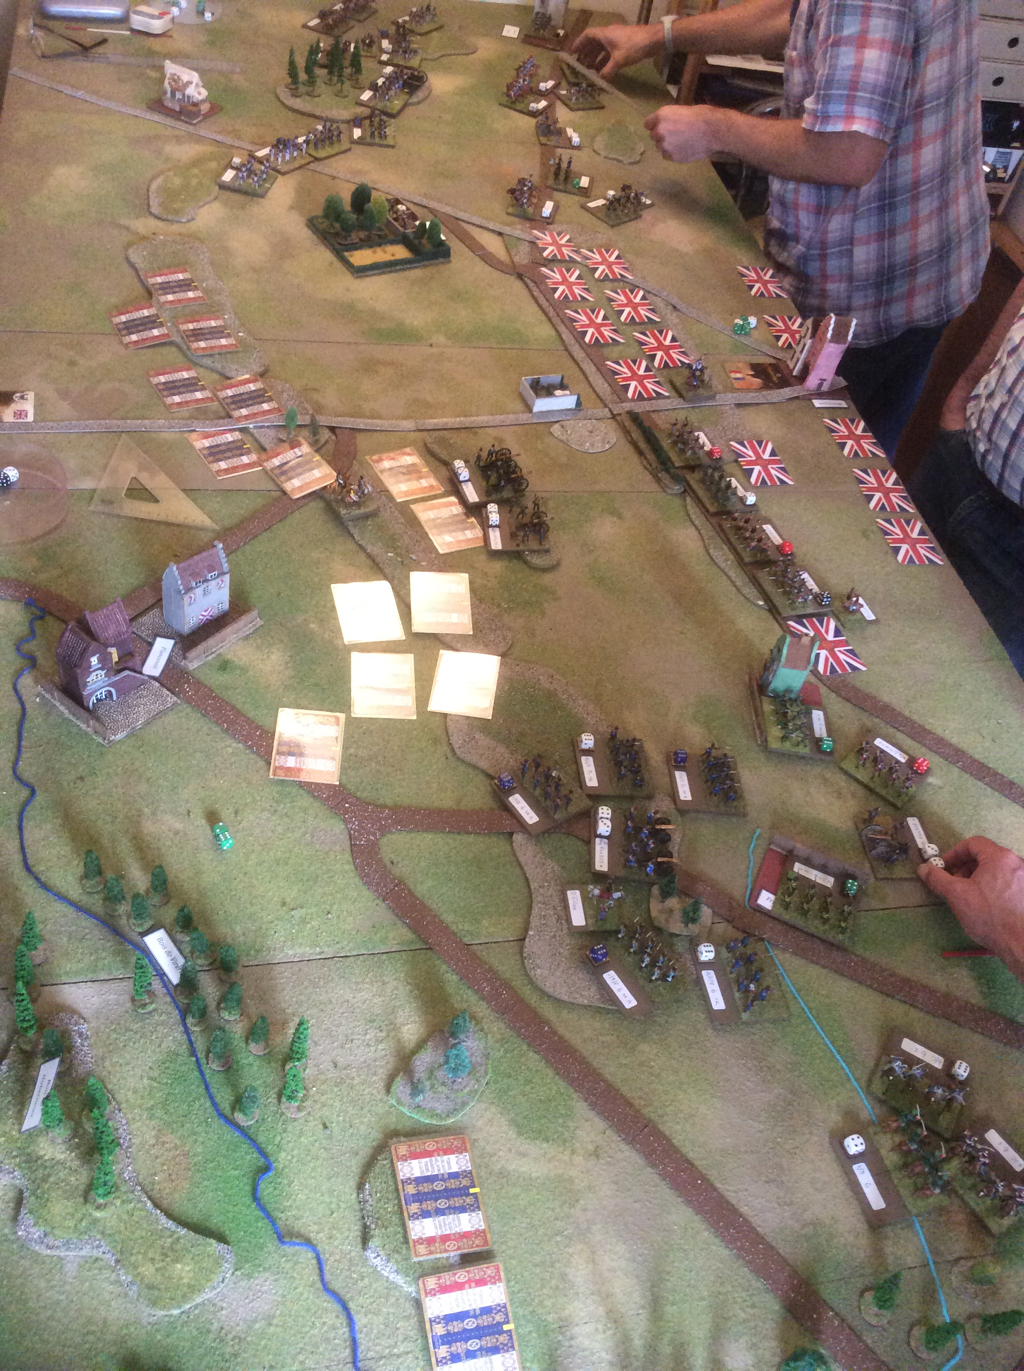 2nde French Corps advances on Papelotte How it played outThe Allied deployment broadly followed history, except with more troops on the West flank. The strongpoints of La Haie Sainte and Hougoumont were garrisoned, as were Papelotte and Frischermont on the Eastern flank. We used the 100 Days cards to place units, replacing them with figures when they were revealed to the enemy. The French set up with only the Guard facing the Allied centre; I Corps was to the South and West of Hougoumont and II Corps set up opposite Papelotte. VI Corps was in reserve behind II Corps. The fight began with a determined left hook by D'Erlon, supported by IV Cavalry Corps. In the East, Reille became engaged with the enemy in Papelotte and Frischermont. The centre stayed mostly inactive at the start, apart from some bombarding by Napoleon's heavy guns. The Allied defence on both flanks was spirited but Napoleon pressed his generals to keep up the early momentum. The Allied Right started to crumble under the pressure but a series of hard-hitting counterattacks by British and Brunswick cavalry brigades bought some breathing space. On the opposite flank, the French stalled outside Papelotte. News then reached both sides of a force approaching from the East. It soon became clear that Blucher, not Grouchy was on his way to the battlefield. Aware that time was running out, Napoleon launched the Guard in the centre, in the first serious action of the day in this sector. At the same time, the French Left resumed its assaults and a series of Allied brigades were eliminated in quick succession. At this point, Blucher arrived with 15 and 16 brigades from Bulow's Corps, increasing the Allied morale total and staving off collapse. Napoleon sent VI Corps to face the new threat but also reinforced his centre with the Guard Cavalry. By this point, his only reserve on the table was the Red Lancers of the Guard. One more turn of hammering pushed the Allies over even their adjusted morale level. The Anglo-Allies began their retreat; the Prussians, realising that the field was already lost, halted their advance and moved onto the defensive. They had come too late to save Wellington from defeat. The day was Napoleon's. 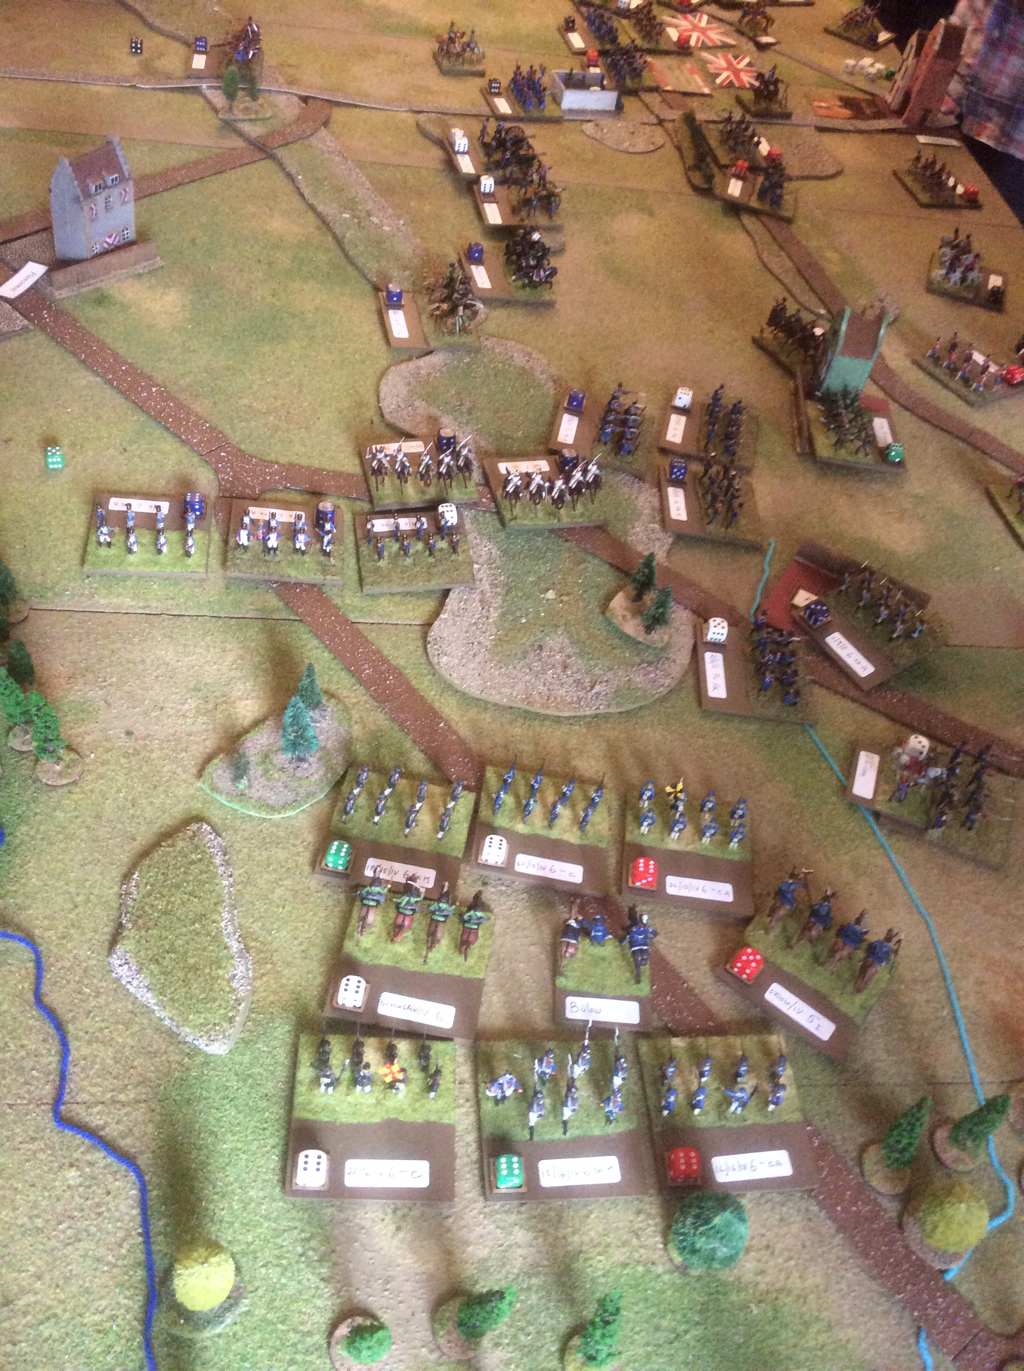 The Prussians arrive, just too late Post Match AnalysisThe game had lasted from 11am to 5pm, with a break for lunch. In game turns, working to the broad rule of 45 minutes per pair of player turns, the battle ended around 7pm. The early turns had dragged a little as the players learned the rules, but it soon picked up speed. It was a great feeling to reach a firm conclusion inside one day's gaming. The players seemed to enjoy the day and certainly picked up the principles of the game quickly. Most of the rules made sense to them, although there were inevitably a few concerns about bits and pieces. The main wish was that infantry could fire in more situations, for example after changing facing. There was also a suggestion that if prepared units took a difficult move, they might retain their prepared status. On the other hand, some thought that prepared units should not be permitted to skirmish, presuming that part of being prepared would involve drawing in the brigade's skirmishers. The feel of play was smoother than Napoleon's Battles or Volley & Bayonet. I think we would have been hard put to reach a conclusion with either set in the same time span. It is also interesting to follow Sam Mustafa's journey from Grande Armee, through Fast Play Grande Armee, to this. Blucher is stripped of all but the key game mechanics, yet retains a convincing period feel. The use of momentum dice puts real pressure on the players to move the important formations first. The reserve rule, which allows a one-off burst of speed to units that are still concealed, is an entertaining mechanic that both encourages the players to keep reserves and creates tension when these are finally committed. The game was a joy to umpire and I found answers to all the rules questions that arose. From where I stood, the French deserved their victory, having chosen a good plan and stuck tenaciously to it. The Allies tried hard to hold them, especially Chris on the beleaguered Right who handled his cavalry particularly well. But it wasn't to be and when the line started to unzip, it gave way decisively. 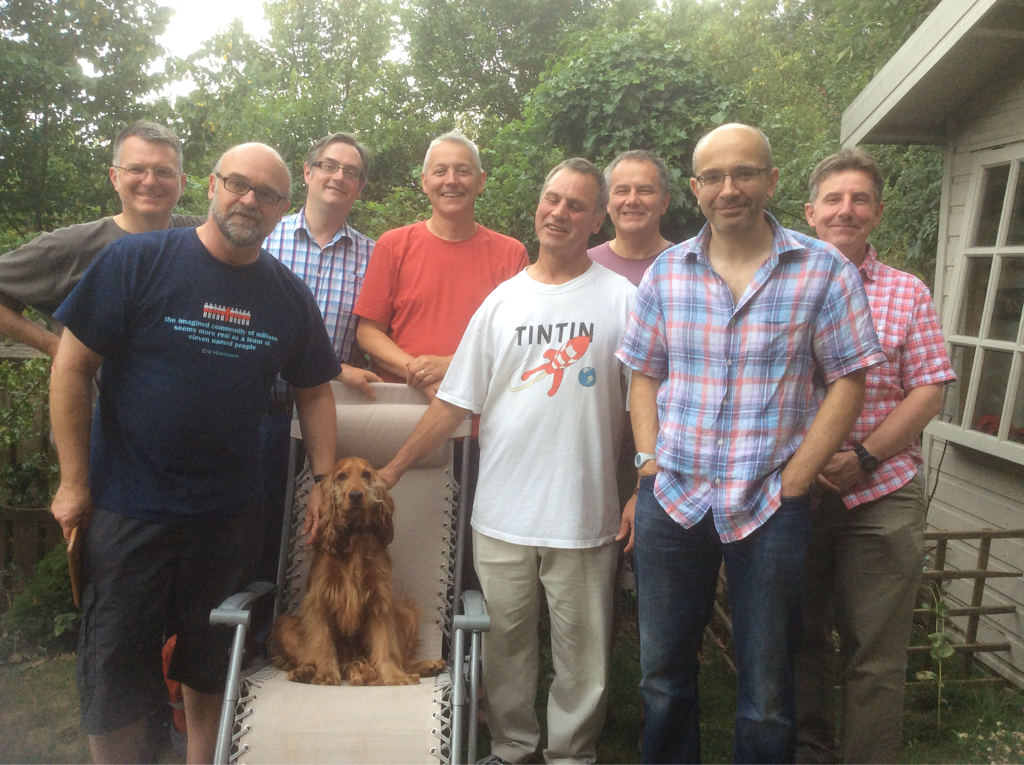 The Players
0 Comments
Leave a Reply. |
Archives
November 2023
Categories
All
|
 RSS Feed