|
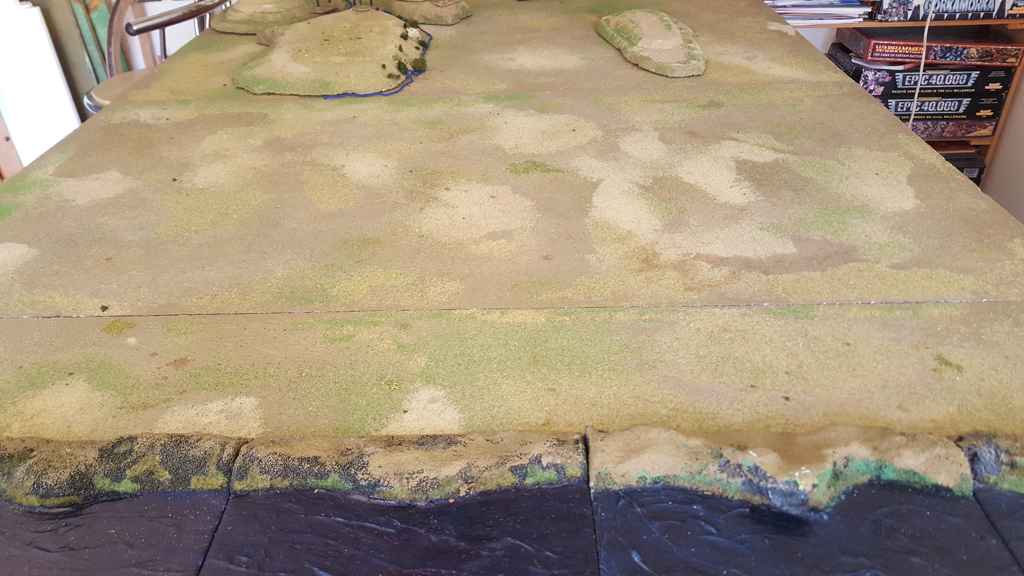
We played a 200 Point game of ADLG last night. I always enjoy a game more if it is linked to a real battle (however fuzzily) and I wanted to see if I could fit a historical scenario into a ‘legal’ ADLG format. I chose the Battle of the Metaurus, 207BC, fought between Hamilcar Barca and a consular tag team of Salinator and Nero. This post is about turning a historical battle into a scenario. The next one will report how the game played. Background The Metaurus campaign was perhaps the last chance for Carthage to defeat Rome in Italy. After years of stalemate on the peninsular, Hamilcar had crossed the Alps with an army to reinforce Hannibal. Rome was determined to prevent the Barca brothers from joining forces and a lucky piece of intelligence revealed Hamilcar’s planned route. Nero, commanding the consular army facing Hannibal, took a picked force and rushed to join his colleague Salinator in front of Hamilcar. From being outnumbered, the Romans now had at least parity with Hamilcar and for once, seemed to have an advantage in cavalry. The Romans tried to hide the arrival of Nero and bring on a battle but Hamilcar realised that he was facing two consuls, supposedly because his scouts heard two trumpet calls in the Roman camp. Hamilcar withdrew along the river Metaurus, looking for a crossing point. However he was unable to cross and as the Roman pursuers came closer, he resolved to offer battle. There are different versions of this story in the sources and the debate goes on about the location of the battle, nature of the field and forces involved. I chose what seems to be the current majority view, which results in the following elements: Because he has turned to face his pursuers, Hamilcar deploys his whole army first. The river Metaurus runs down one flank of the table. It is impassable. Hamilcar deploys with his right wing on the river. Next to the river is a strip of open ground. Hamilcar’s left deploys on high ground, with a steep defile in front that will seriously disadvantage an attacker. The Roman side of the field has a low hill towards the rear, opposite the high ground. Otherwise it is featureless. After Hamilcar has deployed, the Romans deploy using the standard deployment rules, except that there is no ‘dead zone’ next to the river so troops may deploy adjacent to it. The Armies
I created two 200 Point ADLG armies, using army lists 53 and 55. All troop types were picked straight from the lists except the Gallic foot. Hamilcar’s Gauls were recently recruited. Some stories say they were drunk at the battle but it is also possible that they were just disaffected and shaky. Either way they fought badly and Hamilcar deployed them on the high ground to make the best of a poor contingent. I decided they would be mediocre heavy swordsmen and not impetuous, reducing their points cost accordingly. Hamilcar’s army contained 6 stands of the mediocre Gallic Heavy swordsmen; 4 of Spanish medium swordsmen; 2 of African spearmen; 2 of Spanish medium cavalry; 3 of Gallic medium cavalry; 3 elephants; 3 Libyan light infantry with javelins; and 3 of slingers. Hamilcar was brilliant and his two subordinates were competent. Break point 26. Nero and Salinator commanded 10 stands of hastati/princeps heavy swordsmen; 5 of light infantry velites; 2 of Allied light infantry; 2 of triarii elite heavy spearmen; 4 of Roman medium cavalry and 2 of Allied heavy cavalry. Nero was brilliant and Salinator and Licinius were competent. Break point 25. Ben and Matt faced off on Wednesday evening. Their exploits are reported in my next post.
3 Comments
Stewart
27/7/2018 06:54:58 am
Very interesting, looking forward to the battle report.
Reply
Steve
22/8/2018 04:35:55 pm
Well done. I may borrow this for a convention game.
Reply
Tim S
23/8/2018 07:10:14 am
Thanks. Please do!
Reply
Leave a Reply. |
Archives
November 2023
Categories
All
|

 RSS Feed