|
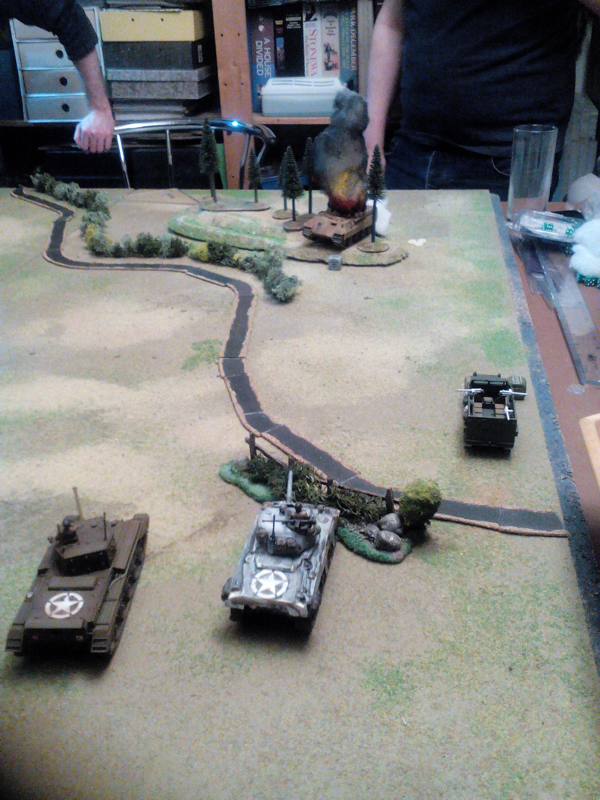
Last Wednesday we played the third game in our escalation campaign. Each player kept the surviving troops from the first 500 point game and was allotted 250 points to spend on additional units. Ian, who lost a squad in close combat in his first game, replaced it with a squad one quality level lower than the original. The instructions were as follows. Matt (US). "After getting the better of the enemy in your chance encounter, you are on the attack. The build up of resources since D Day has been immense, which means you may choose any asset in the army list for your additional 250 points. The practice of parcelling armour down to small infantry units has begun, to help deal with the enemy in the bocage country. If you buy a tank, pay only 90% of the purchase cost for it. Allied air superiority is also established, though there has been a worrying amount of blue on blue attacks since 6 June as pilots have still to learn their trade." Ian (Fallschirmjaegers). "The defence line has thickened since 6 June and your command has been reinforced. To make up for the loss of 1st squad, a scratch squad has been allocated to you, made up of support troops from regiment HQ. Its quality is only regular. With the extra 250 points, you may purchase units from the Normandy list. However, bear in mind that Allied air superiority and fuel shortages have greatly hampered the movement of armour up to the front. Panzers are still in short supply and if you choose a tank or assault gun, it must start in reserve. You may not purchase an air observer: the Luftwaffe is totally absent over Normandy at present. You may set up your troops hidden and you may deploy as many on table troops as you like in fox holes (hard cover)." As Matt was joining us a bit later, Ian and I played the first game between his Fallschirmjaegers and my Brits. Ian dug in on the wooded hill in the centre of his table edge, with a squad in a half track in reserve behind the hill and an MMG watching a possible covered approach towards his left flank. I deployed a regular infantry section in my centre with a light mortar. My plan was to hold the enemy's attention with this force while working around his right with two other sections, an MMG in a Bren carrier and my command section. I was ready for losses in the centre, so placed a medic there. An optimistic PIAT team set off to hunt the Hanomag but was swiftly mowed down by Ian's MMG. I also repeated an earlier trick of losing my own MMG to snipers before it fired a shot. But this was about the limit of my misfortune as the plan to work round Ian's right worked and I won the game with a good margin of VPs. I also realised that a good use for my sniper was to hunt enemy snipers. Sadly we didn't have time for a second full game so at Matt 's suggestion we played our first game of Tank War, with a Panther and Panzer IV taking on three Shermans (with a US half track and a Cromwell standing in for two Shermans). It was fast, fun and nail biting. My Panther took an early beating from concentrated Allied fire, leaving the Panzer IV to try and take revenge. It nearly did so too, but the game went to the Allies. We agreed this could be a lot of fun, provided we got more tanks. Uh-oh!
0 Comments
On 15 February we started an escalation campaign for Bolt Action, set in 1944 Normandy. We began with 500 point armies, with just platoon assets. Game 1: Ian's Fallschirmjaeger versus Matt's US. Matt fielded two regular and one veteran squads, a 1st Lieutenant and a medic. Ian had two sections of Fallschirmjaegers, one of them in a half track, and a 1st lieutenant. The scenario: meeting engagement. Back story: With the line stabilising, both sides are feeling for the enemy. They meet around the Maison Jaune, a local notary' house. Changes to BA scenarios: Losses from this scenario may be carried forward to the next game, with the chances of recovery better for a unit that was not completely wiped out; hence, either side may withdraw units from the table at any time. 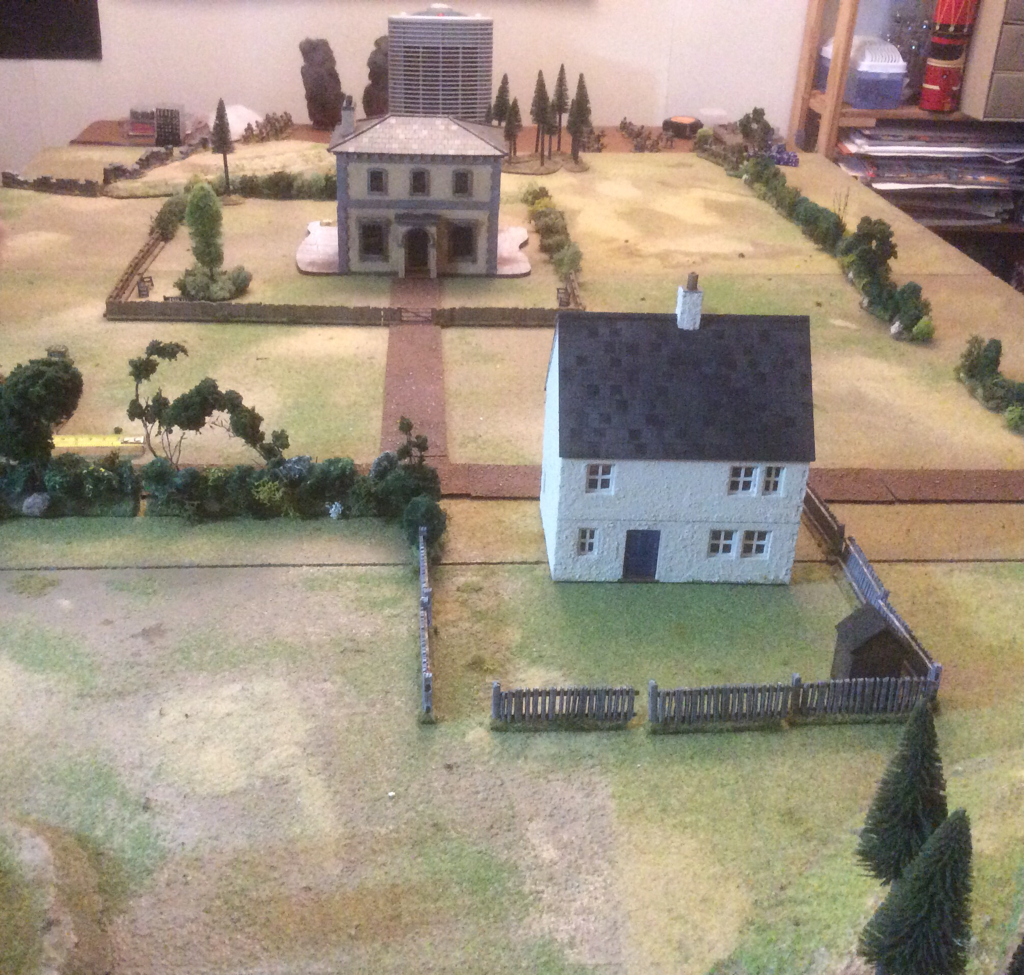 The table for both games. Germans enter from the right both times The Action. Matt arrived first, deploying his three squads together on his right flank. His left was protected from view by bocage (cannot be seen over except by troops lining the bocage). Ian brought his first section with its half-track in on his left, but brought his HQ and second section in on his far right, aiming to outflank Matt. Matt took advantage of the local superiority on his right with concentrated fire against Ian's left, with effective results. With several pin markers, Ian failed a crucial order test and was unable to withdraw before Matt's third squad assaulted his section. This spelt the end of the clash, with Ian's surviving troops linking up with the half track and departing the field. First blood to Matt's US. Game 2 Same scenario, my British against Ian's second force of Fallschirmjaegers. I deployed three regular sections, a 1st lieutenant and a light mortar. Ian had an identical force to game 1. Same terrain. I came on closely grouped on the right flank, with the light mortar in a ruined pig sty a little to the left. Ian came on opposite me but, having seen my deployment, shifted quickly to his right. My platoon swung 90 degrees to face Ian's new position. Firing was limited to lmgs and Ian's half track mmg. The British had slightly more success until Ian's MMG scored a lucky hit that removed a Bren team. Having spent most of the game manoeuvring, we ended with an inconclusive draw. After the games we rolled to see which of our losses would return in time for the next game. Only Ian's fallschirmjaeger section that was destroyed in close combat ceased totally to exist.
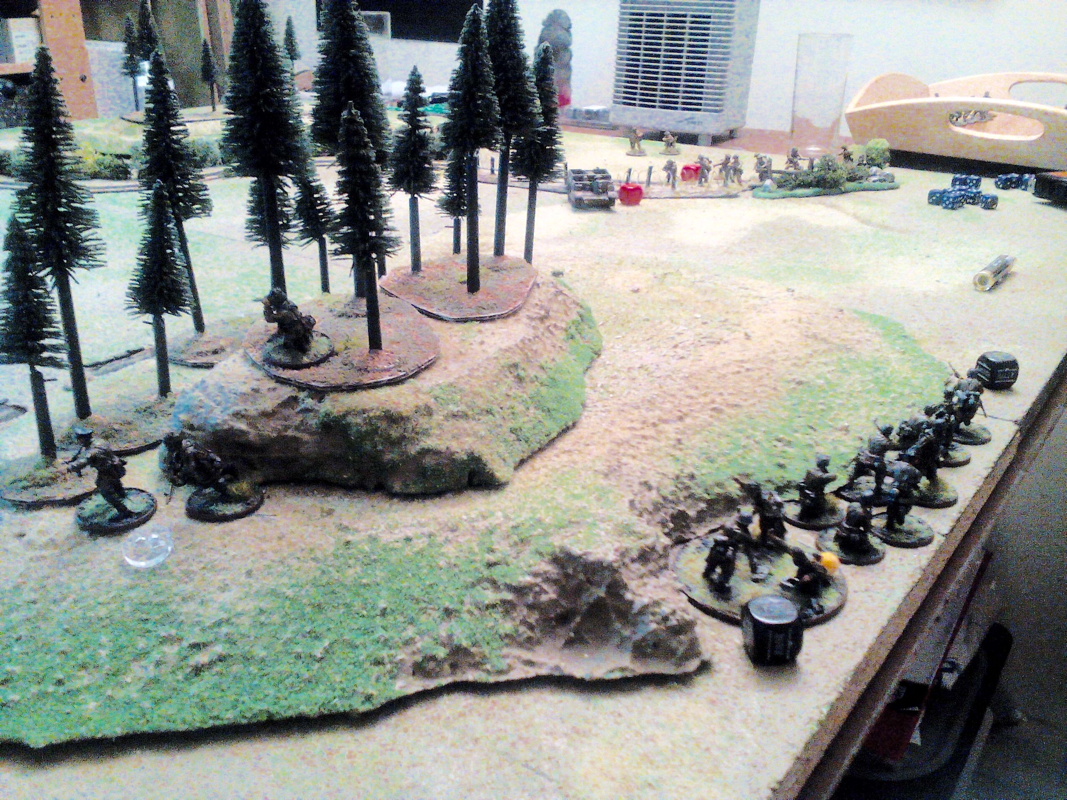
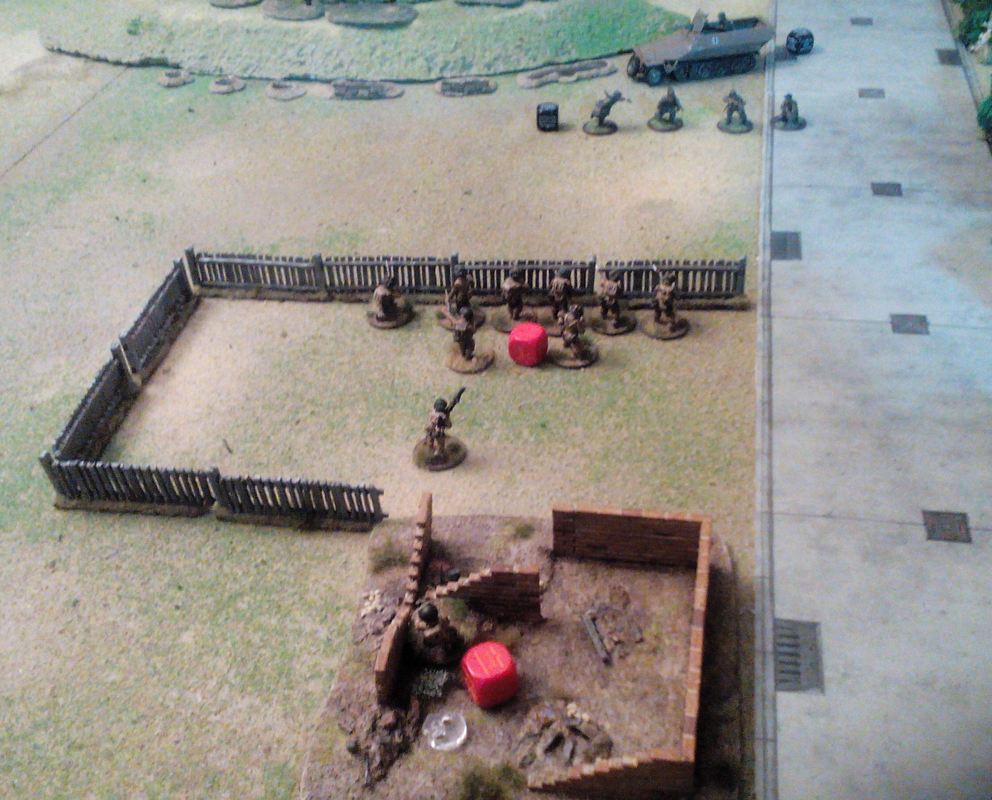
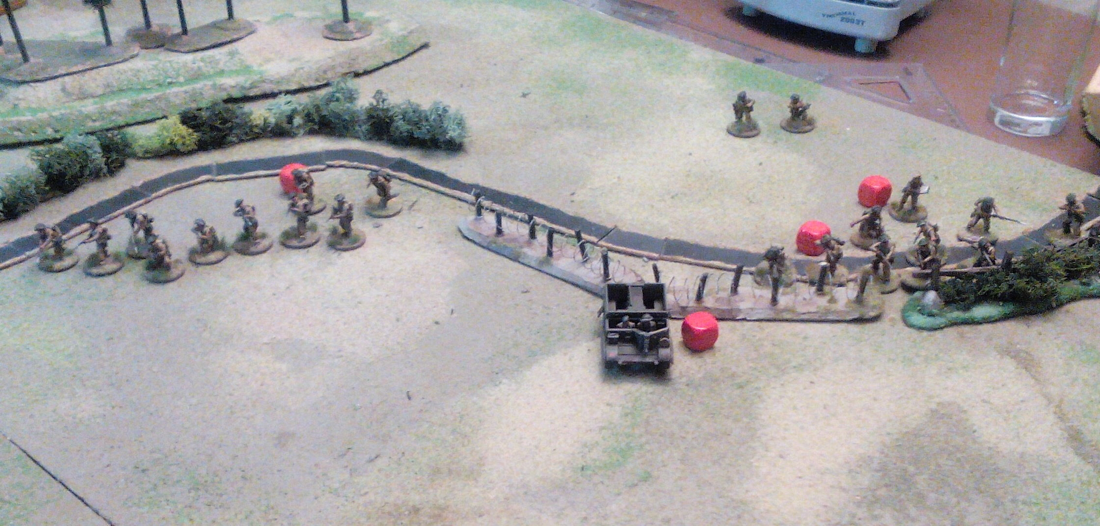
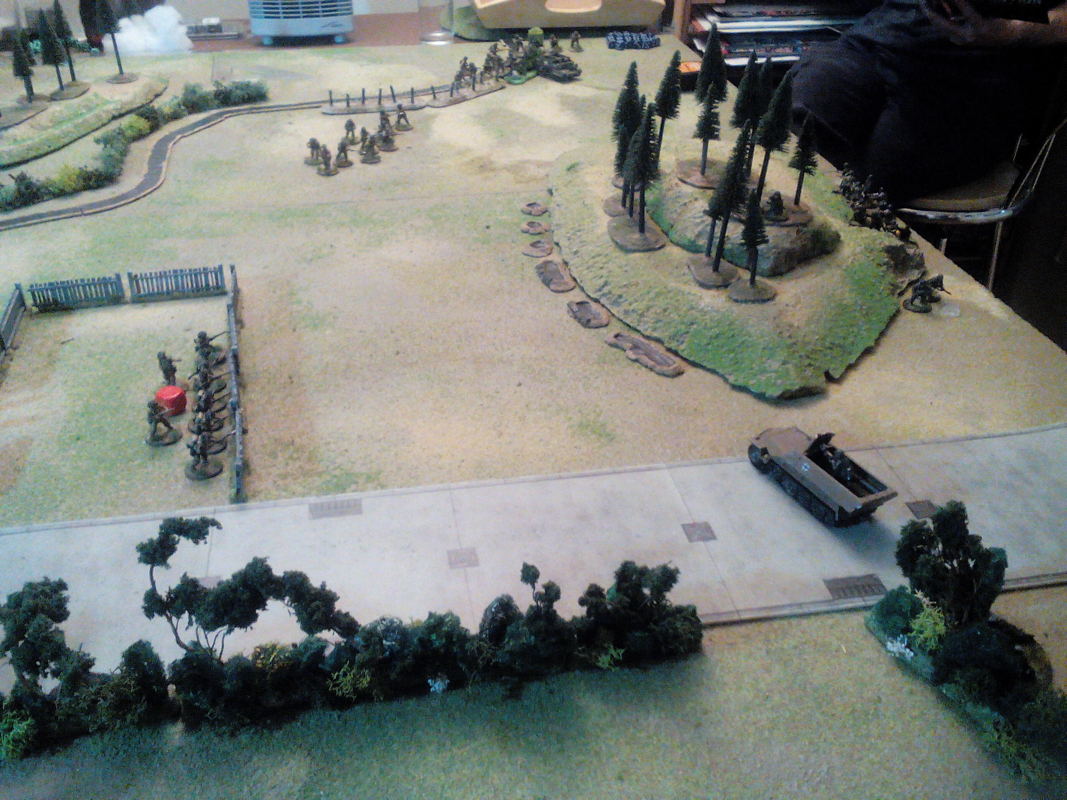
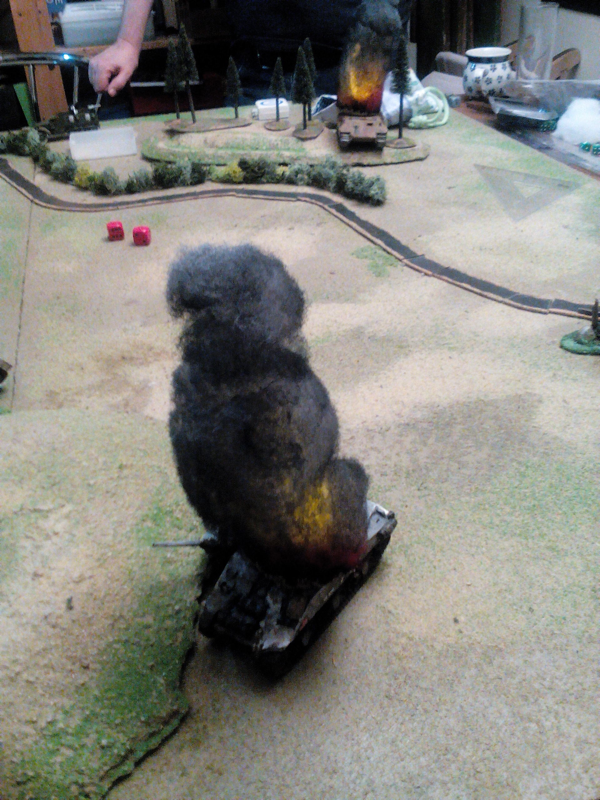
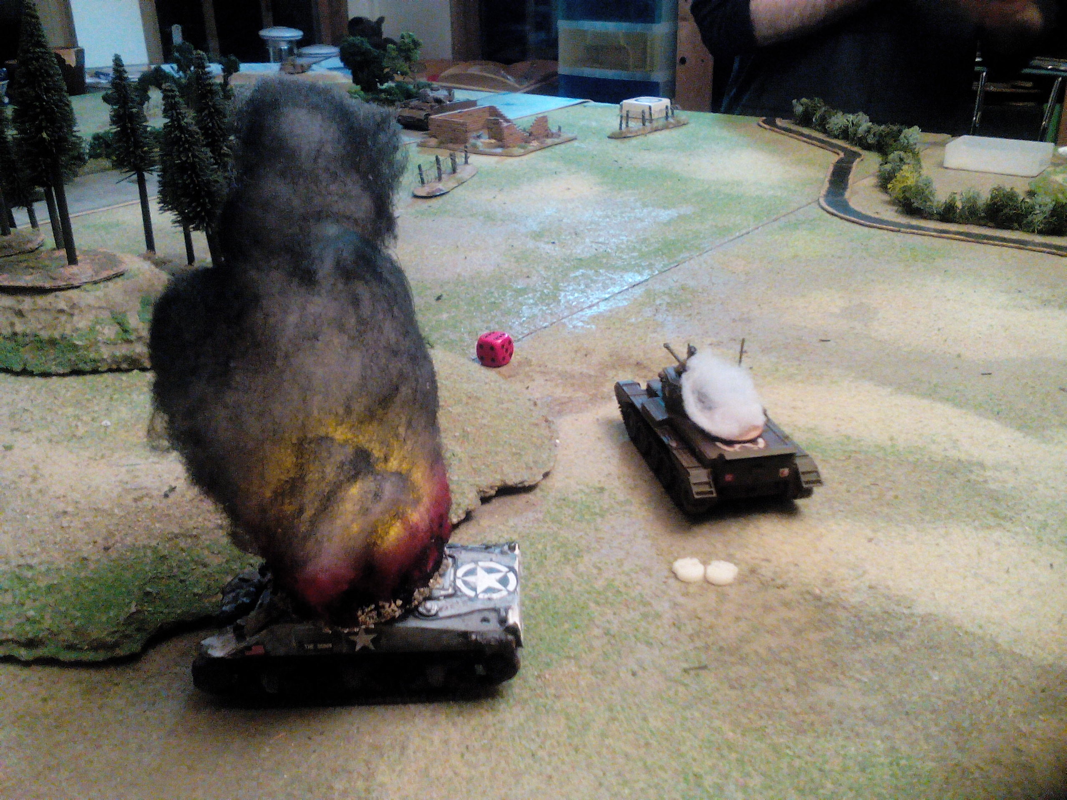
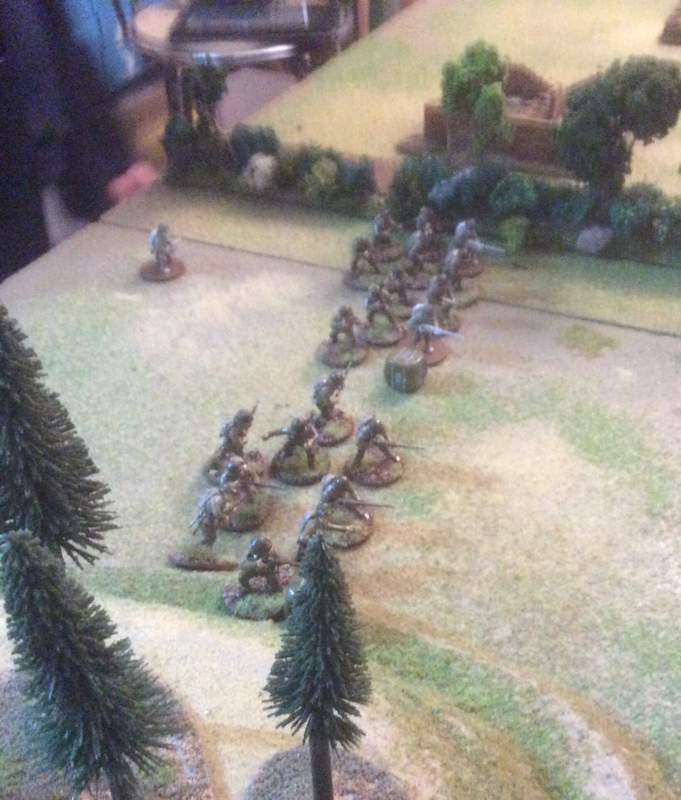
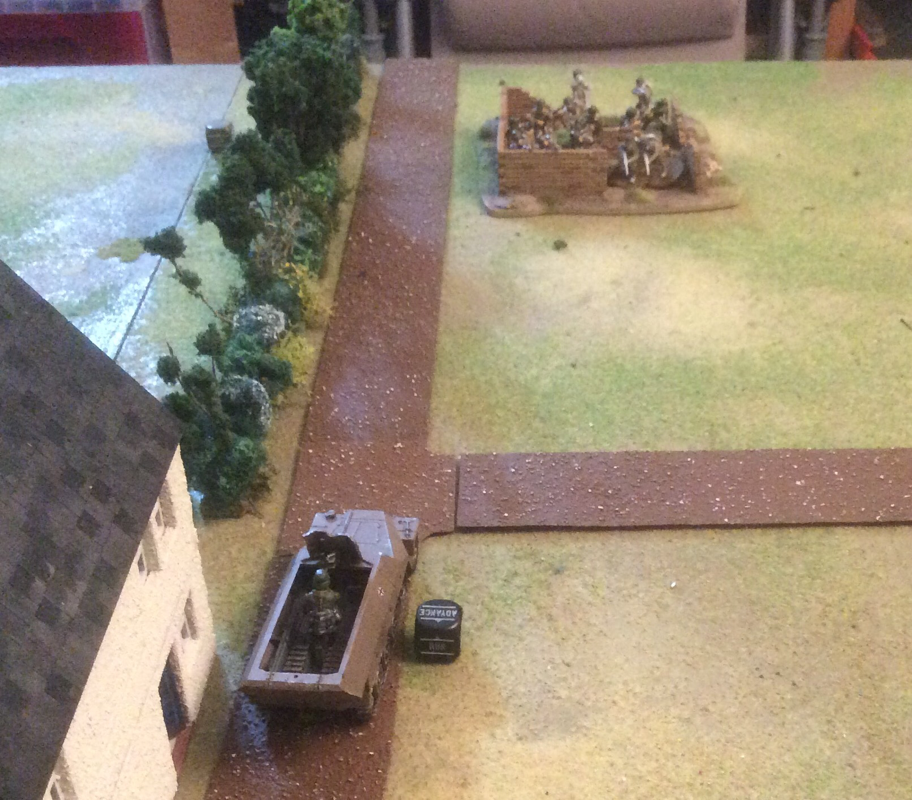
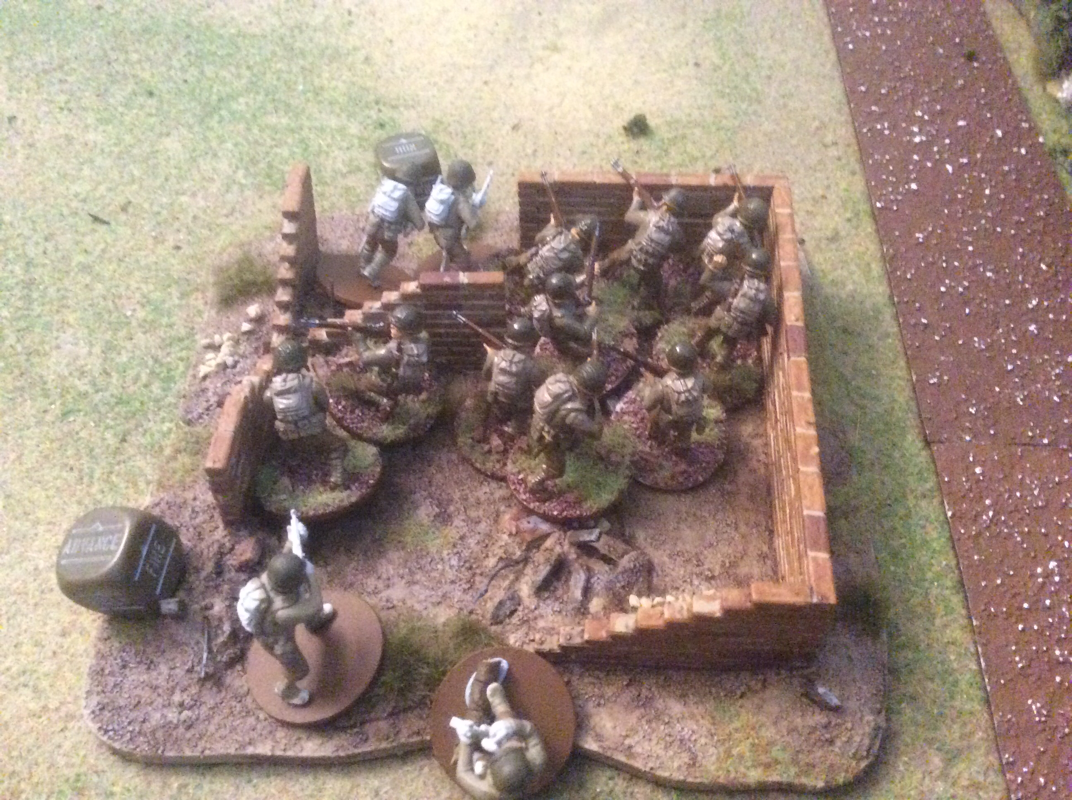
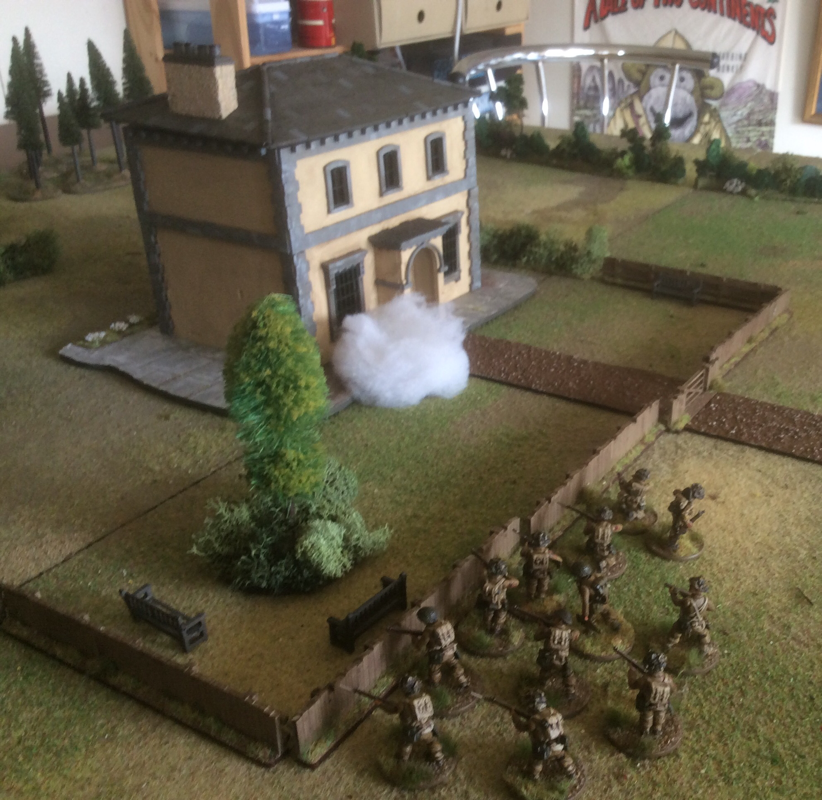
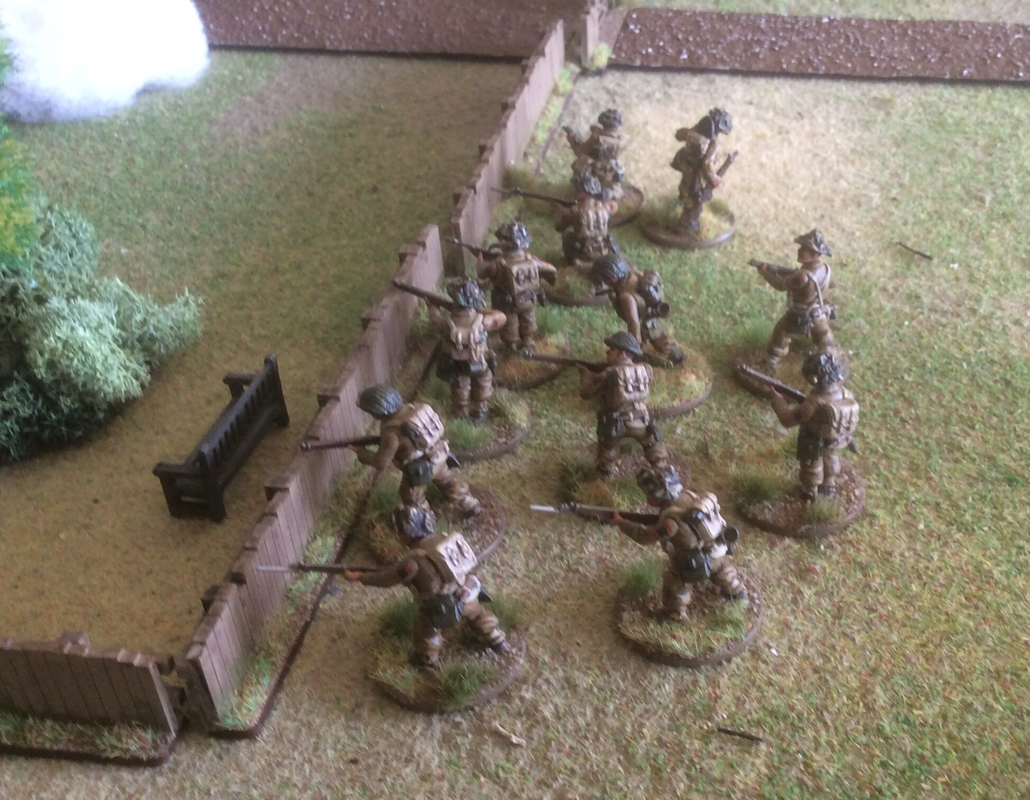
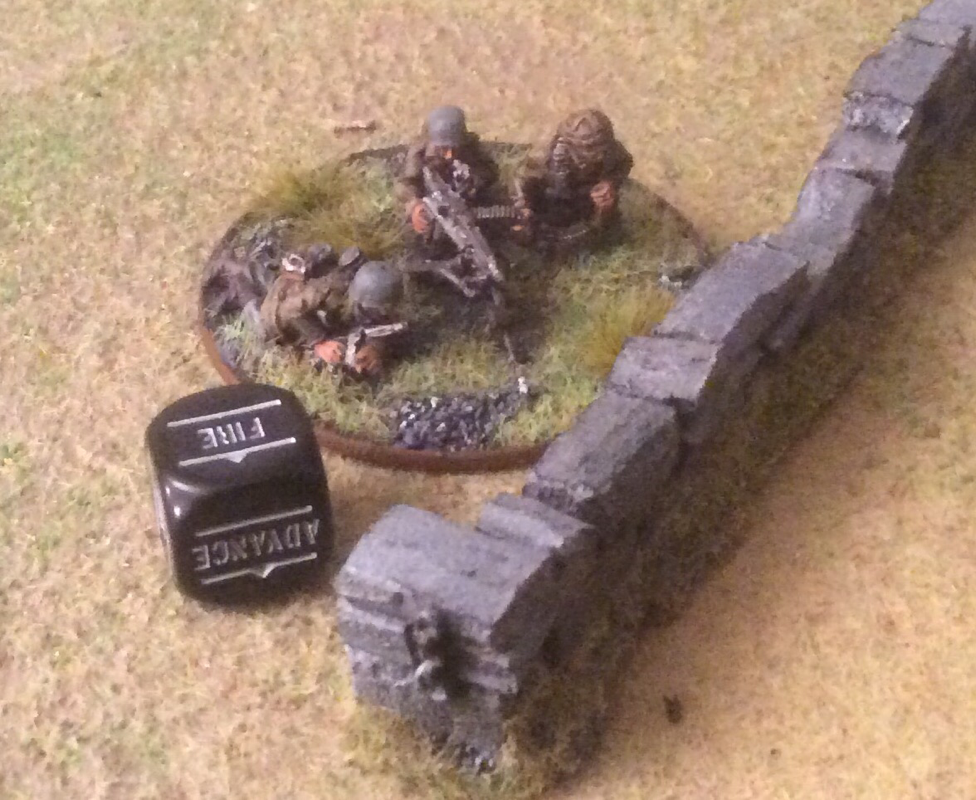
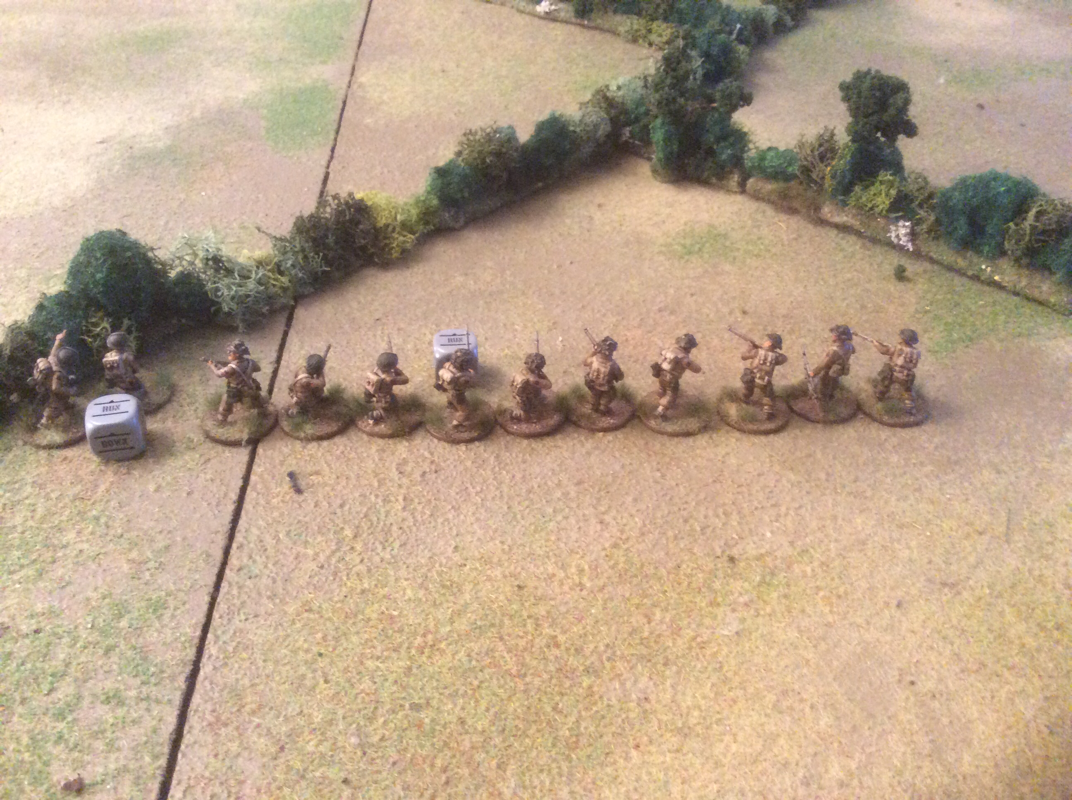
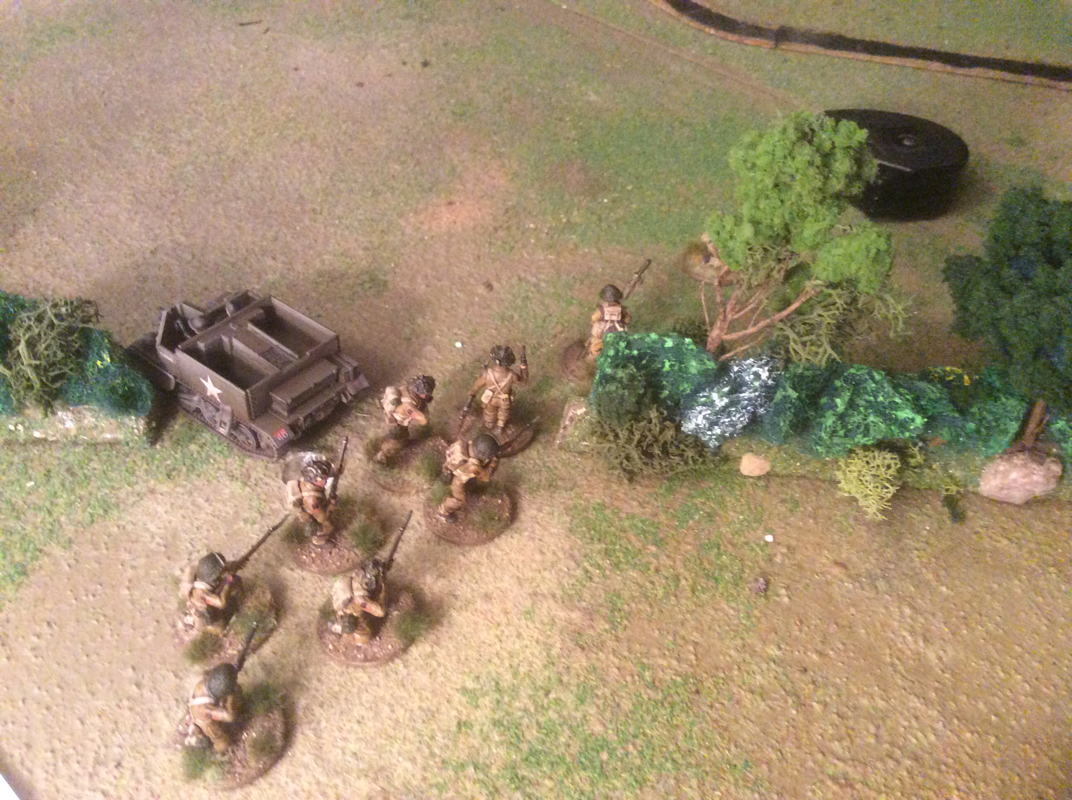
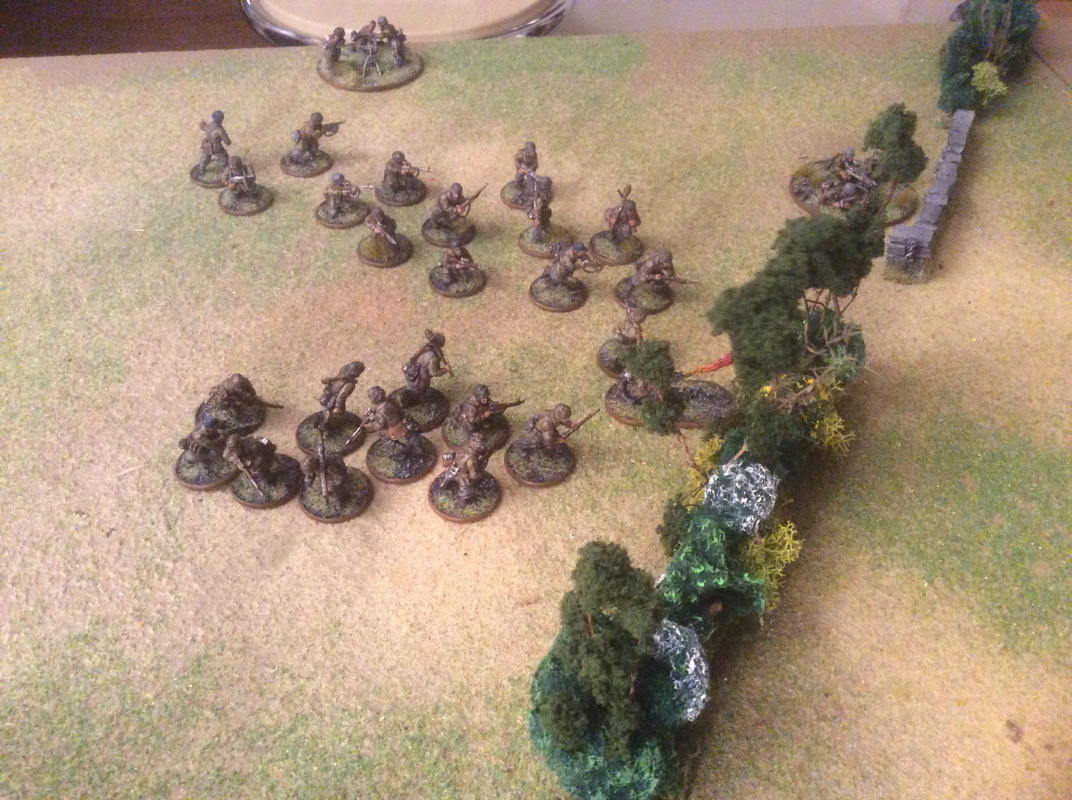
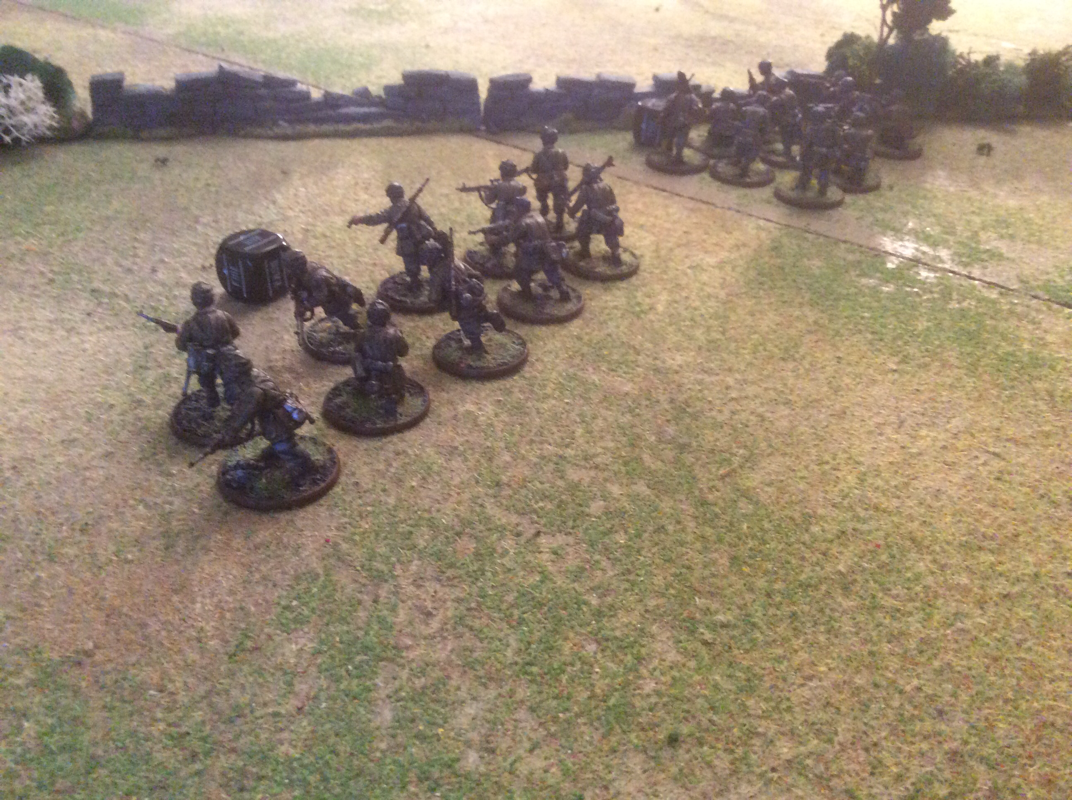
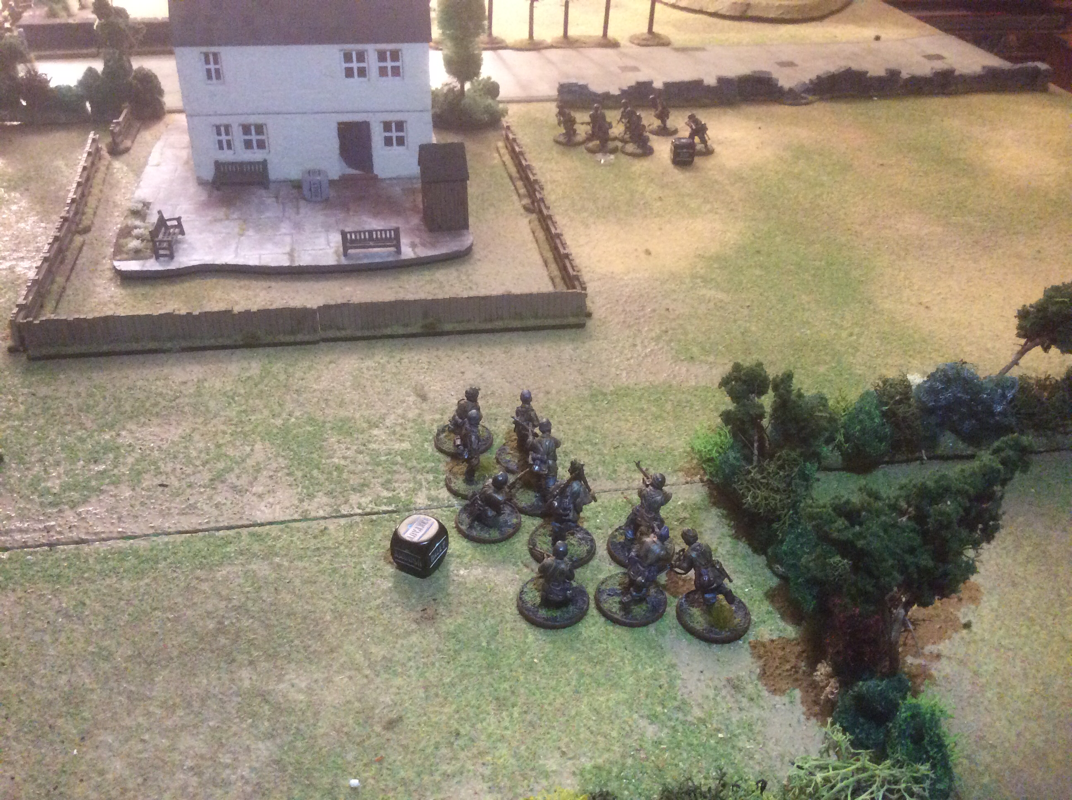
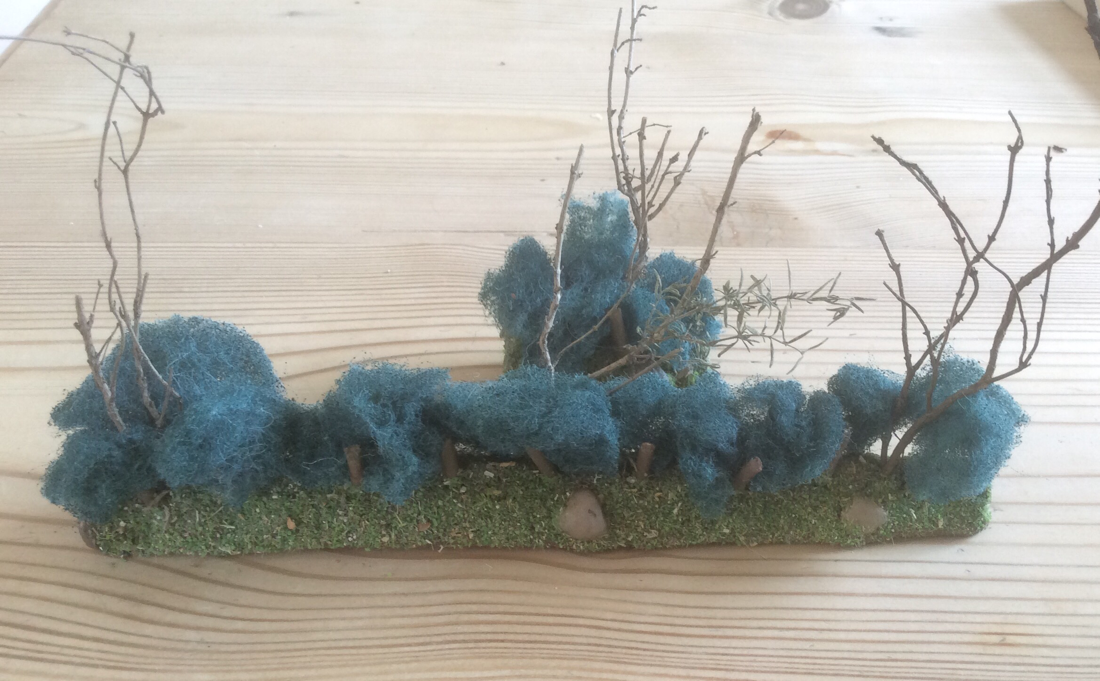
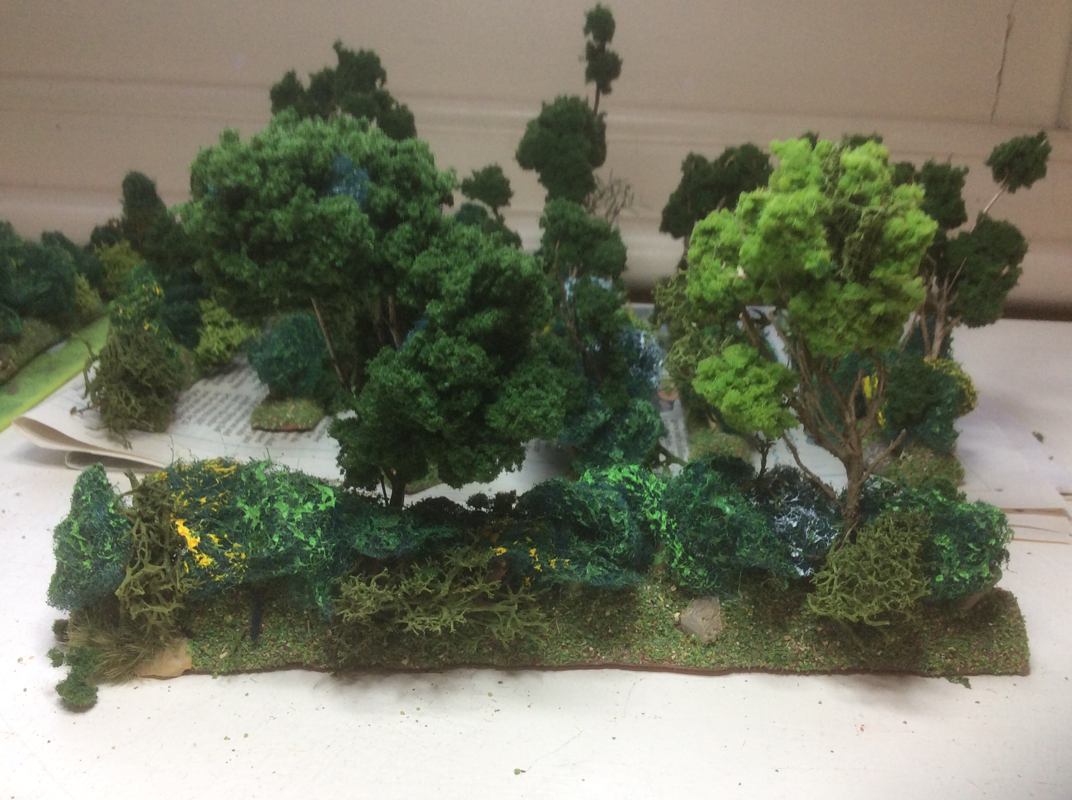
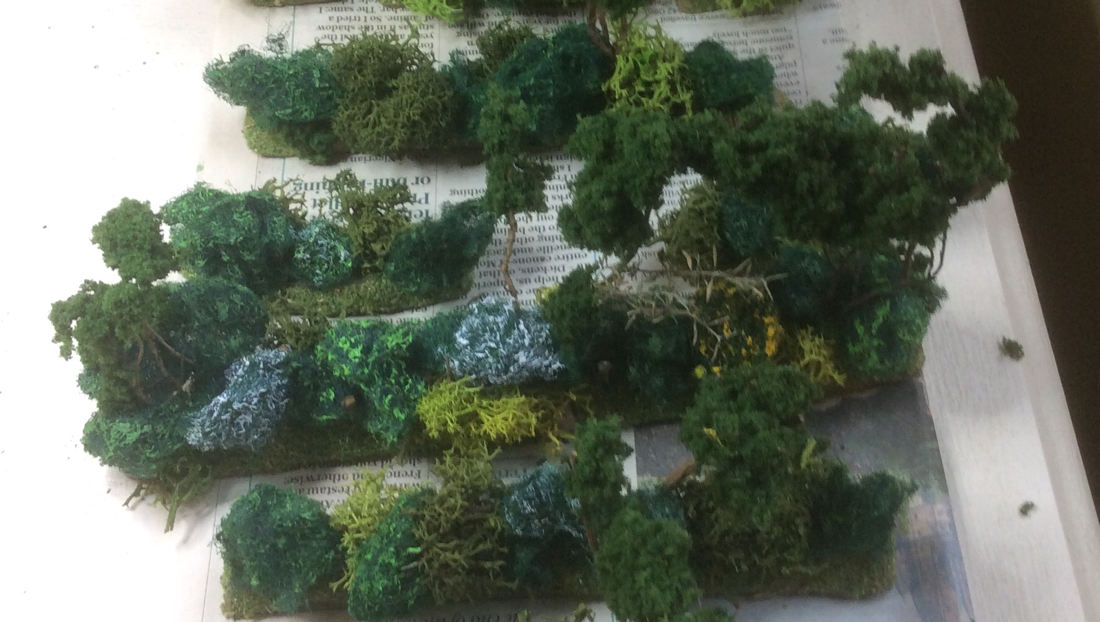
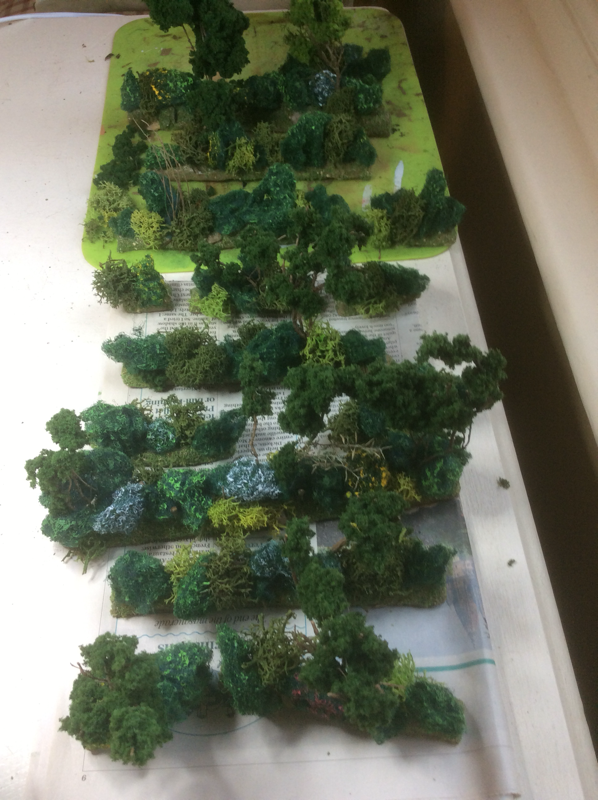
In the next game, players will pay for their surviving reduced sections at normal cost, then buy more assets to the new points limit. Ian will have to replace his lost section with a regular section, so one below the quality of his original troops. Two games in, the points table is: Matt: played 1. Won 1. 2 points Ian: played 2. Lost 1, drew 1. 1 point Tim: played 1. Drew 1. 1 point We play again on 8 March. 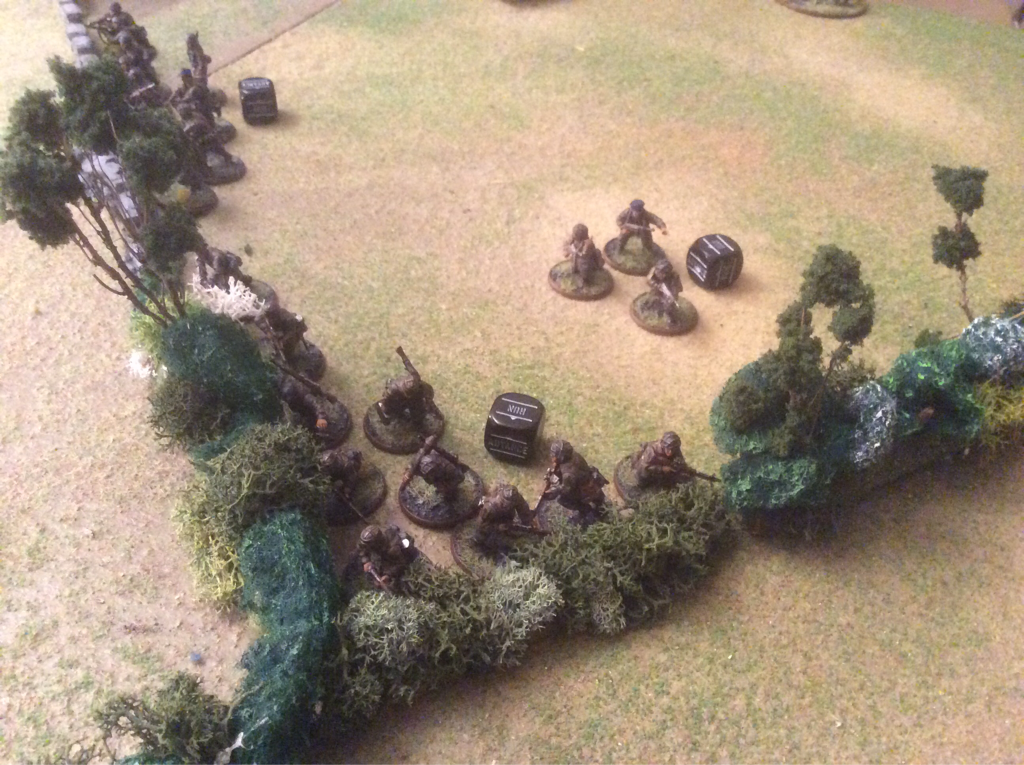 Bocage-lurking was a popular pastime in last night's game. We fought our third game of Bolt Action last night. To a background of thunder and lightning outside the shed, Matt’s and my Allies were given a bloody nose by Ian’s Fallschirmjägers. Armies were 1000 points a side, with the Allies split 500 points apiece between US and British. We played scenario 2, where the winner is the one who destroys the most enemy units. The table was laid out to represent farmland, criss-crossed by bocage with a copse on one flank and a wooded hill and stream on the other. We used the hedgerow rules from Battleground Europe, where the bocage counts as hard cover and cannot be seen over, unless the firer and/or target is adjacent to it. The bocage was in a St Andrew’s Cross shape, with its centre more or less in the middle of the table. For most of the game we had a stalemate in the centre and Allied left, as British and Fallschirmjägers threatened each other from behind diagonally adjacent fields. Whoever broke cover first was likely to lose a lot of men so apart from mortar fire and the accursed German sniper, not a lot happened here. On the Allied right, the action was much faster, bloodier and ultimately decisive in the Germans’ favour. Two squads of Americans, with a Browning HMG and M3 halftrack, challenged one squad of Fallschirmjagers, a light AT gun and a Panzerfaust for control of the wooded hill. The Germans’ superior weapons proved unbeatable, with the extra shot and the Assault ability really adding to their lethality. A British attempt to reinforce the Americans fell foul of German guns in the hedge line. When this attempt was launched, Ian chose to pull back his right wing to launch an attack round the British left. The British responded by sending everybody but an MMG in Ambush to reinforce the Americans but this was too late to change the outcome. By game’s end, two Allied units had been destroyed to the Germans’ one, which was enough to give Ian the day. Moreover, as two US squads were at greatly reduced strength and under several pin counters, the result was more decisive than the small VP difference might suggest. For most of the game, fully half of the German force didn’t do more than dodge mortar rounds and lie behind some hedgerows. A lot of soul searching later, the following thoughts come to mind. With veteran status and a fistful of assault guns, Fallschirmjagers are very hard to beat at close range. It isn’t healthy for a regular Allied squad to race them for possession of a terrain feature: they will always have the edge. Perhaps it's better to stand off, try to knock some Fallschirmjägers down and slow them with pin markers. Mortars have a powerful disruptive effect. Even though the first round has only 1 chance in 6 of hitting, the target is under pressure to move before the improving odds result in a splat. An MMG in ambush with a good fire lane can isolate a portion of the enemy force, allowing it to be overwhelmed. Nice theory, hard to implement. But I'm going to work on it. Smoke! Why haven't I used it yet? It was a key part of tactical doctrine for a reason and I need to work out when and how to use it in the game. There weren't many consolations for the losers of this game, except that we took out the German sniper and the two US squads were still standing at game's end despite serious losses. For all that, it was a good evening and the system keeps drawing us further in.  The hill at game's end. The Brits are on the crest but with no prospect of destroying the Fallschirmjägers in the time available - if at all... 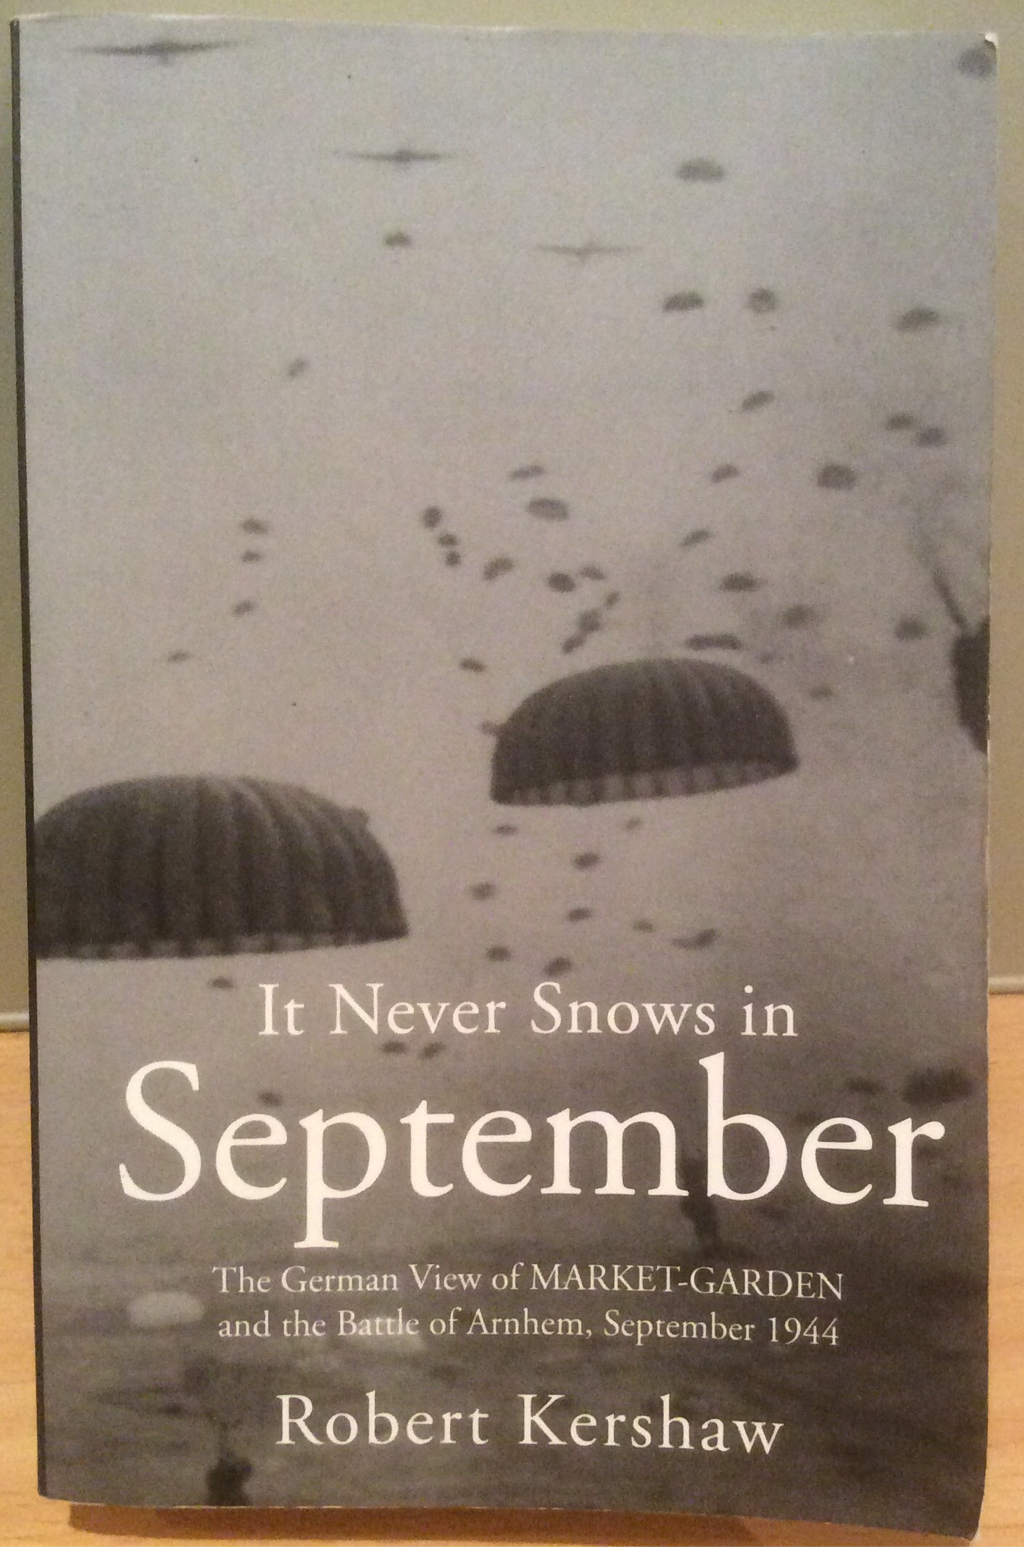 From this excellent history... It's funny how one thing leads to another. I have been greatly enjoying "It never snows in September " by Robert Kershaw, an account of operation Market Garden from the German perspective. I have read a few books about the campaign, but all from the Allied viewpoint. I am used therefore to the broad narrative (with variations) that the Allies overreached themselves; that they had bad luck with unexpected German dispositions and the weather; and that XXX Corps lacked the necessary drive to break through to Arnhem in time. Kershaw's account however brings out just how much the Germans achieved with a motley collection of scratch formations, constantly forming new defensive positions and mounting counter attacks. Perhaps rather than focus sing on how the Allies lost Market Garden, it is more accurate to consider how the Germans won it. The book provides countless ideas for Bolt Action scenarios, especially for those who fancy throwing every possible combination of troops together in the German force. But it has also stirred memories of a mission in one of my favourite game systems, Epic 40,000. I mean the boxed game from the late 1990s, not Epic Armageddon. We have both sets but I think the extra chrome in Armageddon tends to slow the pace down. Jervis Johnson's original rules are elegant, streamlined and for my money, they work better with large armies. And surely, it won't be epic unless there is a shed load of models on the table. The Blitzkrieg scenario in the Epic Battles Book involves one side desperately trying to block an enemy attack, with units coming on at random and trying to stabilise the situation. Shades of Hell's Highway there. Several years ago my son Nick and I had some great games of Epic, but we haven't played it for over a decade. Time, I have decided, to dust off the figures and get Waugh! Tamrine back into gear. I just need to twist some arms to get a multiplayer game going. 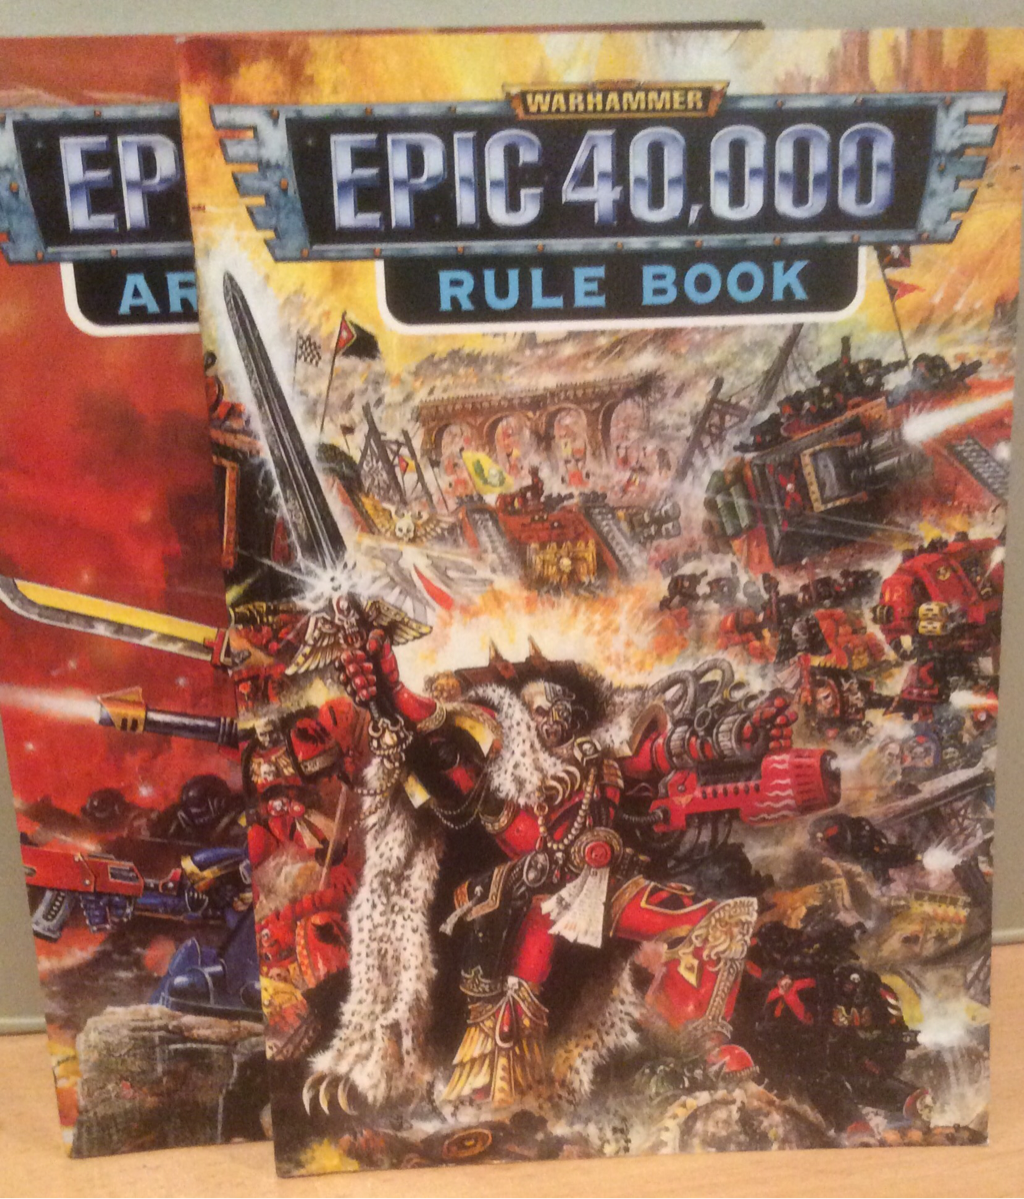 To this fun-packed piece of Sci Fi fantasy 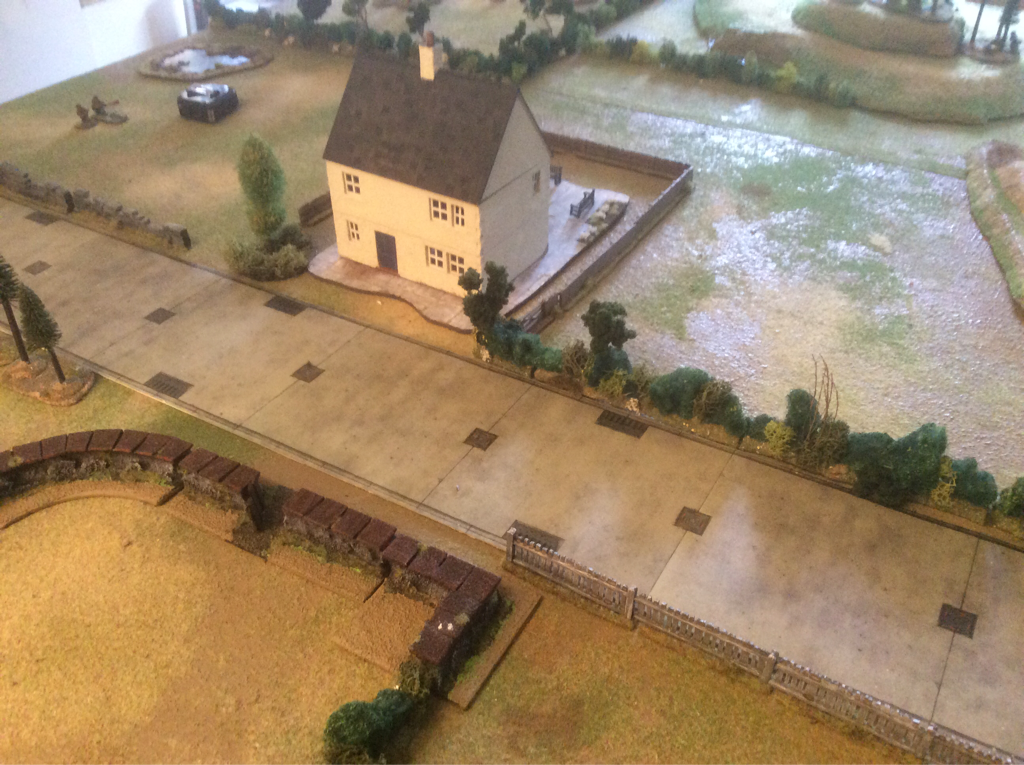 The objective, with Screaming Eagles inside the house. Last night Ian and I played a 1000 point game between his Fallschirmjägers and my British, topped up by a US Airborne squad and MMG. We played scenario 4, Hold Until Relieved, agreeing that the US squads would hold the objective while the British would arrive to bail them out. Or not, as it transpired.... The objective was the privy behind the house in the centre of the table. I placed the Airborne squad in the house and the MMG in the garden behind a fence. We gave the Airborne their own order dice. Ian deployed in an arc around three sides, with three full squads of infantry and a fire base on a hill overlooking the house. I conceded in turn 5, having been outgunned and completely outmanoeuvred. Ian got up close to the house early on, destroyed the MMG and wore down the Airborne in the house with mortar fire, small arms and finally a close assault. I was too slow to place my relief force between the objective and danger, and I made two major mistakes: first, I moved an infantry section up between two fires, hugging the hedgerow for cover from one side while exposing its open flank to a German MMG; and second, my own MMG, arriving from reserve, ended its first move in line of sight of a sniper who immediately wiped out the gunner. How we laughed. Oh, and Ian's flamethrower team toasted my First lieutenant before itself being blatted. Not a good trade-off for me. 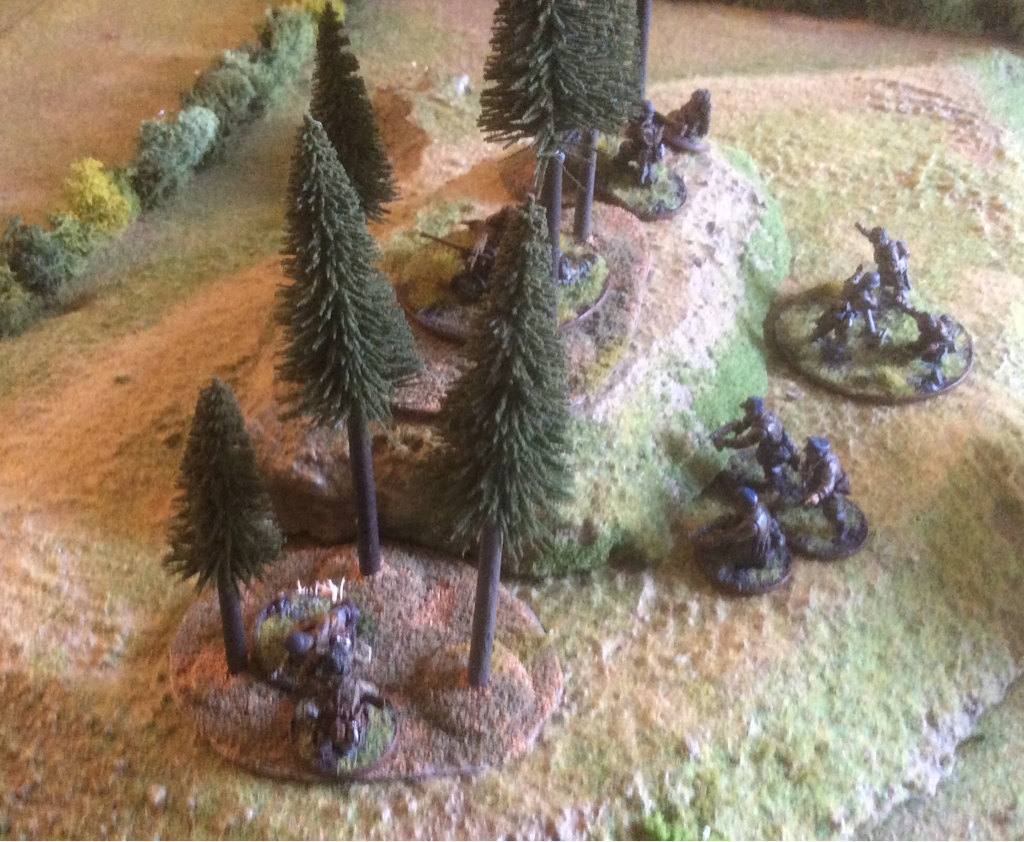 Ian's Fire base. The mortar was especially effective. Ian’s single misfortune was to close assault my surviving British section with a Fallschirmjager squad and lose. The odds were in his favour so it wasn’t a mad move, but the price for poor dice rolls in close assault is high. It’s funny how often the dice give the losing side some crumb to console themselves for a duffing up. My main lessons from the evening: Mortars are an excellent weapon against fixed positions. Close assault is unpredictable, decisive and best avoided until the odds are overwhelming and/or firepower won’t be enough to do the job. Taking cover, however reassuring the protection, can be a distraction from achieving the scenario objective. I liked the look of my section tucked up snugly behind its hedgerow, but I should have been moving it up to relieve the poor Airborne. The German assault rifle is a beast. 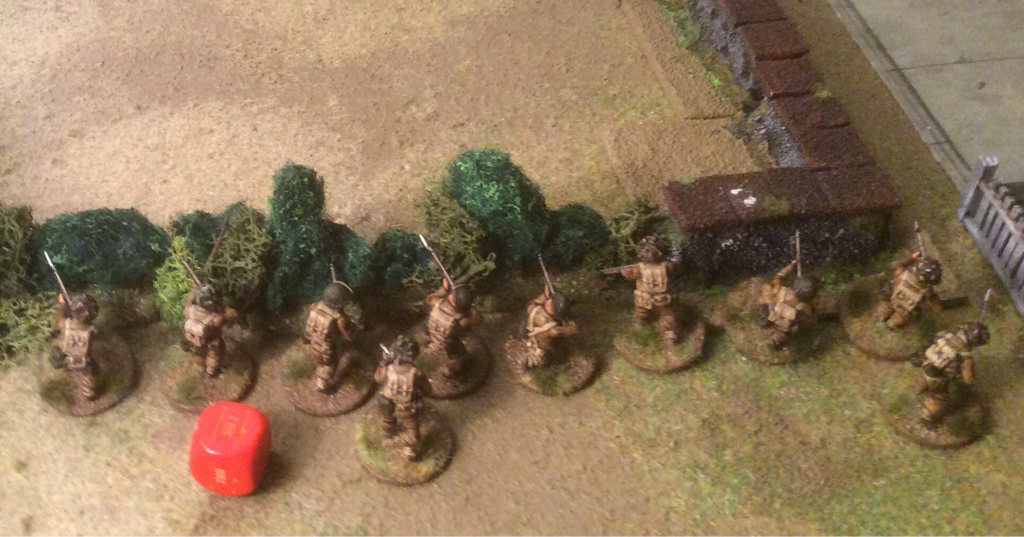 Neatly sheltering behind the hedge, but not actually contesting the objective As for force selection, I need more British infantry. Since the release of Version Two was announced, I have been thinking of delaying more purchases: the British plastics are bigger and harder to pose than recent Warlord plastic releases (Ian’s Fallschirmjagers are much smaller and more lifelike than my Brits) so I am hoping they get a reboot soon. But we now know that the new starter set will have new US Airborne plastics, so I guess it will still be some time before the Brits are replaced. I can’t wait that long, so I don’t really have a choice. (It reminds me of the time when GW introduced the new, tiny and beautifully sculpted Night Goblins, thereby rendering obsolete my freshly painted army using the previous, now gigantic and crude-looking multi-pose set. But I think it just has to be!) 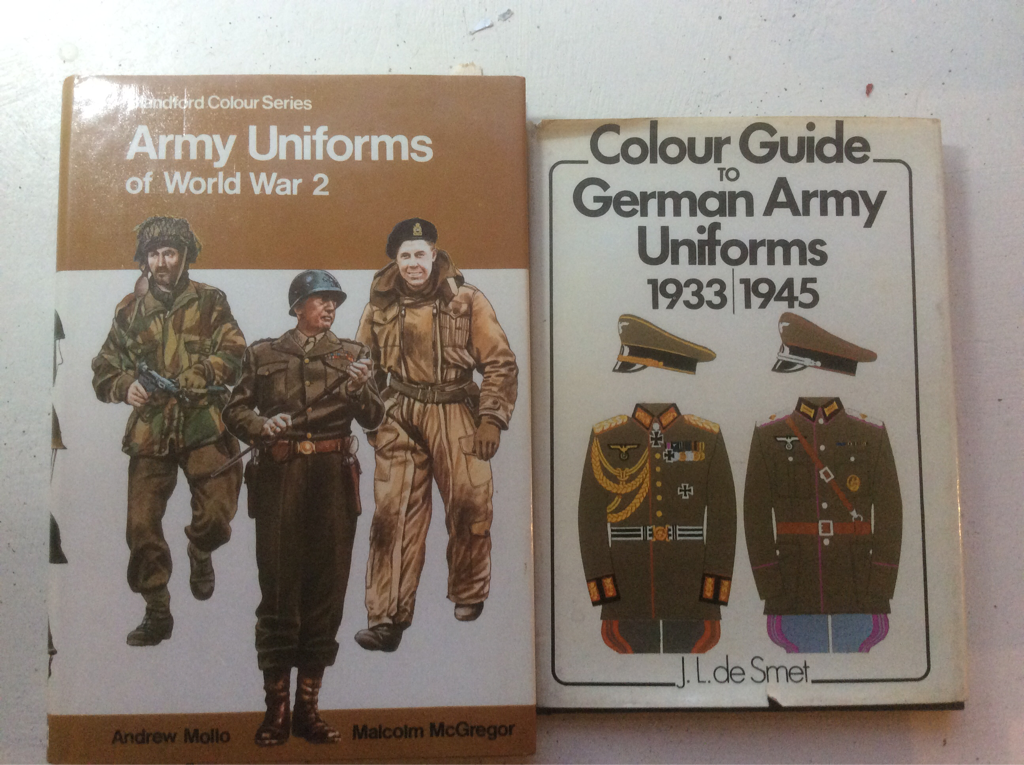 Today I picked up these two titles in our excellent local second hand book store. The German uniform guide, which dates from 1973, is packed full of interesting details. In truth a lot of it will be wasted on my painting skills but I predict that some cuff bands will appear on my Germans pretty soon. I'm also tempted to pick up the Warlord general staff set for the bling. 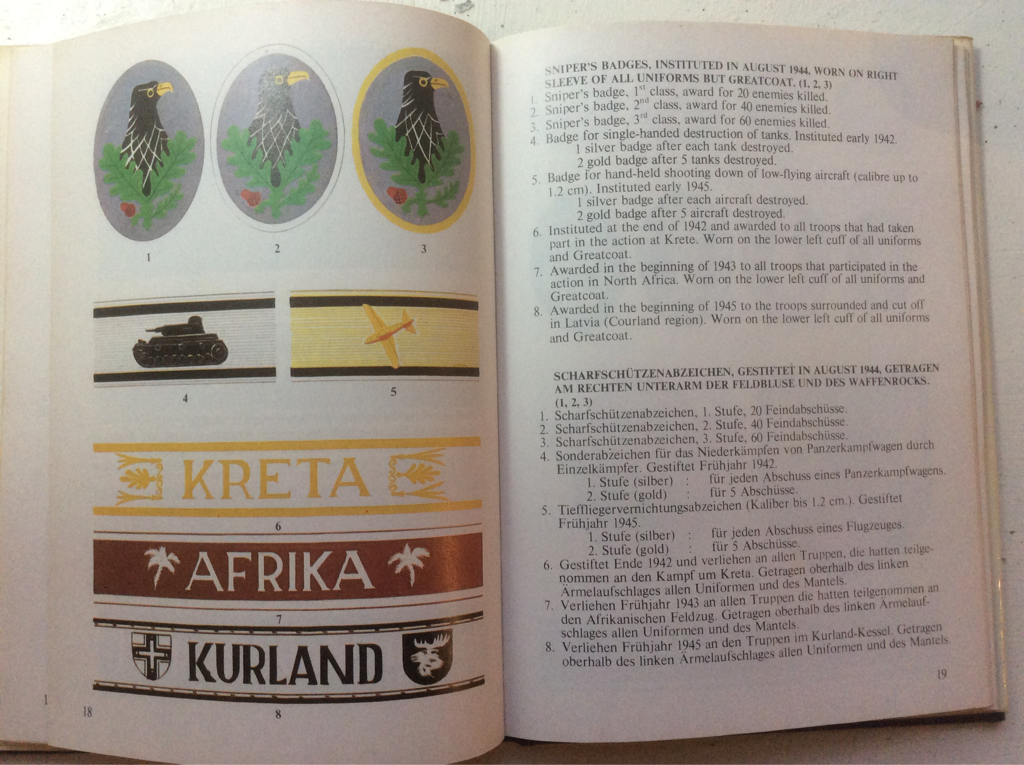 The Blandford title goes back to 1974. The illustrations, all based on contemporary photos, are very pleasing to study. They include some uniforms I have never seen before, such as an Italian Liberation Corps officer, in British uniform with Bersaglieri feathers on his helmet. There is a French mounted officer of Moroccan rifles in Italy, wearing a fabulous striped djellabah (sleeved over-garment). The fact that every figure is based on a real person brings home how much dress differed from the regulations. I doubt I'll ever collect a French colonial force (although never say never, I didn't expect to own a Cossack 17th century army but there they now are in the cupboard!). But the figures for late war Western Europe provide loads of inspiration. In fact, I think figure 166 alone is enough to inspire me to start a German Grenadier platoon. I spend hours trawling through the Internet for uniform information and scenario ideas and it is a wonderful resource. But turning the pages of a book, especially when it's a charity shop find, is strangely satisfying. 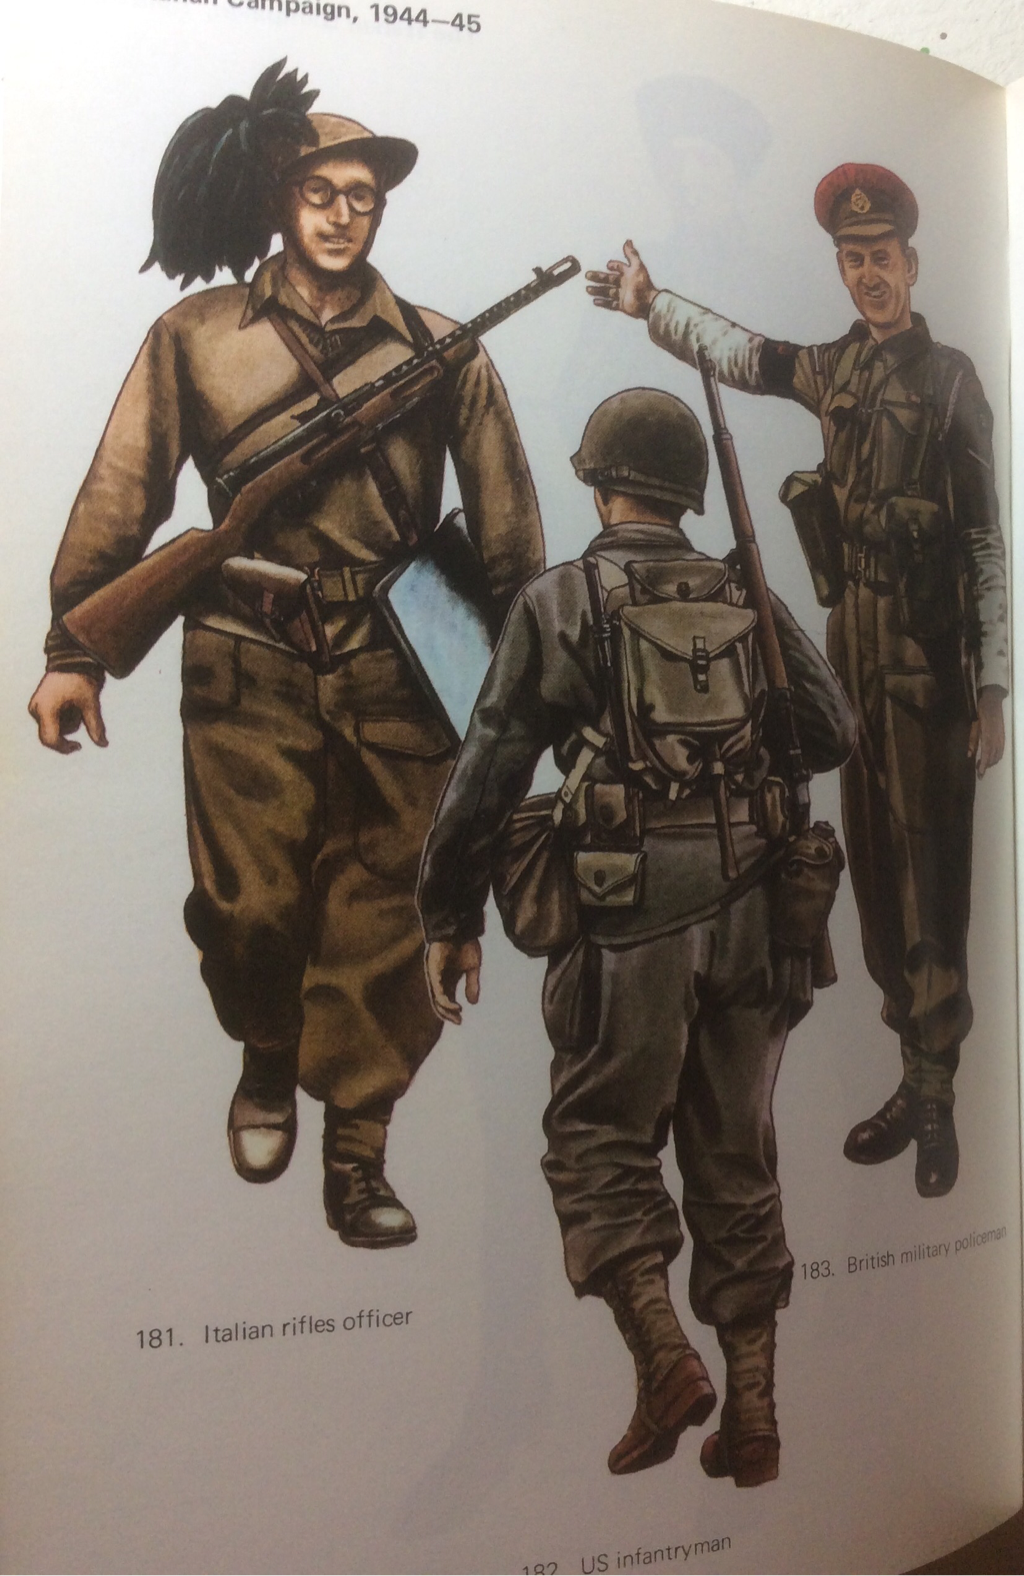 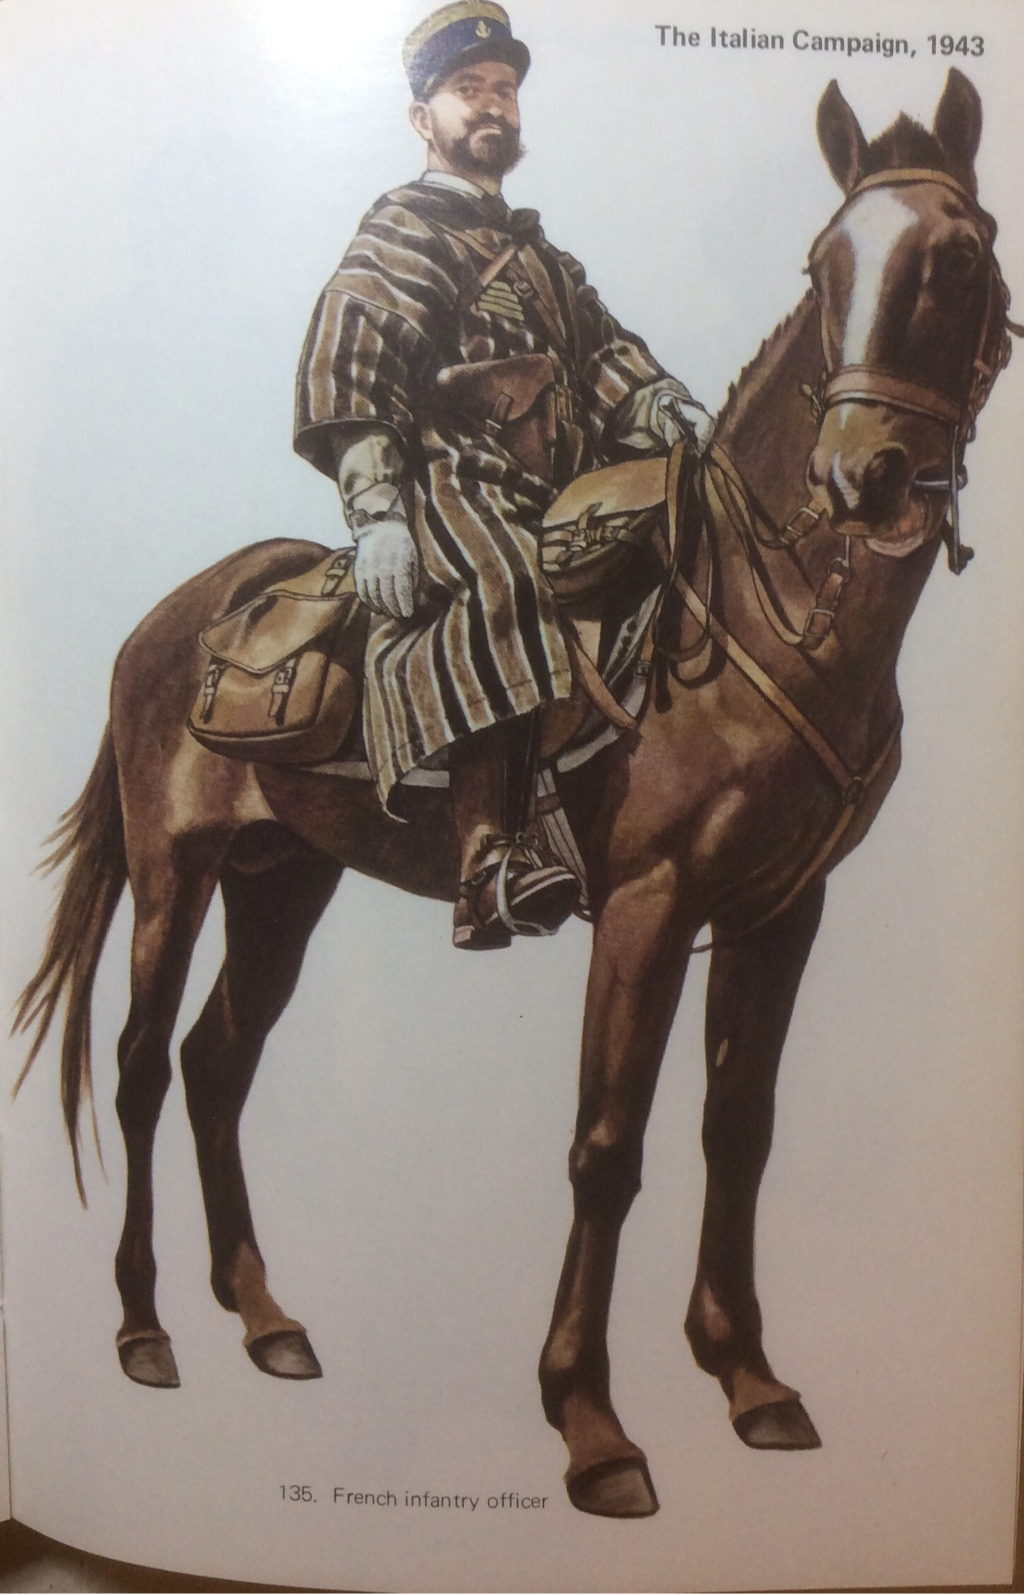 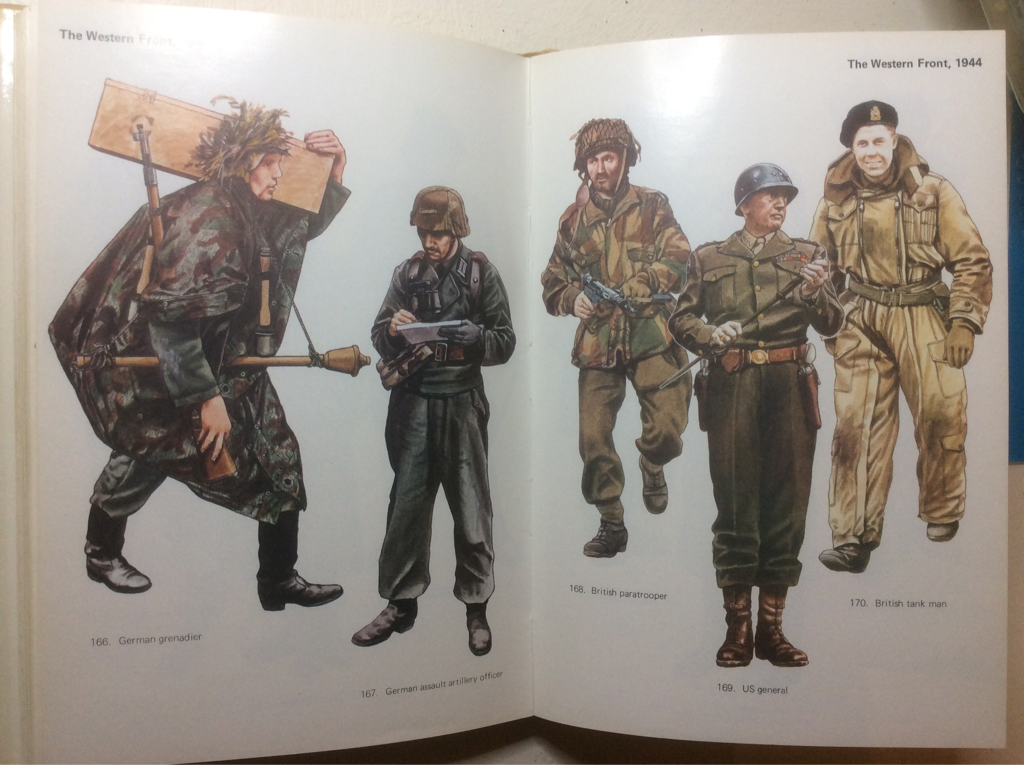 I have spent the past several evenings making lengths of model bocage for our scenarios in Normandy. It was a bit of trial and error but I am quite happy with the end result. I started with DAS air-drying modelling clay, some wooden skewers, green pan scourers, Icelandic moss in various shades and some clump foliage by Woodland Scenics. The steps I followed were: 1. Make sausages of DAS, mould them into a Toblerone shape and stick lengths of skewer into them to provide a purchase for the foliage. Collect twigs from the garden and stick a few of these in to add height. From the options in our garden, I found that Thyme twigs look the most like miniature trees. Texture the sides with the point of another skewer. Leave to dry for at least three days. 2. Paint the dry DAS with earth coloured emulsion (I use Dulux Chalky Downs 1, a close match to GW steel legion drab). 3. Coat the sides of the DAS with PVA and apply green flock. 4. Tear up the pan scourers into ragged shapes. I discovered that the secret is to use the cheapest scourers you can find: my first purchase from a supermarket wouldn't tear up sufficiently. Pound shop scourers are much cheaper and better for this purpose. 5. Dab PVA glue onto the top of the DAS sausages and press down pieces of torn scourer, alternating with clumps of Icelandic moss. Dry overnight. 6. Dry brush the pieces of scourer with different shades of green acrylic paint, from darker to lighter. 7. Dry brush selected pieces of scourer with white, yellow or pink paint to represent blossom. This works for Normandy in June but if you're being picky, it wouldn't suit high summer! 8. When all the bushes have been coloured, apply clump foliage to the Thyme twigs with super glue. 9. Finally, titivate the bases with random bits of foliage. Lessons for future projects: DAS warps! Pieces longer than 6" tend to twist as they dry so don't make them too long. Don't bother to texture the DAS as it doesn't show through. Sticking clump foliage to twigs is a messy nightmare: PVA won't hold it and superglue gets everywhere. I'm sure Woodland Scenics must make a specialist glue for this. I wondered whether to use just Icelandic moss as it looks more realistic than scourer, but scourer is much more rigid so I think a combination will be more hard wearing. And at gaming distance, it looks pretty convincing I hope.
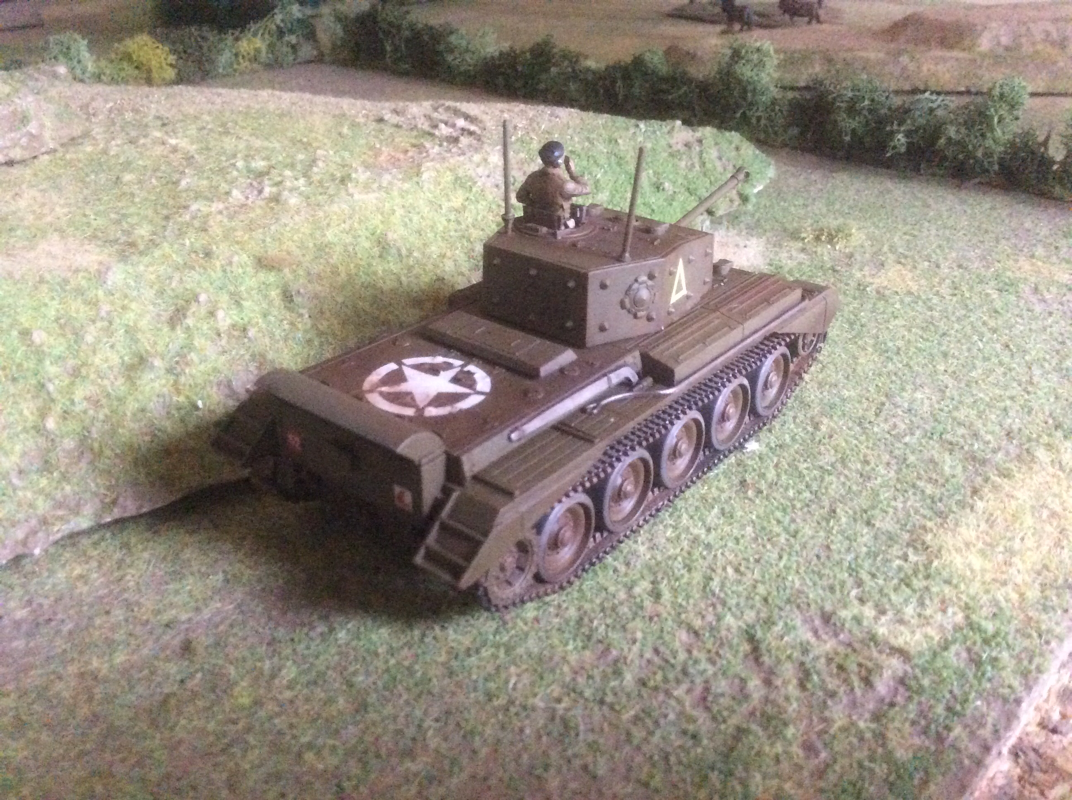
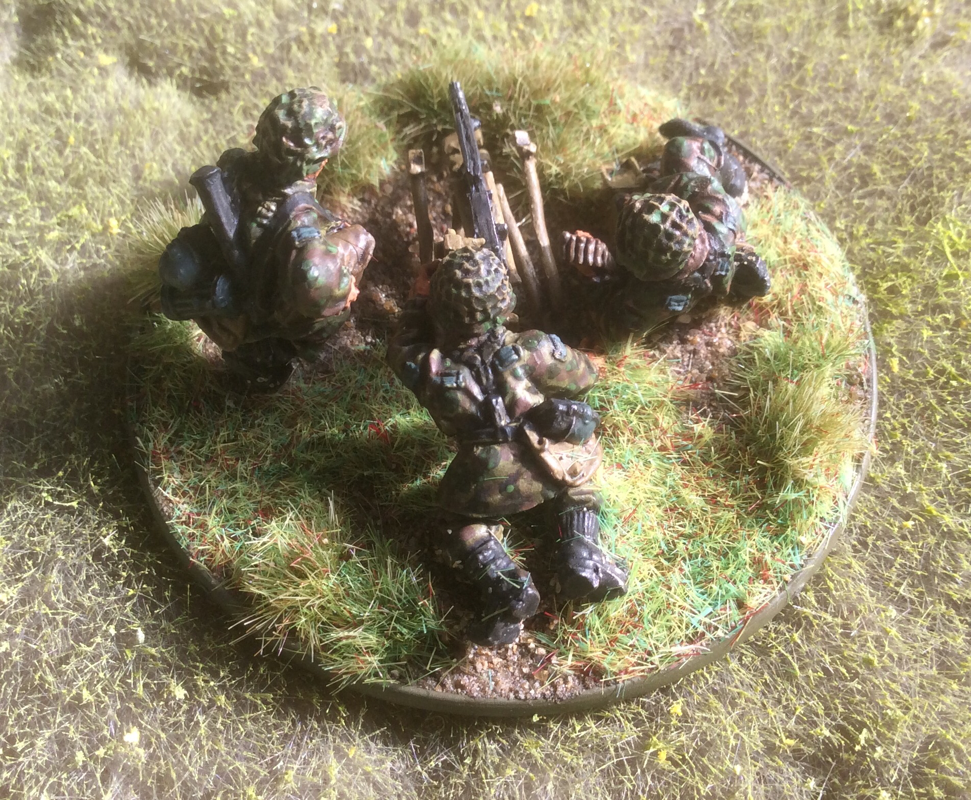
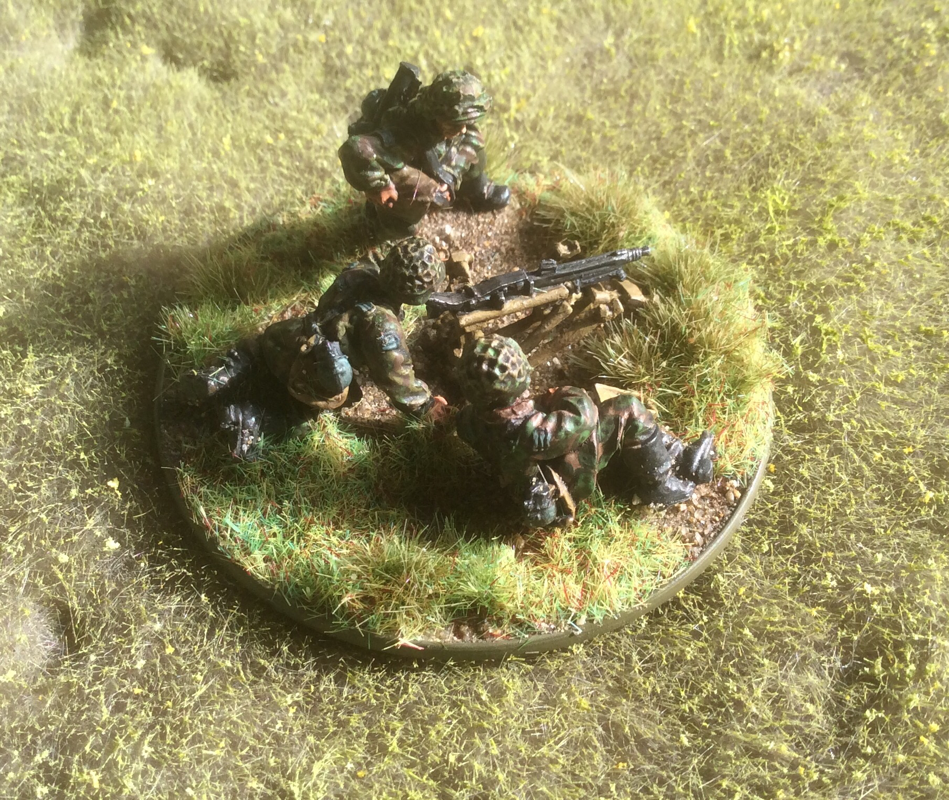
Overall, this has been a fun project but very messy. I'm looking forward to seeing my bocage in action. 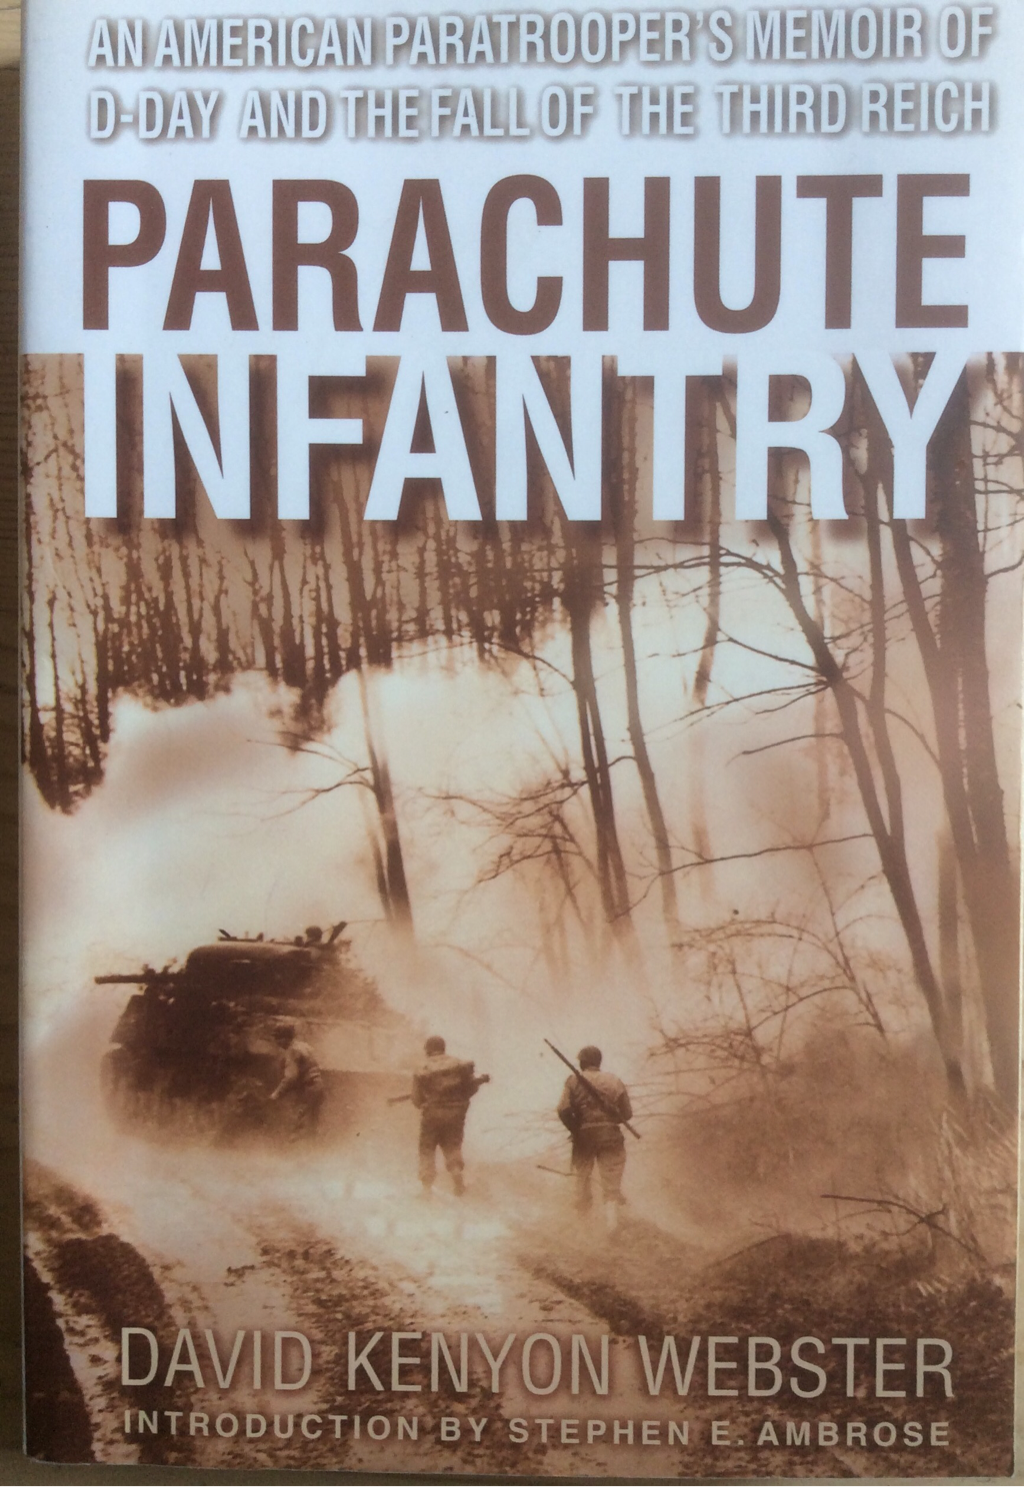 Last week I picked up a second hand copy of Parachute Infantry, a memoir from D-Day to the Fall of the Third Reich by David Kenyon Webster (Delta, New York 2002). I finished it in six days. Webster was a private in the 506th Airborne, part of the 101st Division. The book begins with preparations for the jump on 6 June and ends in 1945, when Kenyon returns to civilian life. The memoir was a key source for Stephen Ambrose's Band of Brothers and Webster is played in the HBO series by Eion Bailey. The main engagements covered in the book are D Day, Market Garden and Haguenau. There is a fascinating section about the last months of the war in Germany, when the 506th occupies Berchtesgarten and enjoys the fruits of victory. Get hold of a copy if you haven't already read it. The descriptions of combat are vivid, but the portrayal of general life in the front line is the real gem. The book brings out the close attachments between the men in the unit, their frustration with Army 'chickenshit' and the pettiness of some officers. There is a gripping chapter about a patrol to capture German prisoners at Haguenau, with tension building over days of preparation as the elements are put in place. Webster's reflections on the British army are interesting. He has respect for the bravery of the men, especially the British Airborne, and he praises the efficiency of British artillery. But he accuses British armour of inflexibility and lack of initiative during Market Garden, as well as a reluctance to throw everything at the enemy. He maintains that had Patton been in command, Arnhem would have been relieved. He has warm praise for British army tea. The memoir doesn't flinch from the grim aspects of war. Throughout, Webster and his comrades come across as normal young men, doing their best in abnormal conditions. Despite the darker incidents they witness and the moral compromises involved in life on the front line, this is a thoroughly uplifting memoir. I'm not sure the book is still in print, but there is an extract on this website, as well as some of his letters home: http://www.davidkenyonwebster.com/index.html. 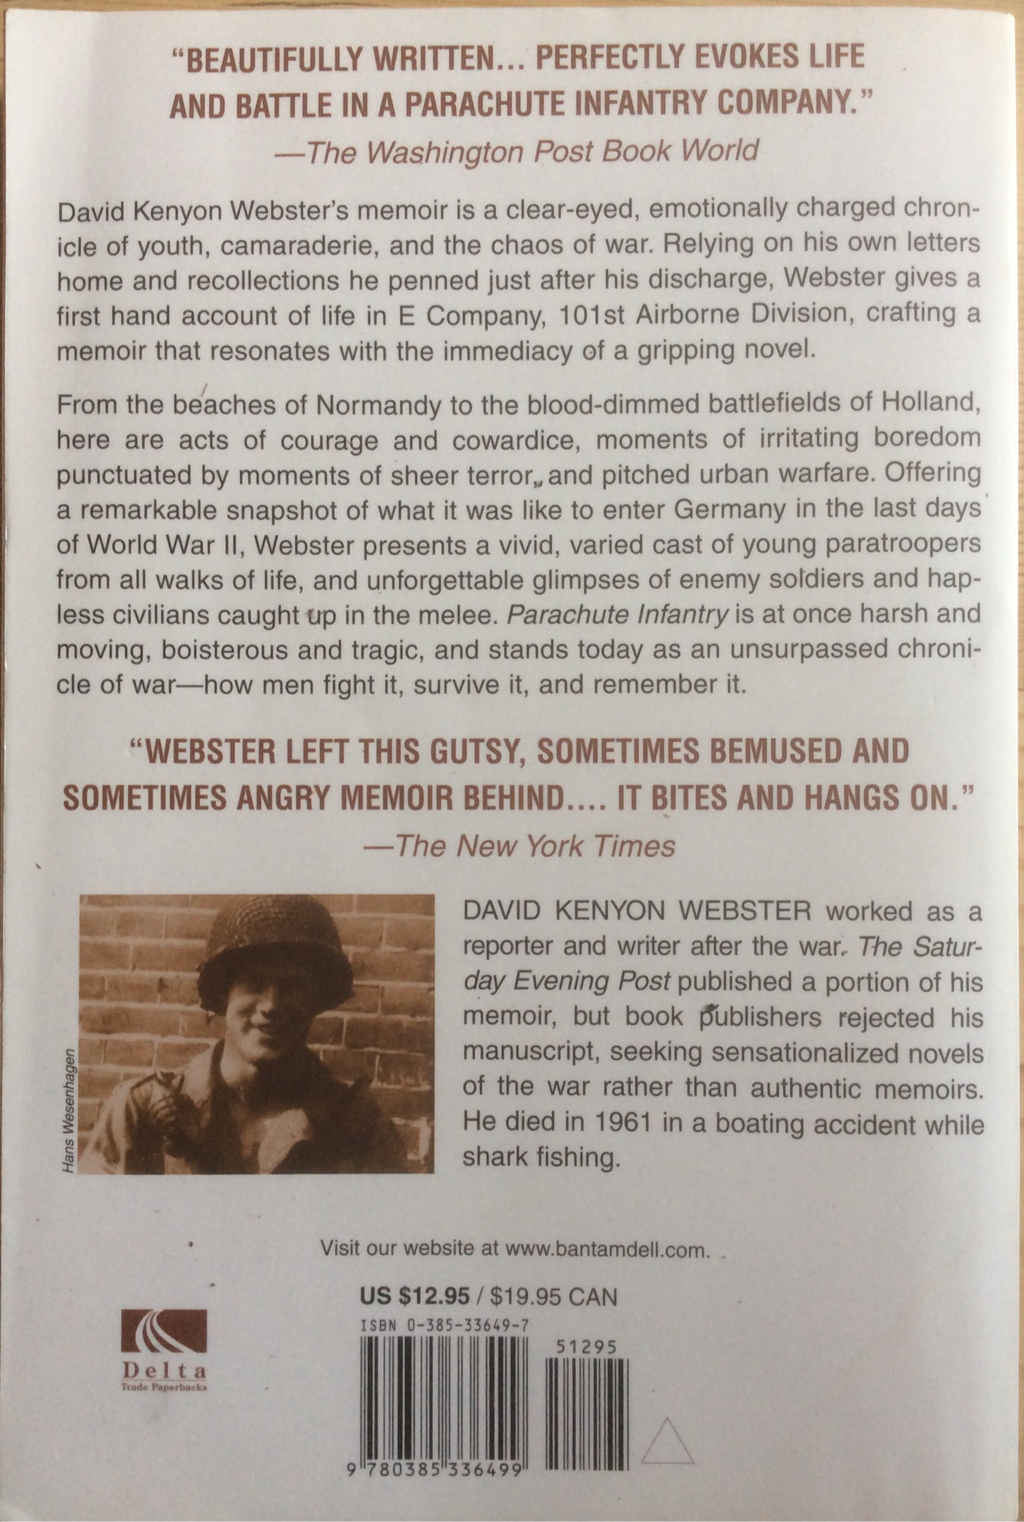 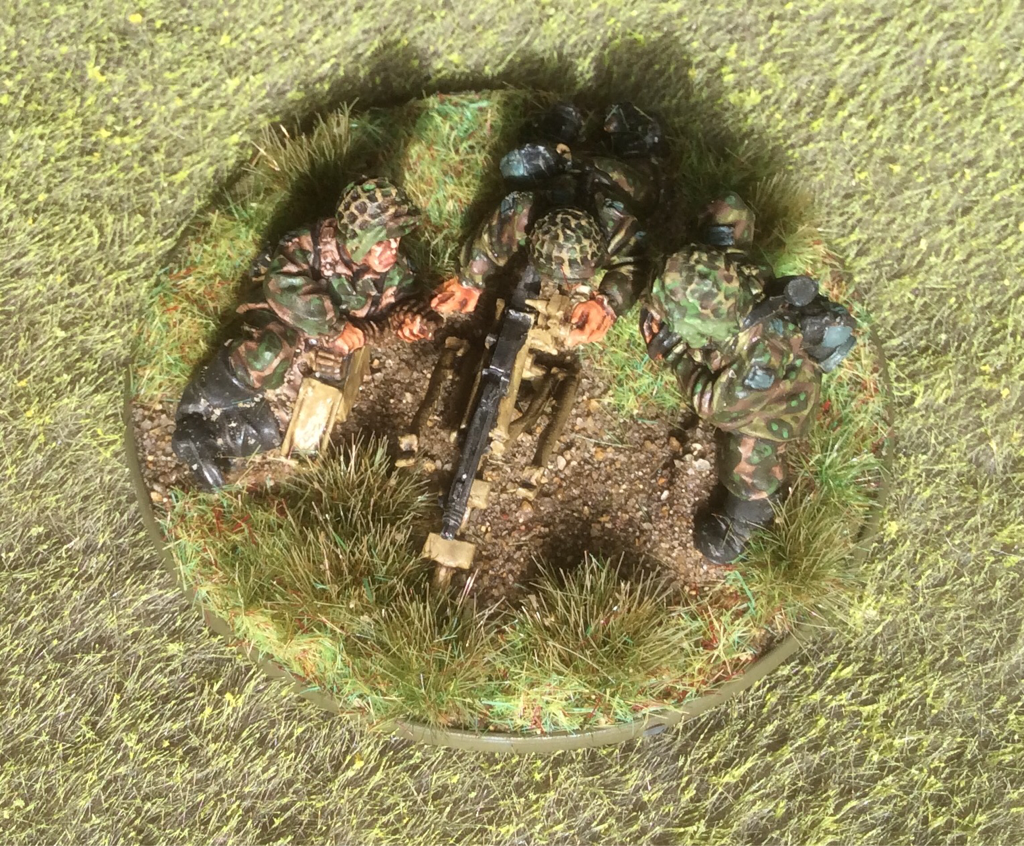 I have finished a German machine gun team in camouflage, fleshing out the Waffen SS boxed set. I followed the steps on the Flames of War website. http://www.flamesofwar.com. Although the guide is for 15mm figures, it scaled up pretty well I think. When I was painting the figures, I wondered if the colours were a bit bright. But looking at the finished models from 'wargaming' distance, I think they could have been brighter still. I varnished the team with Windsor and Newton, using a brush. No hot weather frosting thus time, I'm glad to say. Rats! I chose the hottest day of the year to spray Matt varnish on my British vehicles. Immediately it gave them a white bloom, obscuring much of the weathering that I'd applied so carefully with Forge World powders. What an idiot. Of course, my son Will explained, the biggest risk of this happening is on a hot day. Didn't I know? Well, obviously not. The solution, he suggested, was to apply more varnish by brush. This actually worked. I'll know what to do next time the white bloom appears but it'll save time and my patience if I remember in future not to spray varnish in the heat. Meanwhile, I am trying different recipes for Oak leaf camouflage on my German MMG team. I'm probably most pleased with the advice on the Flames of War website. Next up is the newly delivered Cromwell.  Post powders, pre spray varnish |
Archives
November 2023
Categories
All
|


 RSS Feed