|
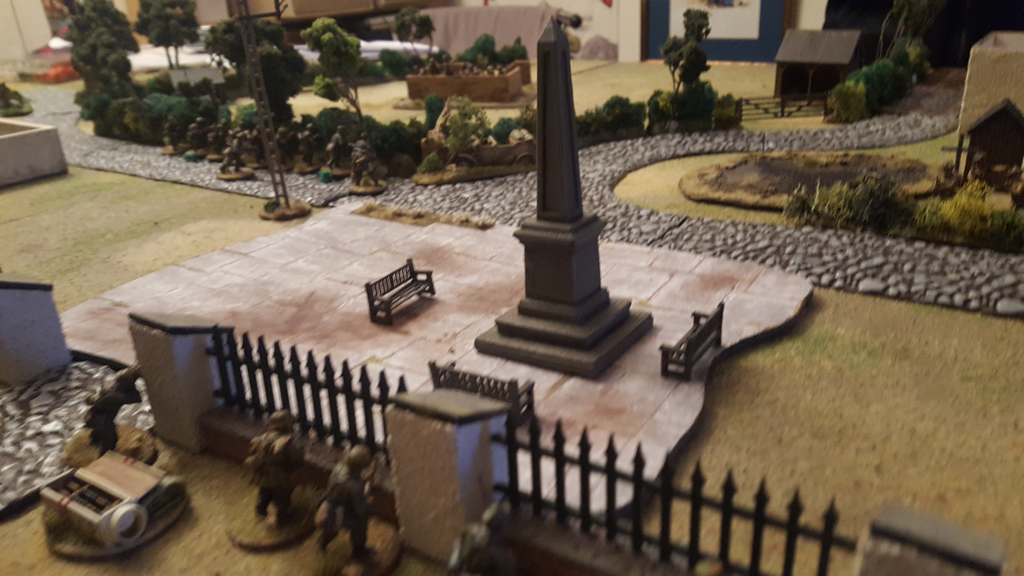
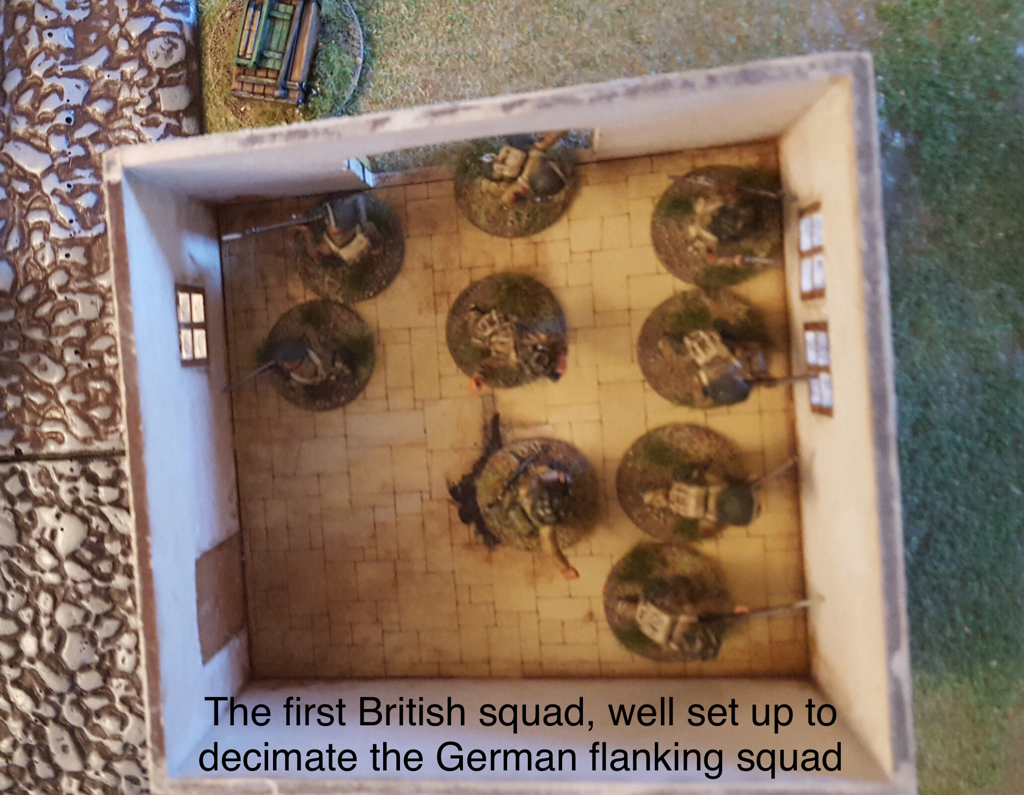
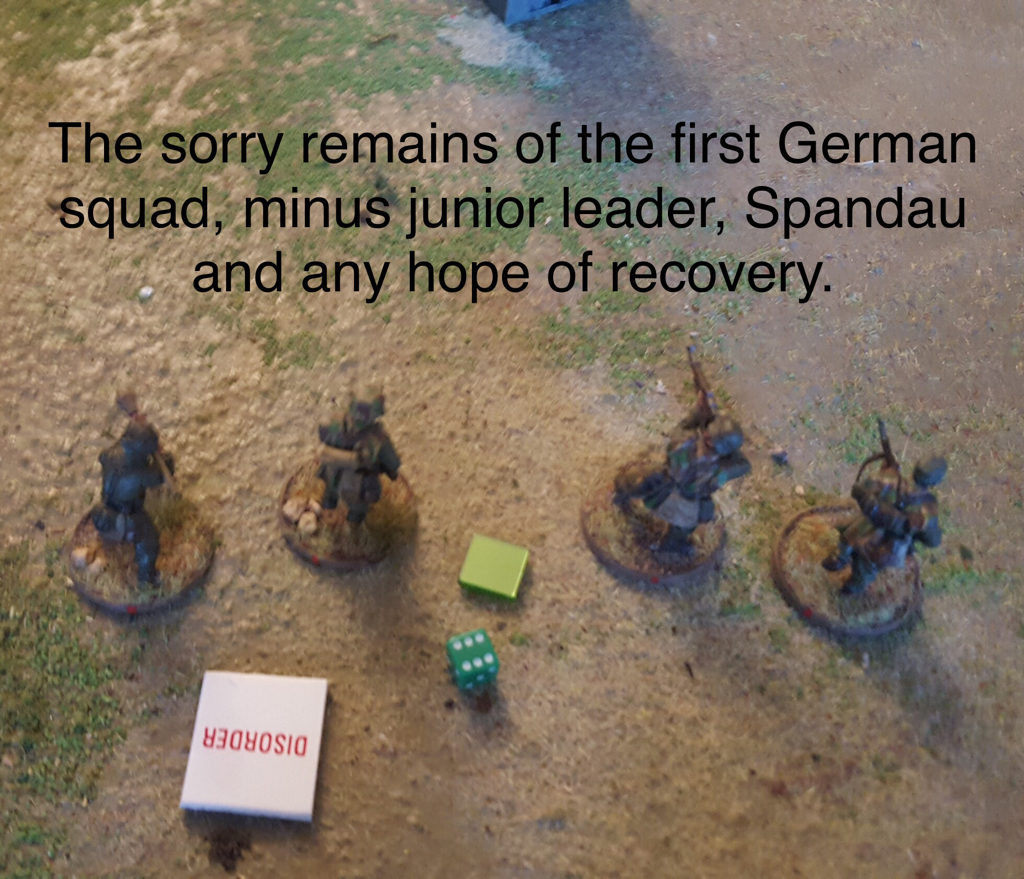
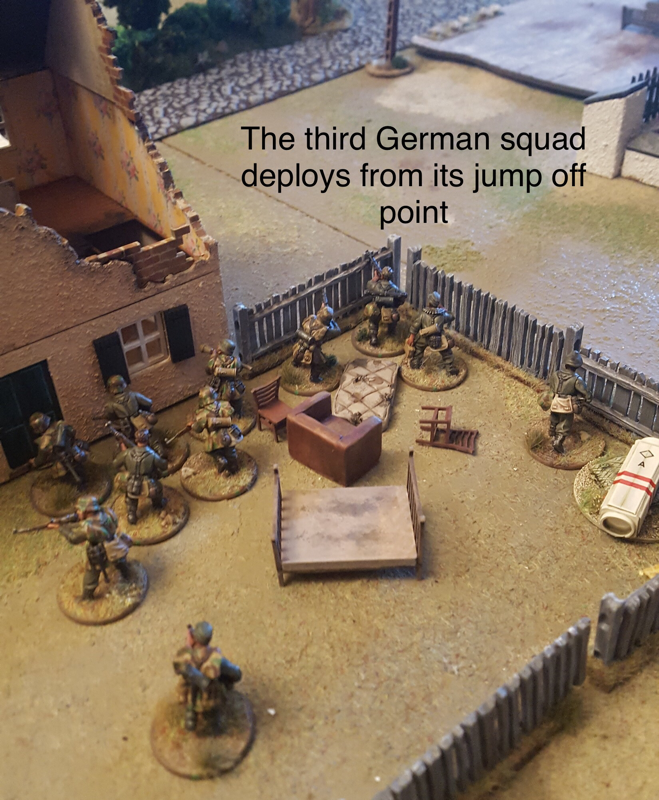
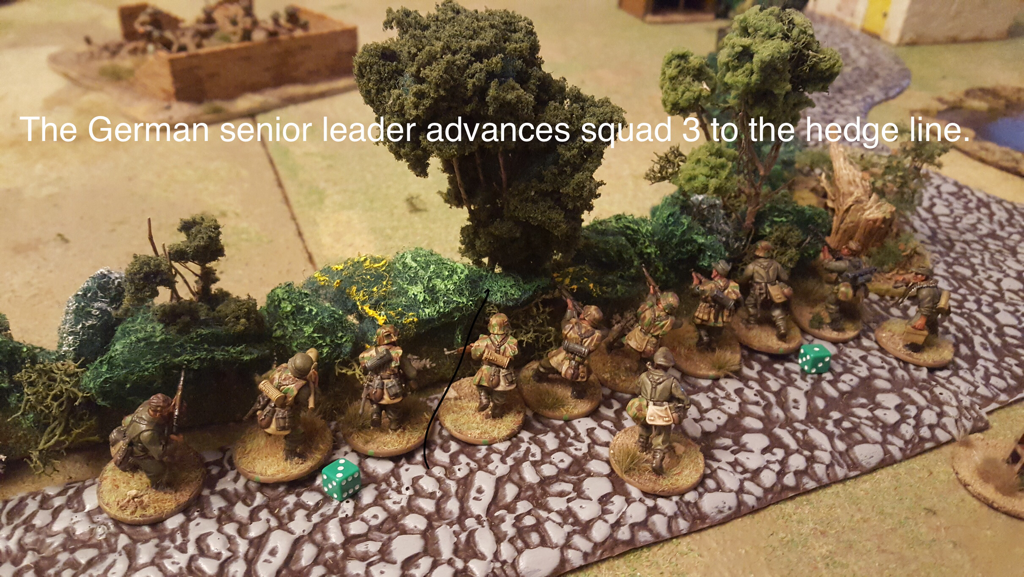
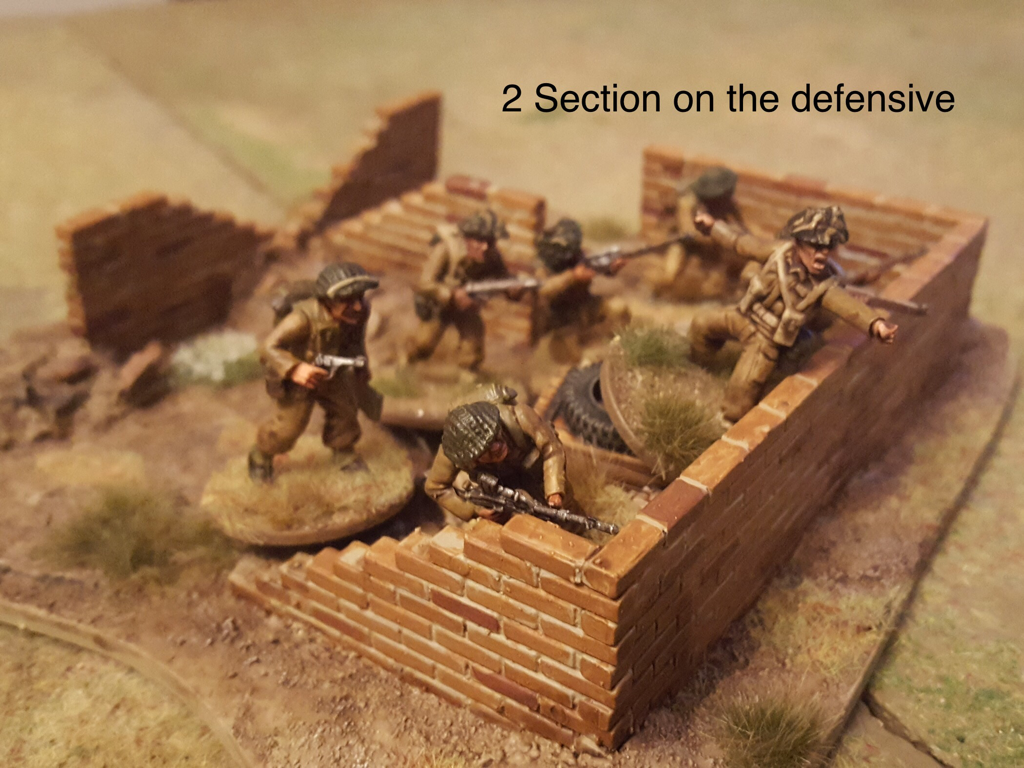
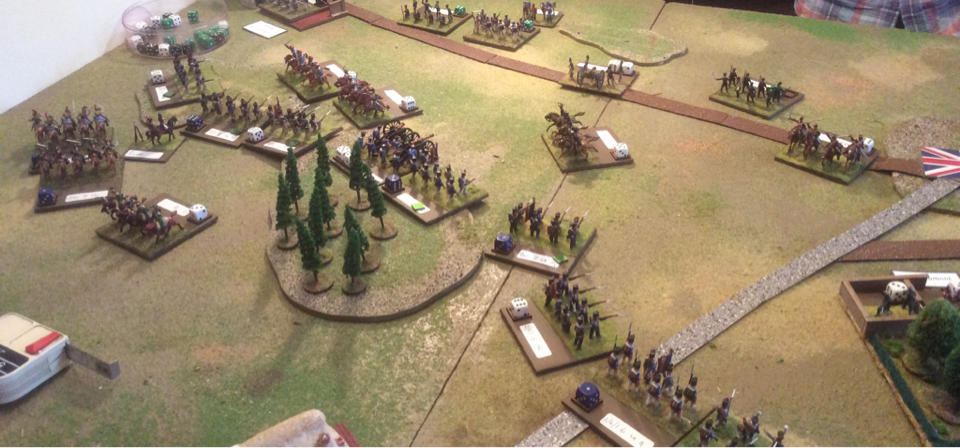
This week I finally played my first game of Chain of Command. I have had the rules for about four years but found them a daunting read and never got around to trying them. Somehow Bolt Action was that bit easier to grasp. Then along came Spencer, member of the Staines Wargamers and keen CoC player, who very kindly agreed to run a game in the shed for me and Matt, who has played it a little but is also pretty much a beginner. What can I say? I am hooked. These rules are so much more intuitive in play than in print. We had a platoon of regulars each, with no supports. Matt took the Brits and I had the Germans. It was a patrol encounter with a twist: there was a crashed kubelwagen near the middle of the table that I needed to control and Matt needed to deny me. Chain of Command has been around for a long time so I presume it’s main design elements are pretty well known. The salient features for me are the patrol phase, jump off markers and Command dice. Spencer offered some useful tips for using the patrol phase to win ground, which was actually an intriguing game within the game. When it ended, Matt had a row of jump off markers in the centre of the table while I had two markers facing his in the centre and a third a little behind his left. I hoped this would give me a flanking advantage but in the event my daft deployment nearly cost me the game. Once we started placing figures, I quickly got into trouble. I deployed my first squad from the jump off point on my right flank in the open, placing the LMG team on overwatch and going tactical with the rifle team (increasing their cover save). Matt then deployed his first team in the building on his left, fired at my squad and began to dismantle it. Thanks to rolling several sixes, he played three phases on the trot, by the end of which I had lost my LMG team, junior leader and a couple of riflemen. My remaining troopers were pinned in the open. Bummer. When my next turn came around I could do nothing to help the battered squad so deployed my remaining two squads and senior leader on my centre and left, close to the kubelwagen. Matt meanwhile deployed his second section beside his first on his left and his third section in the centre. I think his decision to reinforce his first section gave me a chance to recover from my stupid first move, as although he could now wipe out my first squad, I had more weapons firing at his troops in the centre than he had firing at mine. To cut a long story short, my left hand squad and senior leader reached the kubelwagen and lined a hedgerow, from which they won a duel with Matt’s third section; Matt moved his second section forward but they were pinned by my central squad; and he took his first section out of their building to put an end to my first squad and neutralise its jump off point. By game end, I had lost one squad and a jump off point, but Matt had lost two sections, two jump off points and control of the kubelwagen. I used my first and only Chain of Command die to end the turn and Matt’s force morale fell to zero. The game was exciting throughout and I only just managed to swing the win. The dice favoured Matt at the start with his series of rolled over phases but later on, I had some well above average shooting results, so (as always) the luck evened out. Spencer was an excellent tutor and umpire, advising us both on rules niceties and options. I found the rules far easier to absorb in play than they had been while reading the book. I think this is true of all rules to an extent but I do find Lardies rulebooks especially hard to navigate. As for subtlety, I am sure it will be several games before I start to get the hang of how to play properly. Having played a great deal of Bolt Action, I suppose I am bound to compare the two rules. BA is easy to learn and plays quickly. It has lots of tension and is always fun. It can however see some pretty unlikely tactics, the ranges are way too short and a lot of hardware appears on table that should be a long way away. I also hate the fact that some players create gamey army lists to get a killer - but unhistorical - army, but that isn’t the fault of the rules themselves.
By contrast I think Chain of Command will take longer to master, even with the help of Spencer. But it will be worth the effort. CoC is definitely exciting to play. I really like the friction and uncertainty from the Command dice; the combat mechanics are not that complicated once you learn them and the players are faced with a wider range of tactical choices than with BA, both in what their figures can do and how they can operate. Of course, the most important factor to affect enjoyment in any game is the other player. Matt and Spencer were great company and the evening flew by. Spencer has recklessly agreed to come again. Before he does I’ve got some jump off points to build.
0 Comments
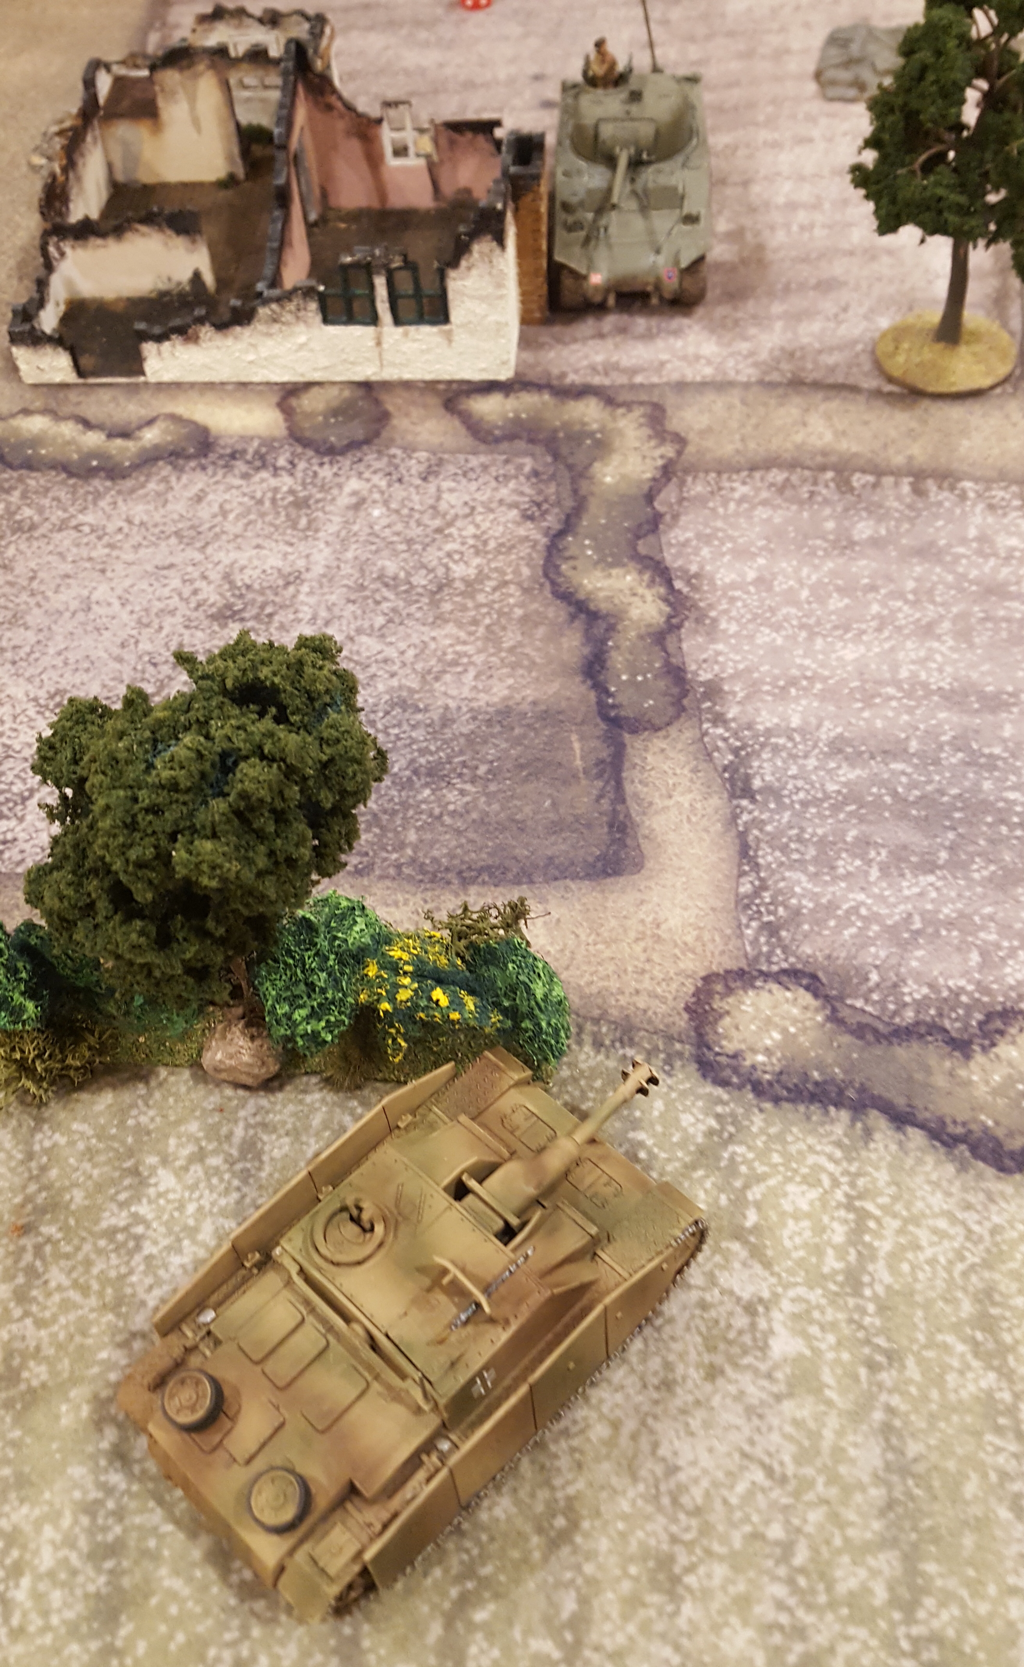
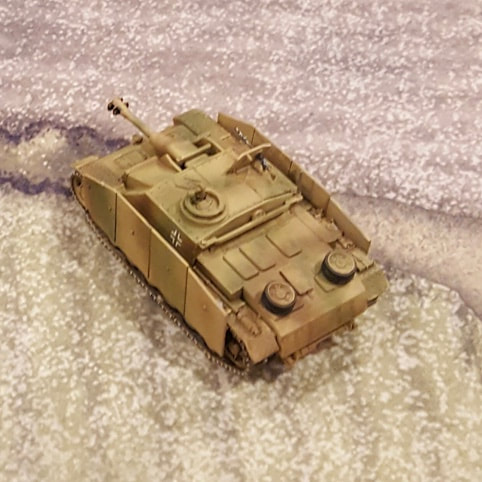
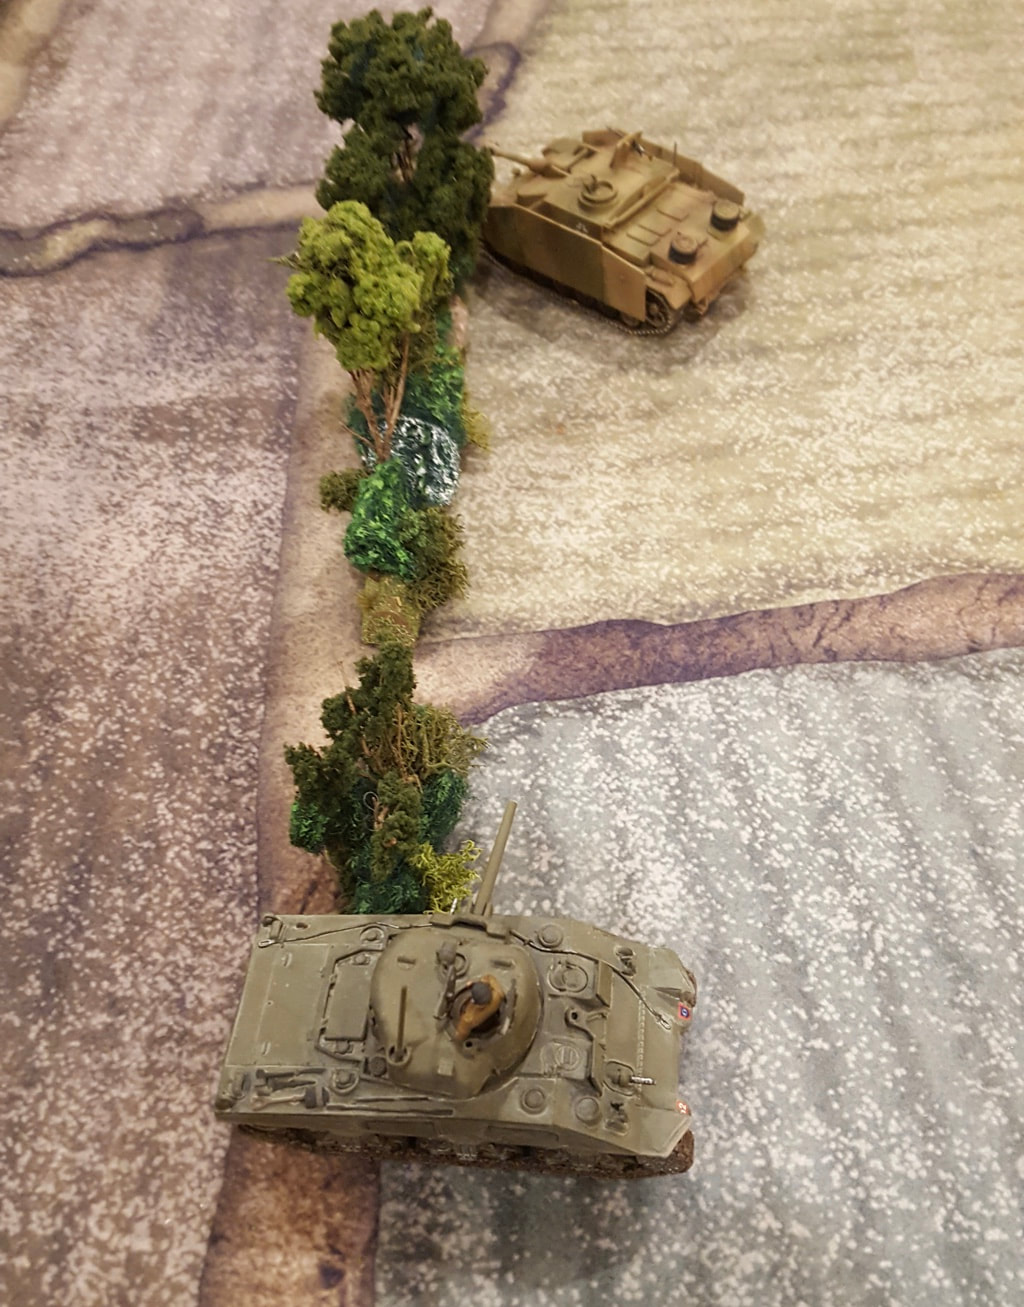
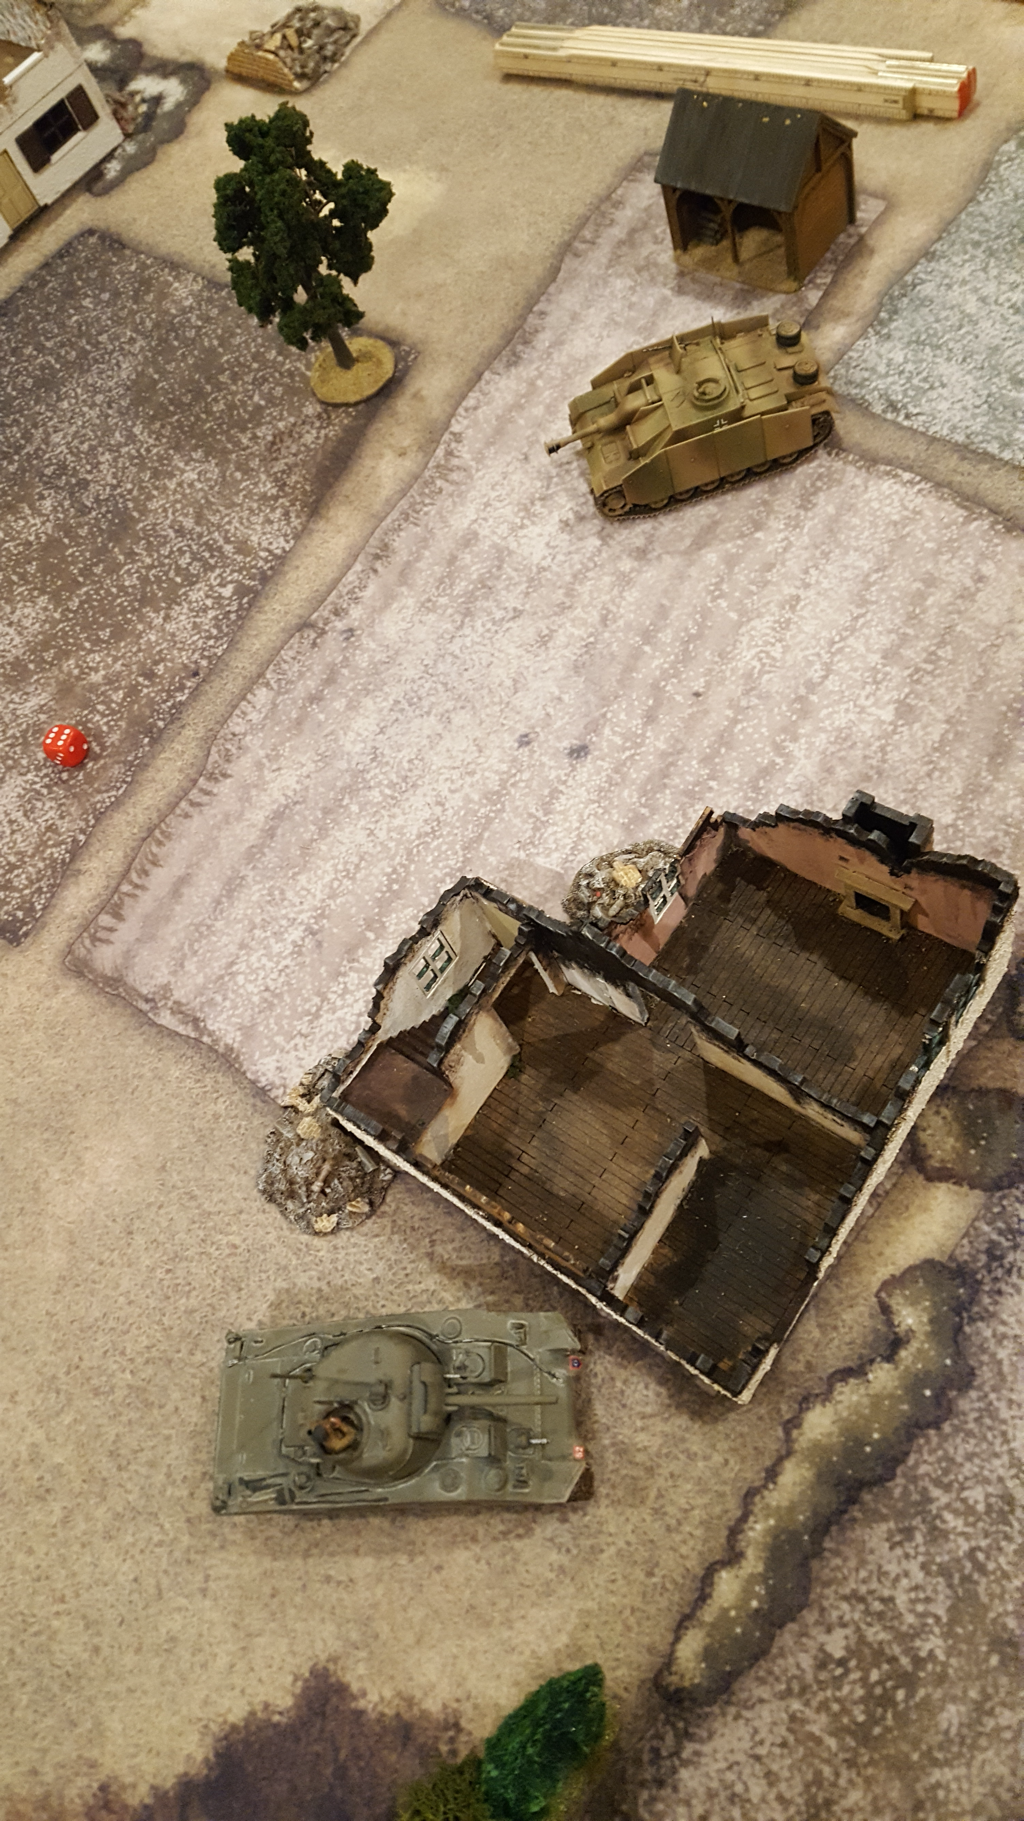
We managed to get an evening’s wargaming in over the Easter weekend. My son Nick is always happy to learn new systems so we agreed to try What a Tanker by the Too Fat Lardies. I had picked up the rules at Warfare in November along with a couple of MDF dashboards that the Rubicon team were selling. We took a Sherman and a Stug III G and set up a random table in the kitchen. We played three games in all, the first one as a cooperative venture to make sure we understood the rules. As it turned out we got the hang of the mechanics within the first couple of turns. We didn’t miss the absence of a quick reference sheet as this function is mostly fulfilled by the dashboard. Also the rules are nicely intuitive: you just have to remember what actions the dice stand for and any special rules for your AFV. We were very soon focussing on how to play, rather than on what the hell the rules meant. We also really enjoyed ourselves. For those who have yet to play the rules, the core mechanic is the roll of 6 dice for each vehicle at the start of its turn. Each result allows for one action (drive; acquire target; aim; fire; reload; and wild die). The player can play these dice in any order. A tank can lose dice, temporarily or for good, as a result of enemy fire. We found that being restricted by the dice rolls caused some frustration but not so much so as to spoil the enjoyment. In fact it created some exciting moments as a tank found itself unable to exploit a perfect opportunity. And not only do the action dice work well as a mechanic, they are a very effective antidote to the usual wargaming problem of the all-seeing player’s eye in the sky. And even a little reading of tank crew memoirs throws up many examples of the limitations on visibility and awareness for a crew shut up inside an AFV. Our games involved a lot of cat and mouse creeping around the field, each trying to get a shot in while taking maximum advantage of cover. We learned quite quickly that a flank or rear hit is far more effective than a hit on frontal armour. We also realised that it isn’t always smart to keep firing: that wild die might be better used to move back into cover at the end of the turn than to stay in the open and fire another round. We also agreed that a straight duel to the death between two tanks can lead to some strange behaviour, as each player hangs on in there for longer and takes more risks than would be sensible in reality. At one point we were following each other around a building, each hoping to land a rear shot. There is little incentive in the basic game to apply the principle of ‘shoot and scoot’! I guess the answer is to have more than two vehicles on the table and/or to create scenarios that encourage ‘historical’ behaviour. We agreed that What a Tanker is an elegant and exciting set of rules. In years gone by I think we would have called it a Beer and Pretzels game. I would mean that as a compliment.
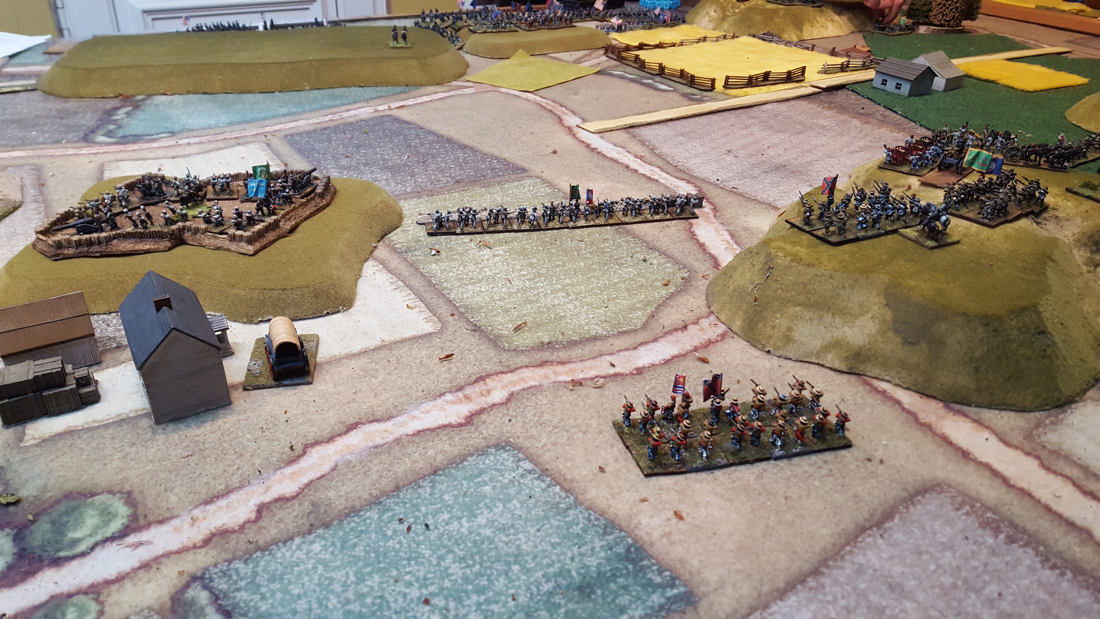
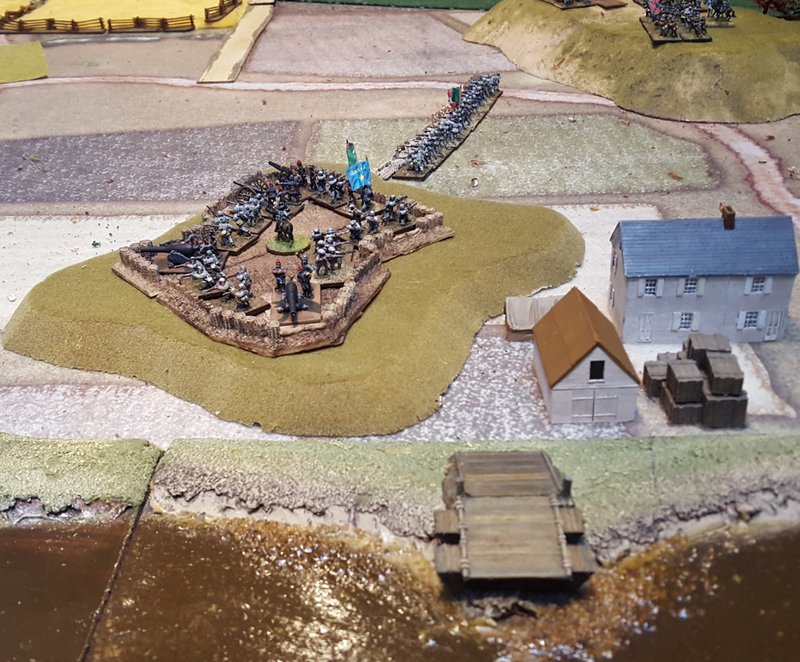
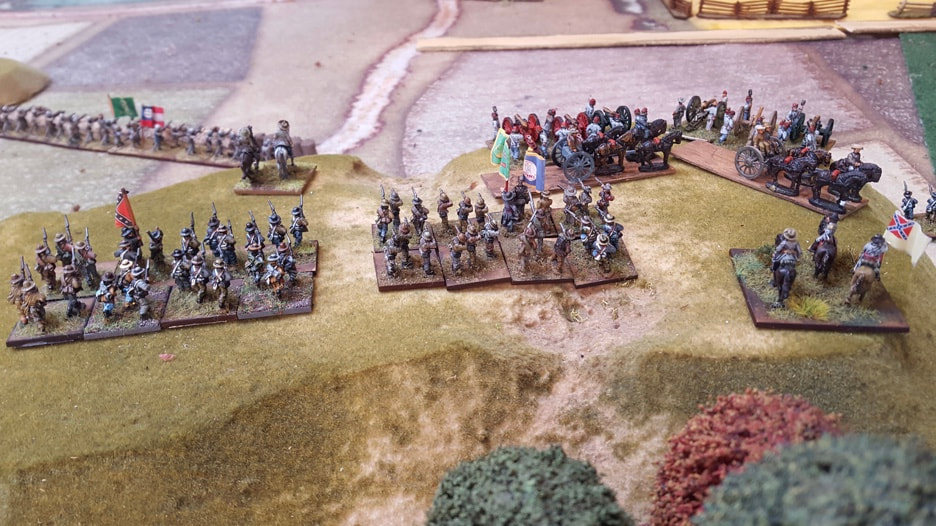
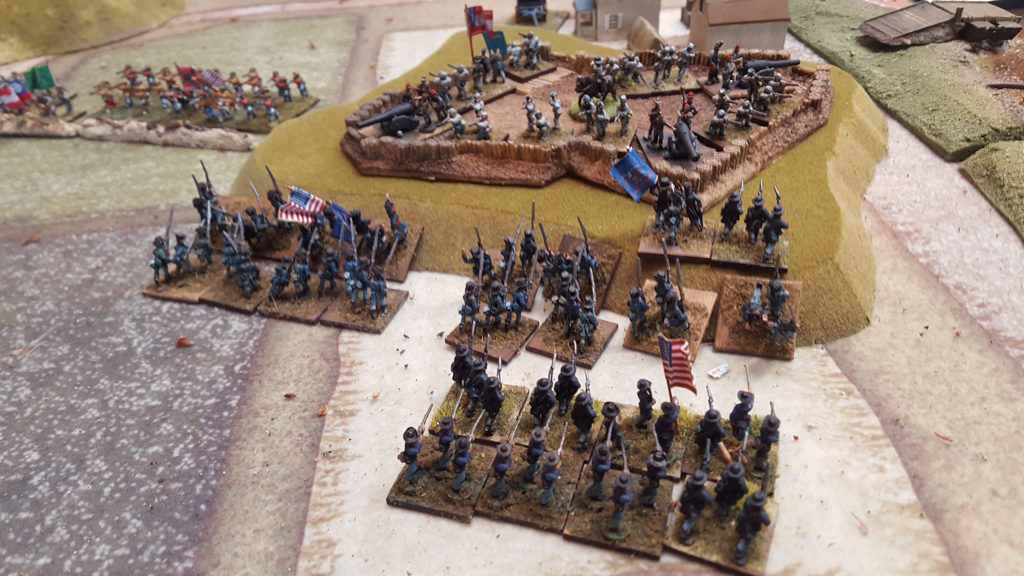
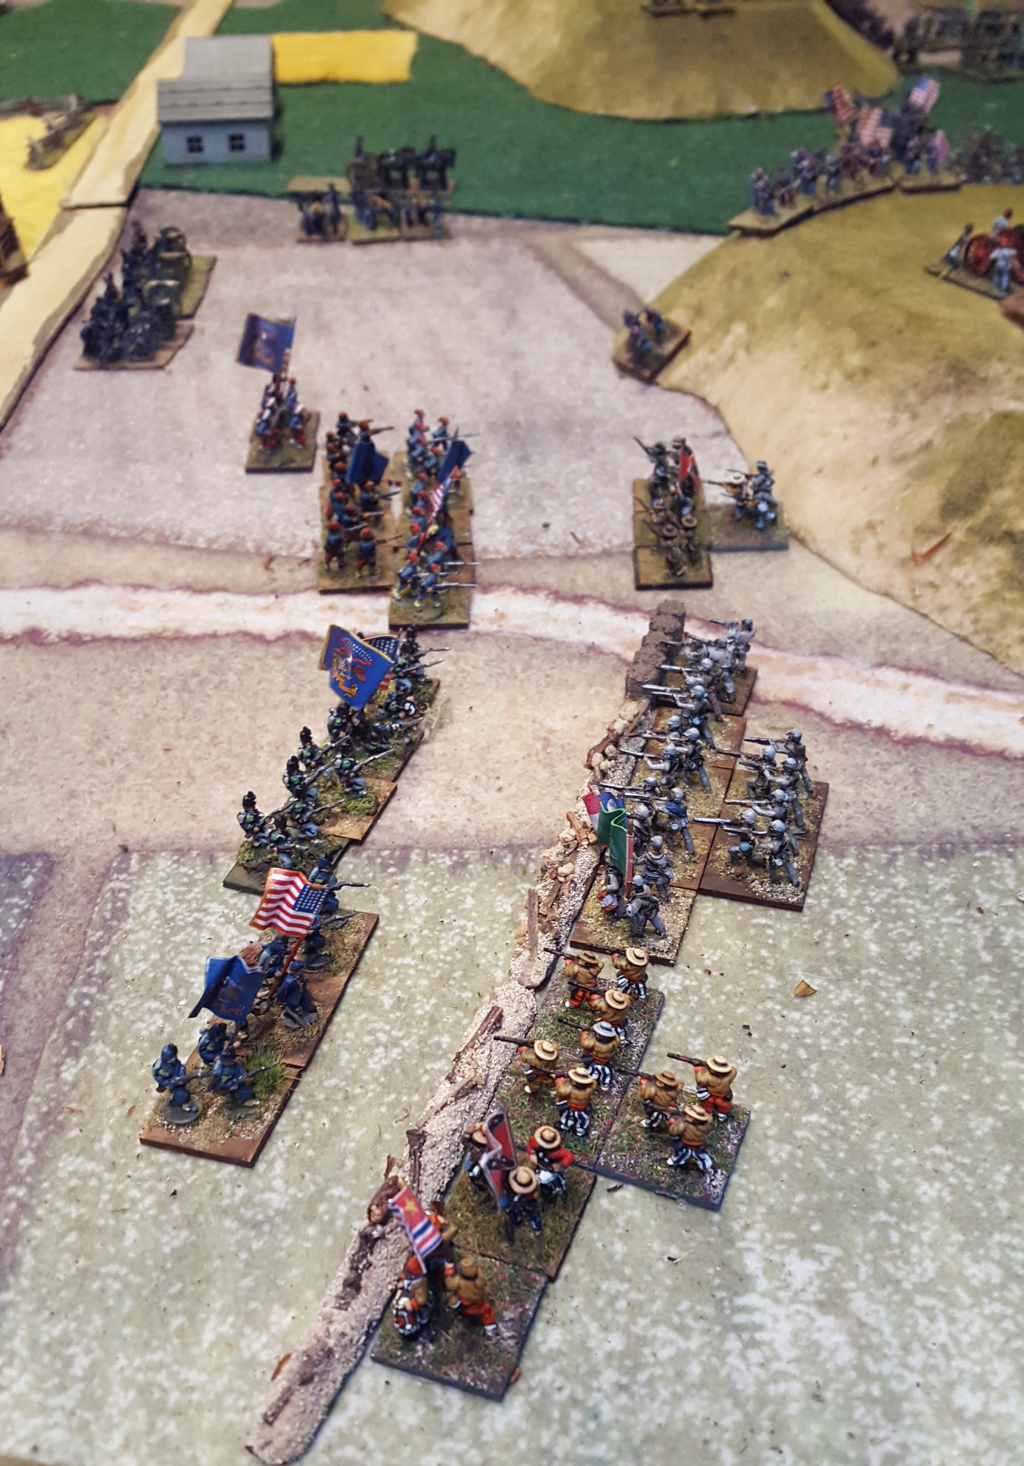
While in Devon last weekend I played a game laid on by Keith, my ancient and constant wargaming opponent. He had set up a scenario for Longstreet, adapted from Warlord Games’ Glory, Hallelujah! ACW supplement, in which a Federal force of two divisions has the job of capturing a Confederate-held riverside fort, itself supported by two field brigades. I think the original scenario is called Wright’s Farm. I took the Confederates and Keith the Federals. Both of our break points, based on my outnumbered force, was 44. If Keith captured the fort, it would be worth an additional die towards rolling for my demoralisation. Keith had the option of bringing a steamer down stream to bombard the fort, although this would bring it in range of my heavy guns. Keith set up on a chain of hills overlooking the fort. I put a regiment in garrison with four heavy rifled artillery pieces in the fort on my left. The valley between the fort and the hill in my centre was filled with an entrenched regiment, then I placed one brigade in the centre and the last on high ground on my right. The frontages of our two forces were therefore about equal at the start, although Keith was deployed in more depth. In summary, the game began with Keith marching out all along his line, with a little more pace on his two flanks. His right wing assaulted the fort three times and each attack was repulsed. On his left, shortly before his line came within small arms range, I withdrew my right hand brigade and started moving them to reinforce my centre and left. I wanted the Union left flank to land its punch into mid-air and then be too far away to affect the fight for the fort. This nearly worked perfectly except Keith played a Confusion card on my rearmost regiment, which allowed him to catch and maul it. Apart from this I was pleased with the timing and execution of the withdrawal. In the centre, Keith’s initial intention had been to screen but he attacked four of my regiments at the same time as his last assault on the fort. This turn increased my losses but my line held. Shortly after, a very successful round of Confederate shooting pushed Keith over his morale limit and the game ended. The steamer never arrived to bombard the Confederate shore. This was a tense and fun game. I didn’t fancy my chances at the start since I was so heavily outnumbered but the fort was tough and I was able to inflict a lot of damage on the assaulting troops as they closed. As ever, the Longstreet cards dealt some memorable incidents that few other rule sets can allow unless they have an umpire. Foremost was the catching of my retreating right wing, which I would not have allowed to happen without the interference of an Interrupt card. Keith also inflicted a ‘couldn’t hit an elephant’ card (ie general hit by enemy fire) that removed 5 cards from my hand in one terrible turn. The Longstreet cards are a finely balanced device, keeping uncertainty high but never overwhelming the mechanics with too much arbitrary luck. Throughout a game, you still play your opponent rather than the system. I have said this before and it is still true: Longstreet is my favourite rules set, for any period. These simple, taut and flavour-filled rules are just masterful. Longstreet is quite hard to come by these days, at least in the UK. That said, the introductory rules and cards are still available to download for free on the Honour Games website. The combat rules are only slightly less comprehensive than the main rules, although they lack the campaign system. But the free rules and cards are still a great starting point. The figures were from Keith’s 15/18mm collection, mostly by Peter Pig. Buildings by Timecast and cloth by Cigar Box Battles.
I have had another go at the house rules for adapting FK&P to Eastern Europe. For now we are just looking at the troops needed to refight the battle of Berestechko in 1651, so involving the Polish Lithuanian Commonwealth, Zaporozhian Cossacks and Tatars. When we are happy with these I’ll have a look at Muscovy. The current house rules are here . This is a lot of fun to do. Poor Matt is going to find himself in the gaming equivalent of Groundhog Day before we are satisfied.
On 15 September, Keith, Matt and I spent more money than was good for us at Colours in Newbury. I like this venue, especially the light upstairs floors that are a much more pleasant environment than some Show venues. On the second floor, messrs Miller and Brentnall were demonstrating a beautiful 28mm game of For King and Parliament. Having left the dog home alone, I prevailed upon Keith and Matt to leave Colours at lunchtime and come back to play a game. We agreed to try the new stats I have been brewing for using For King and Parliament in Eastern Europe. I set out the table using the battlefield of Berestechko, but as it was our first play test the army sizes were considerablyreduced. Matt, as King Jan Kazimierz, had two sub generals: Jeremi Wiśniowiecki, commander of the left; and Stanisław Lanckoroński, commander of the right. His army contained: 1 unit of Hussars 5 units of Pancerni 1 unit of Reiters 1 unit of Dragoons 1 unit of Hajduk infantry 2 units of German infantry 2 units of field artillery. Keith, as Bohdan Khmelnytsky, also had two generals: Ivan Bohun, commander of the Cossack right and Islam Giray, Tatar commander on the left. His OOB was: 3 units of registered Cossacks 2 units of Zaporozhian Cossacks 1 unit of Cossack horse A fortified camp, 3 squares wide and 2 deep, with its front on the 3rd row of squares 2 light Artillery pieces for attachment to Cossack units 1 unit of noble Tatar lancers 3 units of Tatar lancers 3 units of Tatar light cavalry bowmen In line with historical deployment, Keith set up his cossack foot on his right, inside the Tabor, with their horse outside and immediately to its left. He set up his Tatars on the left, with the bowmen on the far flank and lancers closest to the centre. Matt deployed a small command of two Pancerni and the Dragoons on his left; his infantry, artillery and Reiters in the centre and the rest of his Horse on the right. As this was a play test, the point was not to try and win but to test different aspects of the rules. Both players took a few decisions to see what would happen, possibly against their better judgement. Keith in particular wanted to gauge the flexibility of his Tatar troops and they saw the most action of the game.
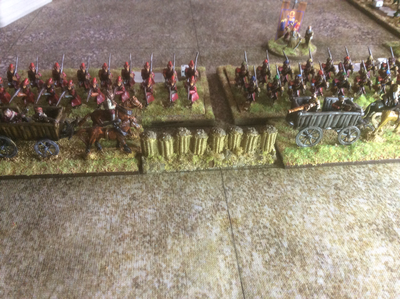
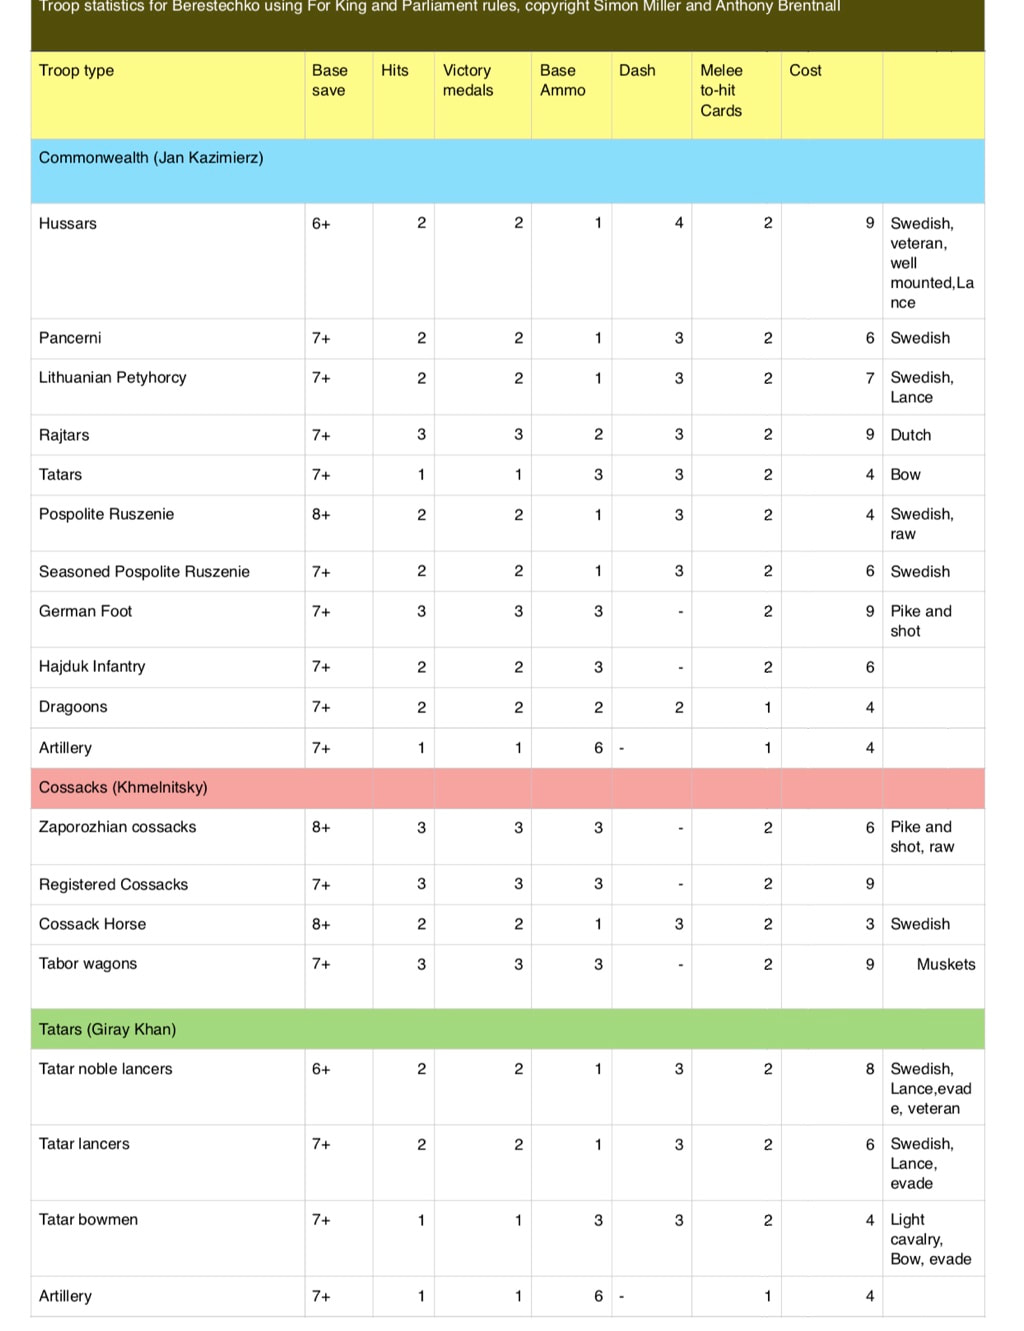
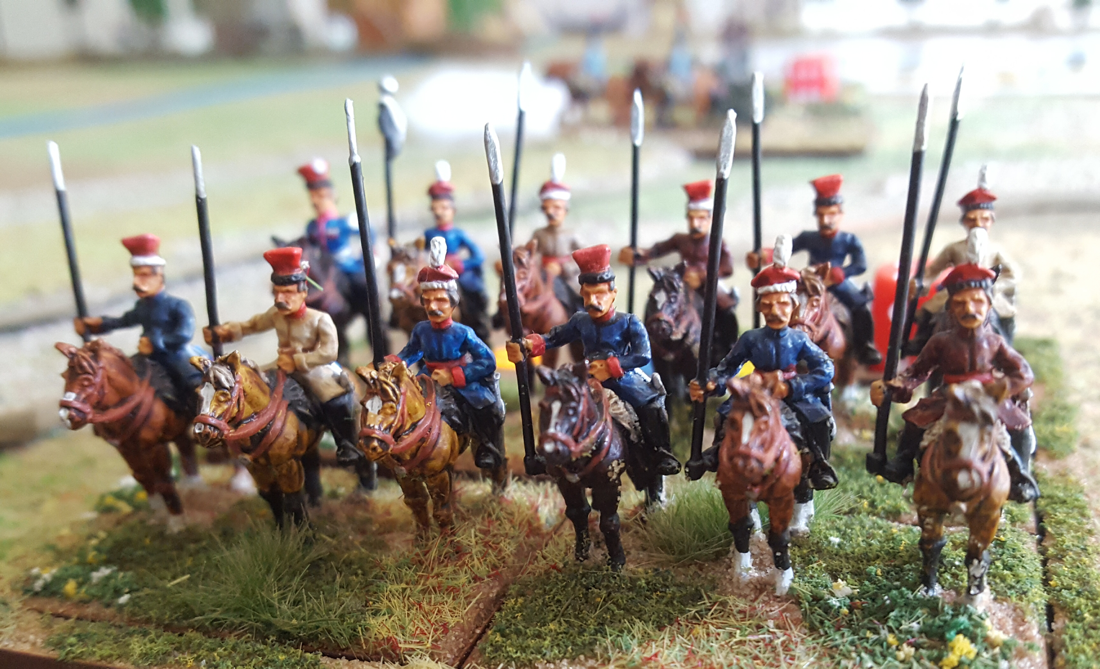
The battle began with Matt advancing his right and centre, while his left observed the Tabor from a safe distance. Keith kept his Cossacks tucked up in the Tabor and advanced his Tatars, with his bowmen looping around on the far left. The bowmen were charged by Pancerni but evaded, falling back on the woods to their rear. Keith then decided to see what happened when lancers charged the front of a Pike and shot batallia. Reassuringly, they slid off. Never one to learn from a mistake, he repeated the experiment with another lancer unit, with the same result. The second melee was closer run however, as the Foot had picked up a disorder in the first combat, but the odds were still in their favour. In another combat, Matt’s Pancerni destroyed a Tatar lancer unit in one round. At this point I realised I hadn’t thought about the applicability of the FKaP pursuit rules to Eastern Europe. Uncontrolled pursuit by mounted units was not a significant feature of the dozen or so battles I have read about, although I’m sure it must have happened. We need to think about this but I am tempted to tone down the pursuit rules for games in the East in some way. The battle ended with the collapse of Keith’s Tatar force and death of Islam Giray. As I say, however, this wasn’t really a competitive game but a first chance to try our adaptation. So everybody was a winner, or at least, everybody certainly enjoyed the game. How did the rule adaptations work? First, as we expected, the basic mechanisms of FKaP worked very well for activating and manoeuvring the armies. The Pancerni and Tatar lancers performed as we thought they ought. I was particularly pleased with the way the light cavalry bowmen worked: they were a flexible irritant that kept dancing out of danger but collapsed when cornered. This game didn’t give us a chance to test the resilience of the Tabor as Matt didn’t assault it. In the real battle Wiśniowiecki charged it with his cavalry and was repulsed. We will have to set up a few assaults to see how it fares. Of course we’ll need to play several more test games to get a reliable feel for the whole set of changes. But after one outing, I am very encouraged, especially by the way light cavalry work. One more thing. For King and Parliament is a cracking set of rules: fast, tense and great fun. The next few months are going to be fun. I have set out to adapt Andrew Brentnall and Simon Miller’s ECW rules, ‘For King and Parliament ‘, to cover Eastern Europe and specifically, the Battle of Berestechko, 30 June 1651. Although some east European troop types are not covered by these rules, most of them are either directly covered or can be represented by equivalent unit stats. The myth seems to linger (in Western Europe that is) that warfare in the East was more ‘primitive’ than in the West, with armies full of lassoo-wielding savages on steppe ponies. It’s true that some specific troop types existed and that in general, the cavalry arm was a bigger proportion of eastern armies than in the West. But most of the troop types present in the Commonwealth armies of the 1650s would be recognisable in a west European force (indeed, many of the troops were recruited from Western Europe) and in wargaming terms, the mechanics and many unit stats in For King and Parliament are applicable with little or no adjustment. The following are my first thoughts about adapting the rules to the East. I will revisit them after a few games. Commonwealth troops Hussars count as well-mounted, veteran Swedish-style Horse, armed with a lance (conferring a one-off extra to-hit card). This is fitting, given that Gustavus Adolphus had based his new cavalry tactics on those of his fast-charging Polish opponents. Pancerni count as seasoned Swedish-style horse. Petyhorcy count the same, with an added lance. Reiters could be Dutch, or increasingly Swedish as the century progressed. As accounts of Berestechko describe the Reiters as providing fire support in the Centre rather than in the cavalry wings, I am inclined to make them still Dutch in 1651. ‘German’ foot are standard pike and shot units at a 1:2 ratio. Haiduk infantry have the same stats as commanded shot. These troops operated in smaller units than German foot so the original stats can stand. Most were seasoned troops. Dragoons also read across directly, although the Commonwealth used them in great numbers and they were among the most hard-worked troops in the borderlands given their ability to keep up with the cavalry. Some dragoon units had pikemen as well as shot and they could hold their own in the main battle line. There may be an argument to treat some Dragoons as veterans and/or to give them pikes but I amleaving them as standard for now. Artillery also reads across without change. Pospolite Ruszenie are the Polish ‘noble’ levy, summoned by the King in hour of need. These troops were famously unmanageable and of mixed quality. The practice of calling the noble levy would die out over the rest of the century. I have shown them as Swedish style but raw, although they could also be untried. A small number of units, mainly from South and Eastern Poland, were battle experienced and fought well, so these will be seasoned. Cossack forces ‘Registered’ Cossack units represent experienced troops who left Commonwealth service to join the rebellion. They were regarded as some of the best infantry in Europe by contemporaries. I have made them the same size as German Foot but they lack pikes. The Zaporozhian Cossacks are less experienced than Registered Cossacks and so raw, although they do have short pikes. Cossack horse are equivalent to raw Swedish horse. The Zaporozhians were overwhelmingly an infantry army and their cavalry was indifferent. The Tabor is making me think. Cossack armies used their wagons to form temporary fortresses and the Tabor was a key part of their position at Berestechko. We are not talking about a fortified camp behind the lines, but a serious and deep defensive line protecting the front of the army. There were some engagements where the Tabor was attacked on the move. In such a case I would place wagon units on the table with their own factors. I have looked at the rules in To the Strongest for War wagons and have created Cossack unit stats based on them. But the approach I plan for Berestechko is to use the fortifications rule from FKaP. I’ll still place wagon models on the table but this time they won’t have intrinsic fighting powers, as these will go to the infantry units behind them. I will also give Cossack units a cover advantage in all squares enclosed by the Tabor as they drew up further lines of wagons behind the first. I will also hinder movement within this area. The Tatar Horde The Tatars have three troop types: noble lancers; standard lancers and bowmen. I have snaffled some rules from To the Strongest to cover Tatar troop types and tactics. Light cavalry: All light cavalry activations are considered easy. Light bow armed cavalry may fire and retire one box facing the enemy (as well as the existing movement possibilities in FKaP). Infantry can charge light cavalry (this represents the light cavalry falling back before a steady advance of formed foot. Foot may not charge any other types of horse). Light cavalry receive a +1 save modifier against shooting, to reflect their dispersed formation. Light cavalry and Tatar lancers have the evade ability. Cavalry with the evade ability may evade charging infantry on a 3+ and cavalry on a 5+. If successful they retreat one box facing the charger. (The Tatars were highly versatile horsemen who used the feigned retreat to lure enemy troops out of formation. I decided to give lancers the evade ability despite them not being light cavalry). These stats are set out in the table below. The points values may be a bit off here and there but I hope they broadly fit. On 15 September, fresh from a trip to Colours at Newbury race course, where we had seen a great game of For King and Parliament in full swing, Keith, Matt and I had a first play test of FKaP in the East. Stay tuned for the after action report in the next blog post
Back to the 17th Century As soon as you scratch one itch, another one starts to bother you. As I was putting away my 1815 Napoleonics the other day my eyes fell on a box of 15mm winged Hussars. It must be 18 months since these lads had an outing. That is far too long a break. The last eastern renaissance game we played was the 1651 battle of Loyev during the Cossack rebellion. My plan at the time was to move on to Berestechko, the largest set piece battle of that year (in fact one of the largest in the 17th Century). So it’s time to pick up where I left off. The Battle of Berestechko 30 June 1651 I picked up two recently published histories of the 1651 campaign when we were in Kraków in 2016. There is also quite a good English account on Wikipedia and a longer Wikipedia piece in Polish. I won’t rehash the whole story but the main elements I found interesting were
Which rules to use?
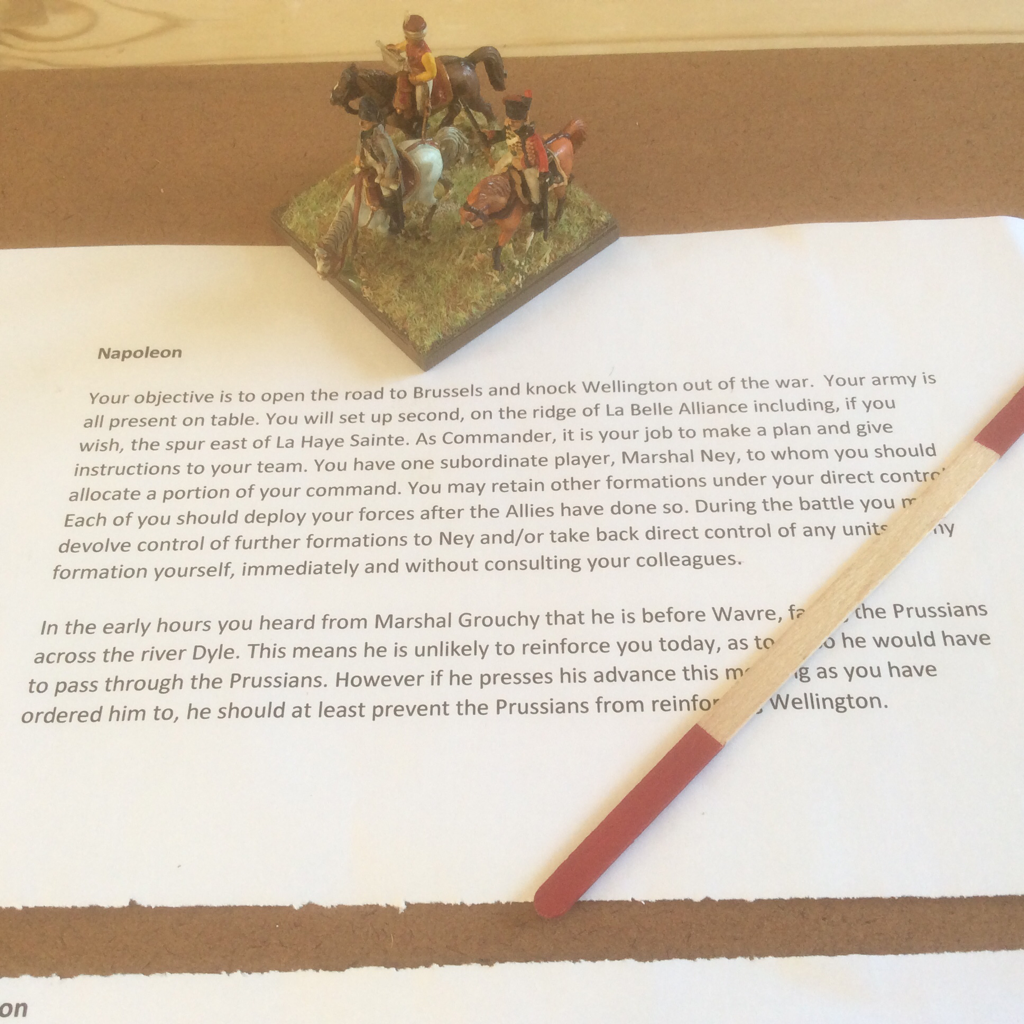
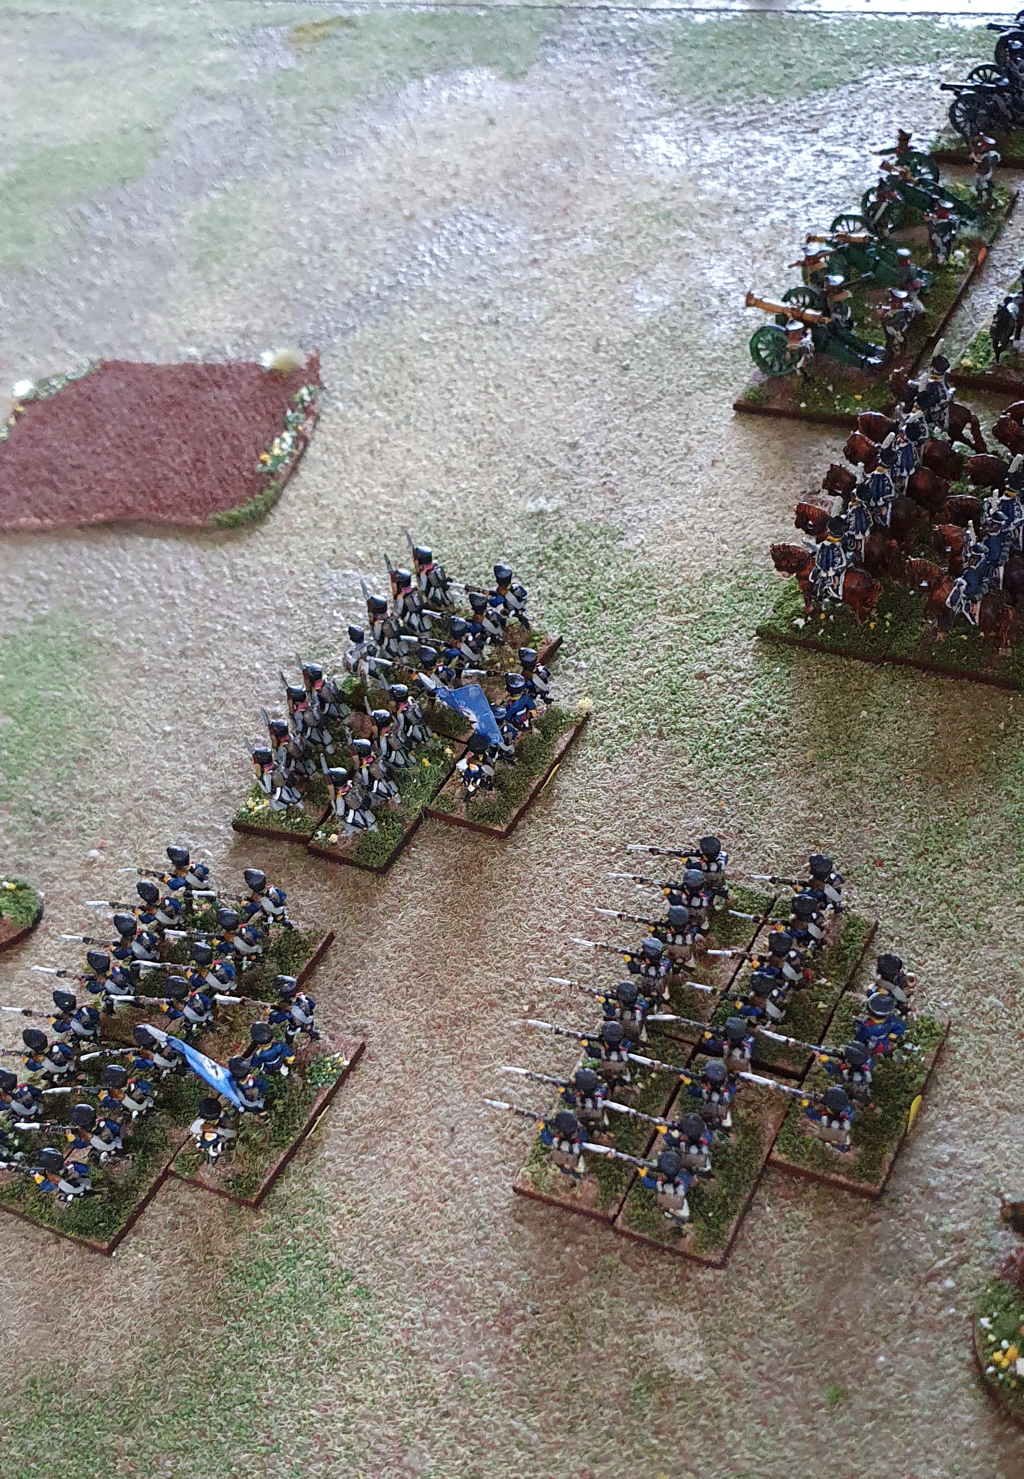
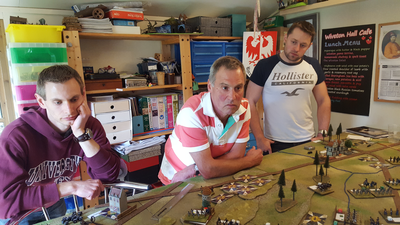
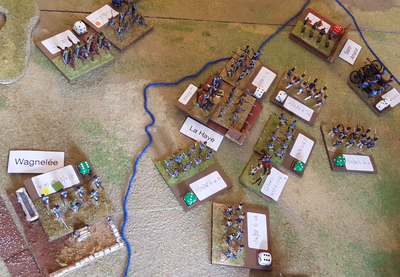
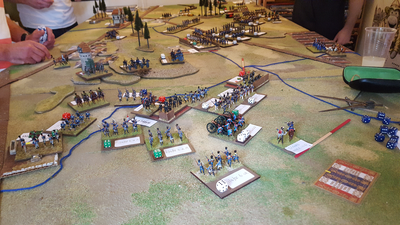
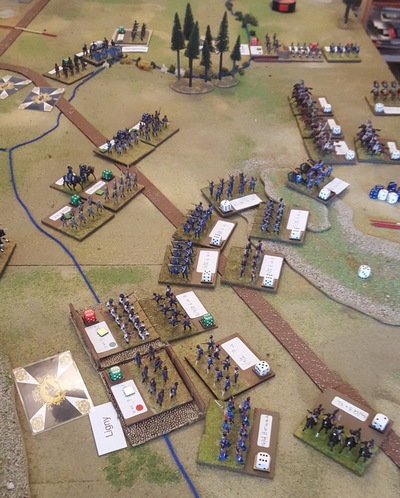
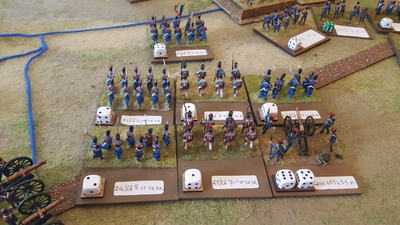
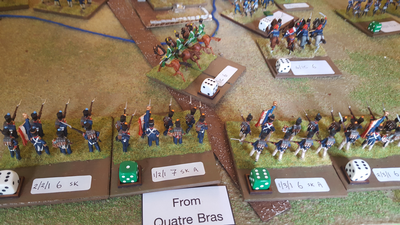
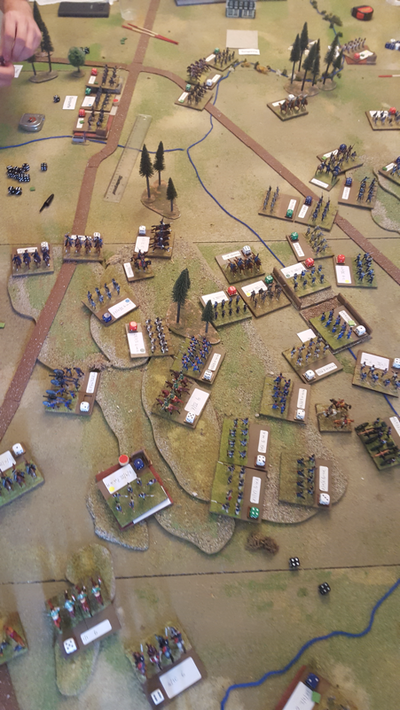
We have used two rule sets so far for this period, Pike and Shotte by Warlord and Tercios by el Kraken. Both have given good games, especially Tercios, but the mechanics are a bit cumbersome for a bigger battle. As Berestechko was such a large engagement I would like to use rules with more of a big battle feel. Enter ‘For King and Parliament’. These rules, by Simon Miller and Andrew Brentnall, are an adaptation of Simon’s Ancient rules, To the Strongest, which I like a lot. They are unusual in their use of a map grid and playing cards. I picked up a copy of FKaP at Salute in April and have yet to play them. They will need a few additions to cover Eastern Europe but fewer than you might expect. I will detail these in my next post. On 18 August we played a day-long refight of the battle of Ligny, using Honour Games’ Blücher rules and 20mm plastic figures. We began around 10 and finished at 6, with the French just meeting their victory conditions. Oddly, the Prussian players seemed happier at the end of the day than the French. Rules, figures and scales Blücher is a grand tactical rules set where each unit represents roughly a Brigade. It focuses on the level of detail that would interest an army commander rather than a brigadier or battalion commander. It’s pedigree is excellent. Sam Mustafa’s first grand tactical set was called Grande Armée, which came out some years ago. He then produced the simplified Fast Play Grande Armée, which dropped a lot of detail. Finally came Blücher, which stripped back the detail even more. At each stage the rules have become more elegant but they keep a period feel and are a subtle challenge to master. Blücher’s ground scale is adaptable but I use 1” to 100 yards, the scale of Grande Armée, Volley & Bayonet and Napoleon’s Battles. This produces 3” Square unit bases. The figures are all plastics by various makers, collected over many years, with quite small unit sizes. This was a deliberate choice, partly to save cost and partly to encourage my sons who were young at the start of the project. Most of my Napoleonics are 15mm but I have never collected figures for the Waterloo campaign in the smaller scale. Keeping the players guessing Three of the players know the Waterloo campaign very well so I had to set up a way for them genuinely not to know whether either side would be reinforced from Quatre Bras, where Marshal Ney faced Wellington’s steadily reinforcing army. I wrote a decision tree for the events off table, which could have ended in a range of outcomes, broadly: French reinforcements, Allied reinforcements or nobody, at least in time to affect the game. Huw took the role of Napoleon, supported by Tim (Gérard) and Ian (Vandamme). Keith was Blücher, with Matt (von Zieten) and Nick (von Pirch). I like each player to have a characteristic so made Tim inspiring, Ian vigorous, Matt steadfast and Nick heroic. If you don’t know these rules, these traits translate as good on the attack, good at getting troops moving, good on the defensive and capable of rallying lost combat power. Napoleon was a legend but not on his usual energetic form; Blücher was also a legend and mobile, which made it easier for him to send in the troops than a standard C in C. Being a legend improves your army’s break point. For orders of battle I used a few histories, mainly volume 1 of Peter Hofschroer’s Waterloo Campaign and a French language history of Ligny by Alain Arq and others. For starting strengths and general organising I used the 100 Days unit cards, released by Honour at the same time as Blücher. These cards make sorting out and deploying the army very easy. Deployment The Prussians were obliged to deploy 1 Corps first, strung along the river Ligne. The French were then to deploy 3 and 4 Corps and their three cavalry corps anywhere on the field up to 4 base widths from a Prussian unit. Finally the Prussians deployed 2 and 3 Corps then the French had the first turn. How it went The game began with Tim/Gérard attacking the Prussian right, while Ian/Vandamme screened Ligny along with the three cavalry corps. Evidently the French didn’t want to get bogged down fighting for this village. However the screening force was much the biggest French formation and while it sat watching Ligny, Tim bled his Corps dry on the French left. The Prussians meanwhile made several counter attacks against Tim, then Keith sent Nick/Pirch over the Ligne on the Prussian left to put pressure on Ian. This worked well as it constricted the French position and put their right wing on the back foot. As the elan of Tim’s units ran down trying to dislodge Matt and Ian’s wing faced off against Nick, Huw was reinforced by the Guard and, not long after, by 6 Corps. We learned after the game that Huw had ambitions to use the reserve rule to deliver a wide flanking attack with these reinforcements, but felt thwarted by his narrow deployment zone and after a couple of turns’ delay, he launched an attack up the Prussian centre. Meanwhile, off the table... Each French turn after turn 11, I rolled on the decision tree. Every roll went in favour of reinforcements arriving with Napoleon. In summary, the story grew as follows. Ney began his assault on Quatre Bras early. He kept his whole command together (meaning no enthusiastic ADC gave D’Erlon verbal orders to march eastwards) and used both 1 and 2 Corps to overwhelm the Netherlands contingent before it could be sufficiently reinforced. He then carried out his original instructions from Napoleon and directed D’Erlon towards the Ligny battlefield. Rolling for losses and delays, I concluded that in the end two divisions and the Light cavalry of D’Erlon’s Corps would arrive at Ligny, late in the afternoon but in time to influence the outcome. News reached Huw that Ney had taken the crossroads at Quatre Bras and despatched D’Erlon towards the Ligny battlefield. When these arrived on the table he gave their command to Tim, who found the fresh troops a great boost. With the revelation that he would not be reinforced by Wellington as expected, Keith took stock. His left was doing well against the French right, which continued to retire before 2 Corps. But the right was now paper-thin, facing fresh troops, while the centre was buckling under the punch of the Imperial Guard. Keith ordered his army to withdraw, under the cover of 2 Corps. When we reached the last turn of the gaming day, the Prussian line had started to contract from the right and rotate clockwise, as it withdrew on Sombreffe. The French meanwhile had finally cracked the Prussian centre and were advancing to cut off the Prussian right. The Prussians were close to their break point and the day went to Napoleon. Hail the happy losers
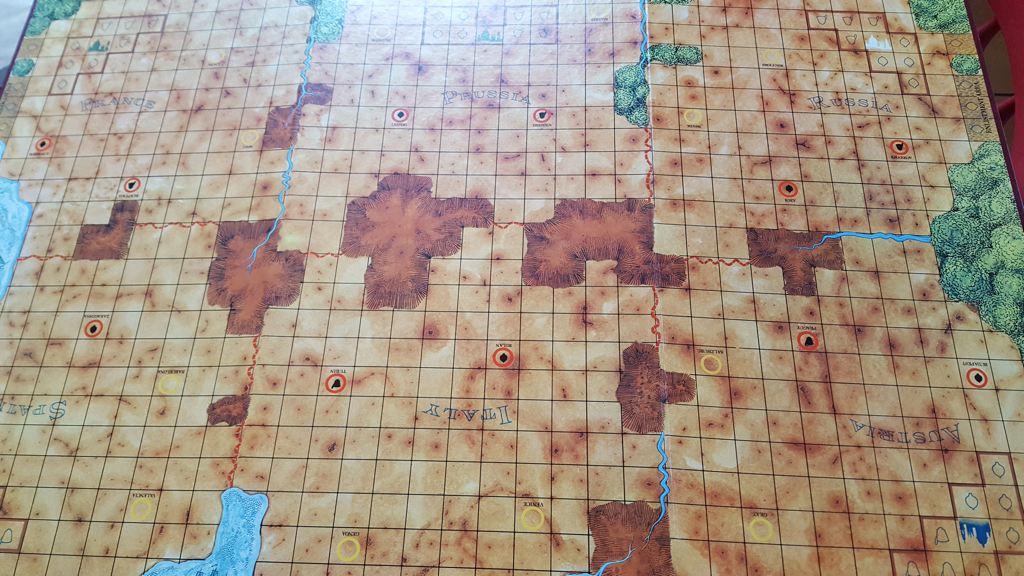
And here is the curious thing. The French victors seemed to feel a bit flat as the day ended, whereas the Prussian team was brimming with good humour and pleased with its performance. Why was this? Well, I think the players on the side that lost in history may feel less pressure to win the game: the Prussians did very well and cooperated effectively, with messages flying in all directions throughout the day. They didn’t win but were well placed to fight another battle. The French on the other hand came close to a bigger victory than they achieved: an earlier assault by the Guard could have cut off half the Prussian army. Also, I fear that Huw felt thwarted, not by the performance of his side but by the scenario and rules. His first hope was to send the Guard on a sweeping reserve move to fall upon a Prussian flank, but the field was constricted by the table edge and he couldn’t calculate a ‘legal’ route that would deliver his units unobserved on the enemy flank. I do sympathise and can’t change the fact that the table was 4 feet wide so he did not have space at the rear to flank March. That said, the French right could have deployed much further forward than they did and on top of that they were then soon retreating from their starting positions. When the umpire’s happy, everybody is happy Overall I was very pleased with the day. I think the game was well balanced and both teams played in good spirit. The decision tree for events at Quatre Bras gave a plausible result and I will use the idea again. I think the Blücher rules are perfect for a multiplayer game like this. Between 1030 and 6pm with a break for lunch, we played the full 28 turns and had very few rules quibbles. We had all played the rules before but not for some time and they came back easily. My note to self for future games is that I should check in with Commanders in Chief a few times during play, to check if they feel able to do what they wish. It hadn’t occurred to me until he said it at the end that Huw felt unable to act because of the table size. Had he told me his outflanking plan I could have worked out a way to make it possible or to explain why it wasn’t. When the game isn’t a tournament, I think the umpire should show a bit of flexibility if this helps the story to flow. I was grateful to all six players for giving up a summer Saturday and pitching in with such good humour. Multiplayer Wargames are a rare event but they have to be my favourite part of the hobby. There is a charity bookshop in our High Street, run by the Woking Hospice, that carries a particularly good history section. I have picked up some great books there over the years. Recently they started selling second hand games as well. This week I picked up Waddington’s Campaign, in excellent condition but for a slightly tatty box. I had no choice: my memory made me do it. As a teenager I loved this game. It came out in 1971 and I was given a copy soon after. It was a good time for a newcomer to Napoleon, thanks to the film Waterloo, Airfix’s range of Waterloo figures and Bruce Quarrie’s Napoleonic Wargame rules. Waddingtons gave the game a Napoleonic flavour, suggesting players could refight the conquest of Europe. In fact the game is pretty abstract and could as easily have been linked to another period. It is a great game nevertheless. Each player begins in their capital with an army of infantry and cavalry pieces plus a general. Their aim is to capture cities (some of which are recruitment centres), defeat the enemy’s armies and occupy their capital. The mechanisms borrow a little from chess and a bit from Diplomacy. In order to remove an enemy piece a player must neutralise all adjacent enemy pieces and still have two pieces attacking the target. No dice are involved. Clever deployment can block invasion routes and make it very hard for the enemy to pick off your pieces.
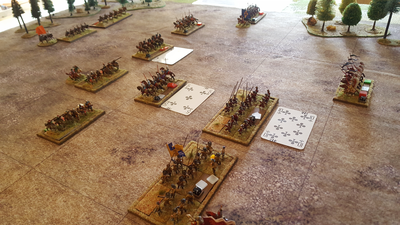
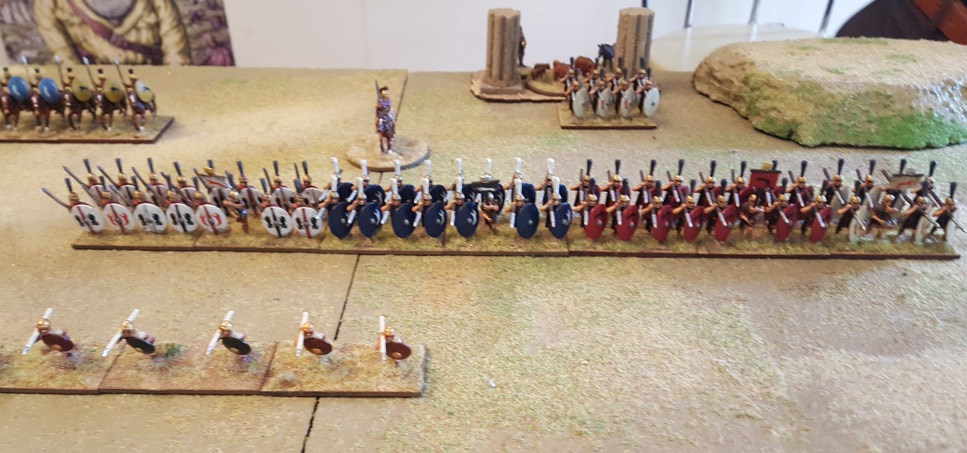
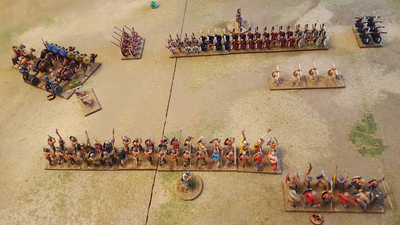
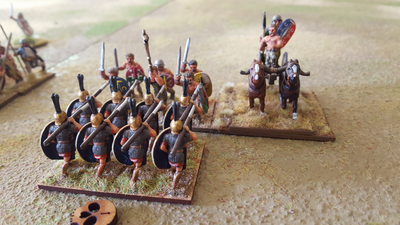
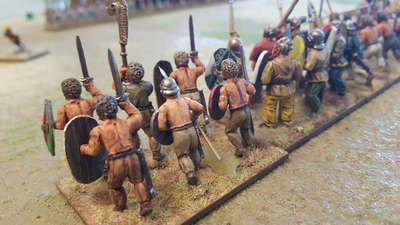
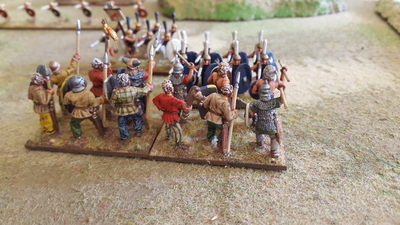
I suppose I should persuade somebody to play it with me to see whether it is as fun to play as I remember. But to be honest, just owning the game again after a break of 40 odd years is pleasure enough. Matt and I played a 100 Point game of Art de la Guerre on Wednesday. Matt commanded Republican Romans while I had a Gallic army. This was the first time we have played with impetuous troops and with light chariots. I had hoped to field enough Gauls for 200 points but was 30 odd points off. I need to get my last bare metal Gauls onto the painting table. Matt won the initiative roll and chose to attack. The field had two gentle hills and a field, all spread around the table edges. The middle of the table was completely flat. Matt placed his cavalry on his right and rested his left on hills. I put my medium cavalry on the right and light chariots and scouts (javelin armed light cavalry) on my left. My plan was to hold back the centre at the start and send my mounted troops forward. The chariots were to attack the Roman horse on my left. On the other flank my Medium cavalry were to go deep right, to discomfort the Roman centre but wait for the Gallic foot to advance and then join the attack. I reckoned that the first turn disadvantage against Roman swordsmen needed offsetting with some combined arms combat. My right wing cavalry galloped down the field and onto the first hill. I faced them at about 1 o’clock and then turned my attention to advancing the left and centre. Matt meanwhile peeled a base of hastati off his centre, turned them to face my cavalry and began to advance. I had a turn to react but chose not to. On his next turn Matt charged my cavalry in the flank. I elected to evade, in the expectation that I could travel deeper towards the Roman rear. However, the rules revealed that evading troops must make a 90 or 180 degree turn before scampering off. Instead of going down the table, I had to face the side. Even had I rolled a 1or 2 I’d have still left the table. Idiot. I deserved that three times over. First, I should have chosen my position and facing more carefully. Then, I had time to respond to Matt’s threat but didn’t. Finally, I chose to evade without knowing what that means in the rules. Accepting the flank attack would have been expensive but at least I might have done some good. As it was, the hastati had time to rejoin the main line having done their job of chasing away the threat. I won’t do that again. Probably. Anyway. On the Gallic left my chariots attacked and got the better of the Roman cavalry while my centre advanced. In the event, the first clash of the heavy infantry went the Gauls’ way almost everywhere. Despite the Gauls losing impetus against the Roman swordsmen, the Gallic dice just rolled higher. The luck evened out in following rounds but my first round advantage held and the Romans broke three points before mine did. The last few turns were tense and Matt’s victory point tally nearly overtook mine. But if I won the game, he got bragging rights for chasing off 14 points of cavalry with a base of hastati. I like ADLG. The rules are clear and I find them a lot more enduring than the entry level DBA. I do however wonder about the wide range of outcomes possible in a combat round. This victory felt unjust. Matt‘s swordsmen should have had the edge over my Gauls but the dice rolled well for me and poorly for him. Perhaps this was more noticeable because we were playing a 100 Point game: my luck probably wouldn’t have been so great with more combats to resolve in the centre. Perhaps we should focus on 200 Point Battles in future. So I’d better get all my Gauls painted.
|
Archives
November 2023
Categories
All
|


 RSS Feed