|
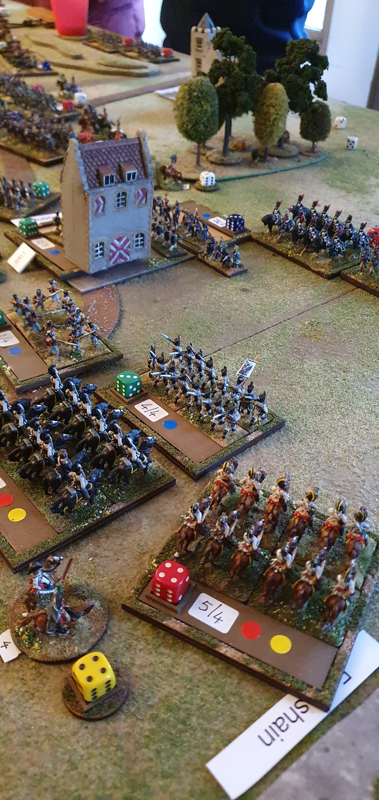
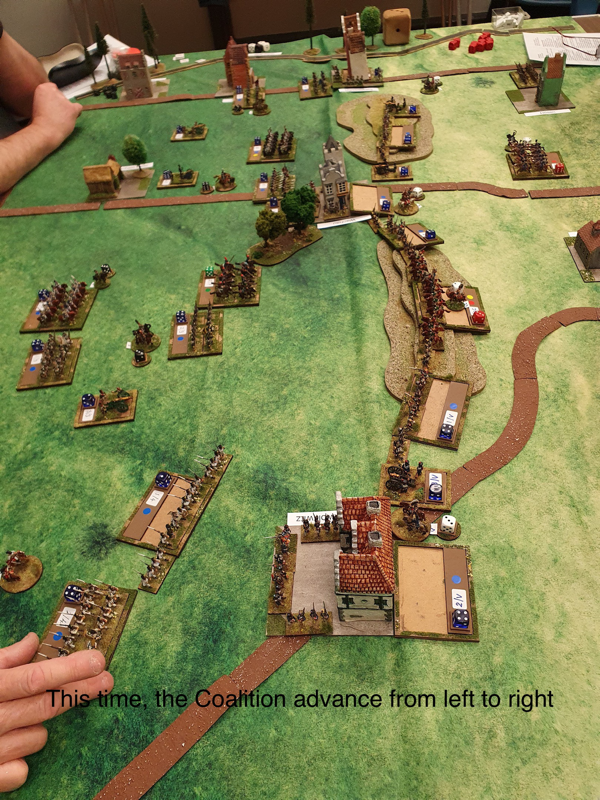
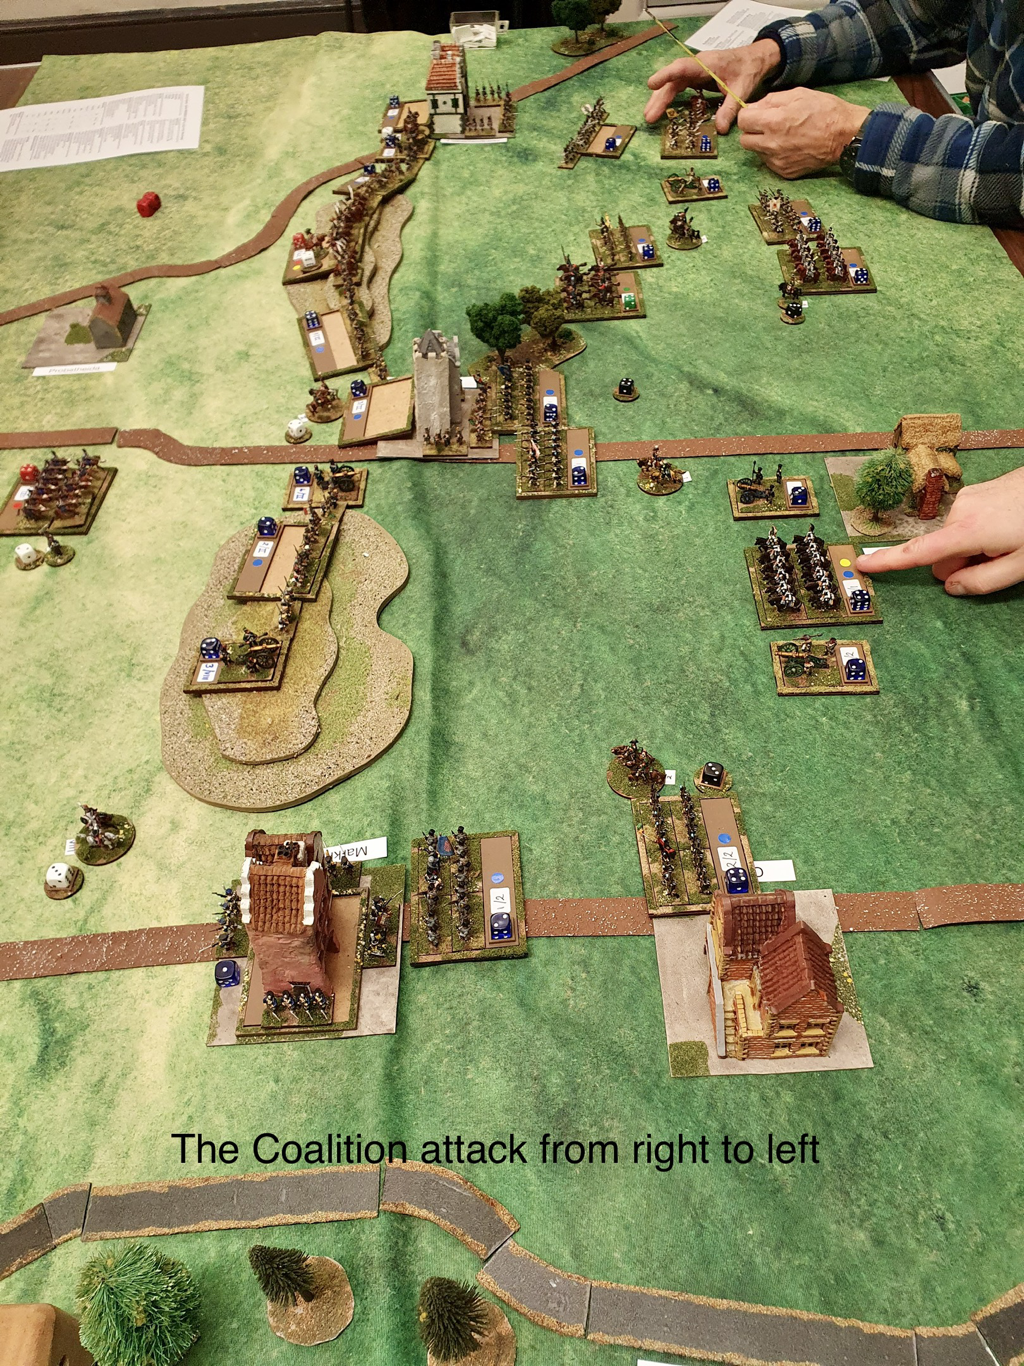
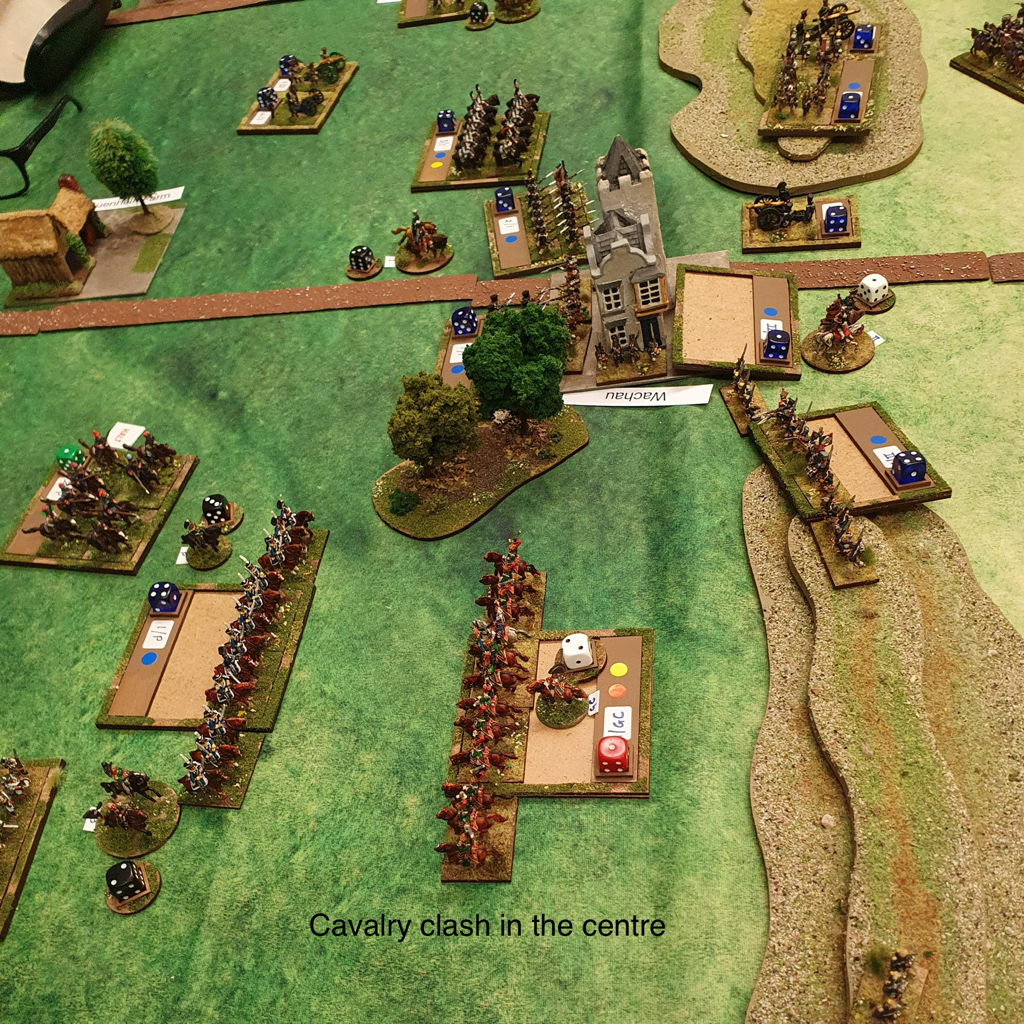
We played our first game of Pickett’s Charge last Saturday evening. I bought the rules soon after their release and made up some casualty markers, but somehow didn’t get around to trying them. I think I was daunted by the four pages of charts and tables and when the chance came to play our next ACW game we went with the tried, tested and much loved Longstreet. However, a visit by Keith coinciding with Warfare 2017 at Reading provided the incentive to try out the new set. Keith and I have broken in a great many rules sets over the years and generally manage to work out what we should be doing. 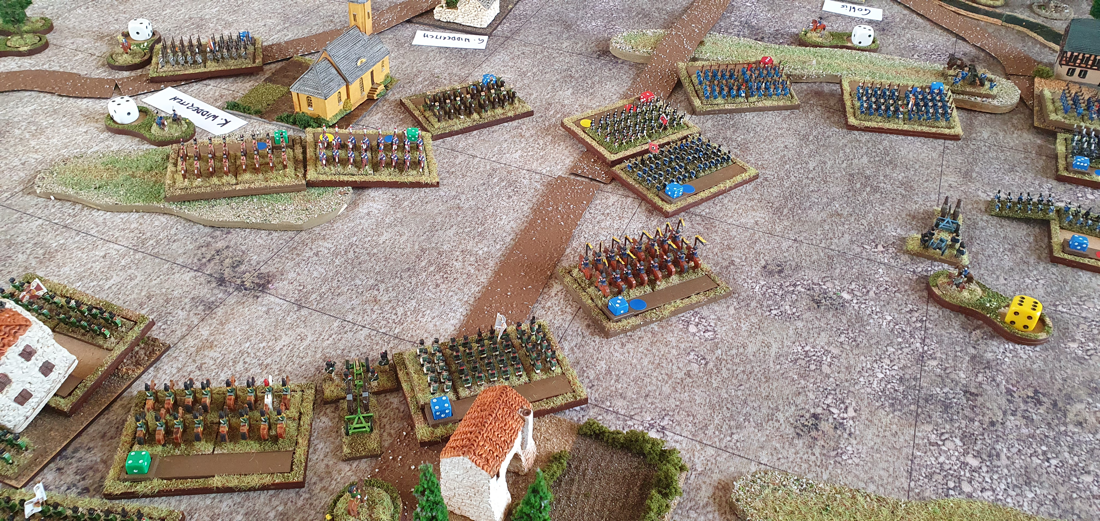 The scenario was Payne’s Farm, November 1863, the most lively encounter during the Mine Run campaign. In this operation, Meade set out to turn Lee’s right flank while Lee hurriedly shifted round to his own right to stop this happening. At Payne’s Farm, Meade’s right hand Corps under French and Lee’s left hand division under ‘Allegheny’ Johnson came to blows as they both converged on the same road junction. French had superior numbers but his advantage was largely cancelled out by the close wooded terrain, his own hesitancy and by Johnson’s aggression. Only later in the battle did Federal numbers start to count and night fell before they could make a decisive difference. I originally wrote a scenario involving Johnson’s whole command and the 2nd and 3rd divisions of French’s Corps. I’d hoped we could have a four player game but in the event, only Keith and I played so I cut the forces to the 2nd Federal division versus Steuart’s brigade of Johnson’s Division, plus a battery of Andrew’s artillery battalion. We started the game at the point where Steuart’s rearguard Brigade, strung out along the Racoon Ford Road, faced left to confront Prince’s division as it approached down Jacob’s Ford Road. Steuart’s task was to hold up the Federals while Johnson brought back his other three brigades from further along the Racoon Ford Road. 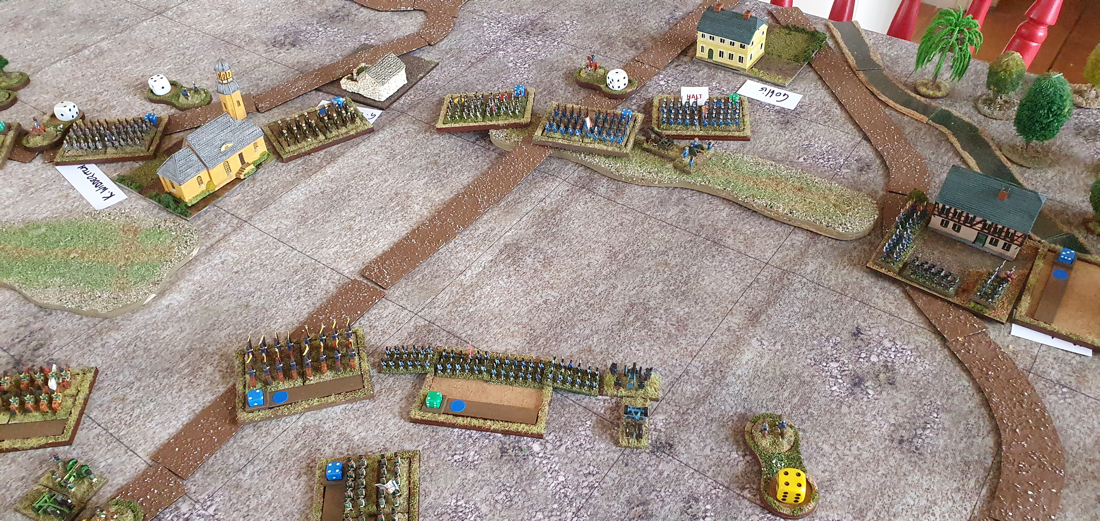 Keith’s Front Brigade advances on my line while the second Brigade moves around to outflank me In our game Keith’s Federals mounted a rapid assault on my Rebels. While his leading Brigade attacked along Jacob’s Ford Road, he moved his second Brigade in column around his left, using staff officers to move it double quick. I advanced my two left regiments to threaten his right. My centre held for a time but Keith’s second Brigade deployed at right angles to my line. I turned my right hand regiment to face it but it was pushed back on the centre, just as the centre itself gave way. End of game. The Confederate reinforcements would arrive on the scene to find French already advancing along Racoon Ford Road. I really like these rules. In spite of the four pages of charts, they played smoothly and we quickly got the hang of the sequence of play. Staff officers are a great device. Frankly our game was a bit small to really benefit from them but I can see them posing some interesting choices in a bigger action. Brigade morale is handled simply and effectively. Shooting has the particularly interesting result of loss of Fire Control, representing the degeneration of firing into an ineffective firefight. Melee (or the lack of it) is especially well handled: a competitive dice roll produces a range of results, most of which involve one side giving way without actually fighting hand to hand.
How does Pickett’s Charge compare to Longstreet? Using 1” figure bases, the ground scales, unit sizes and ranges are similar. PC has more period chrome incorporated in the rules, whereas the flavour in Longstreet mostly comes out in the Action cards. A big visual difference is that casualties are not physically removed in PC. A Longstreet battlefield can look a bit empty towards the end of a game! Longstreet doesn’t have explicit morale rules whereas these are important factors at both unit and brigade levels in PC. As I have said before, Longstreet is my favourite rules set for any period. It flows so well and provides period feel and excitement. It also produces occasional situations that historical reports are full of but players almost never permit, when units do something unexpected or unwise in the face of the enemy. I love those moments. But Longstreet has its limitations. With house rules, we were able to use it in a divisional game with four people, but it doesn’t pretend to challenge the player to think beyond the level of brigade commander. Pickett’s Charge on the other hand does this well. So I think the answer for me is that I will continue to use Longstreet for Brigade and small divisional actions and bring in Pickett’s Charge for bigger battles.
0 Comments
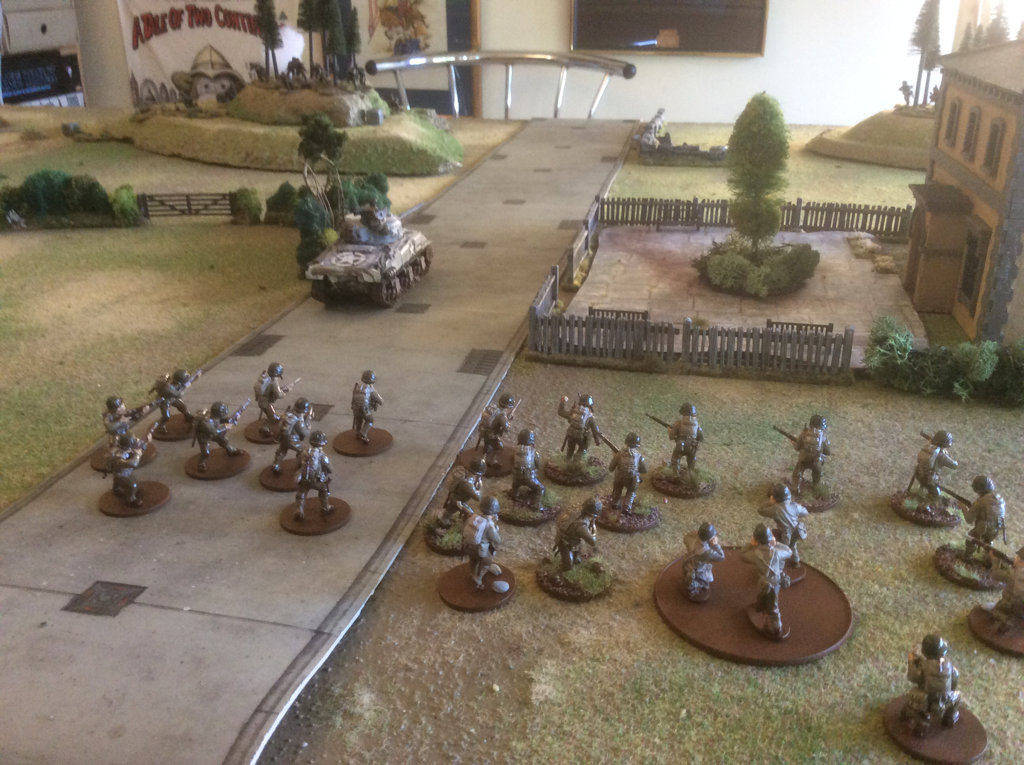
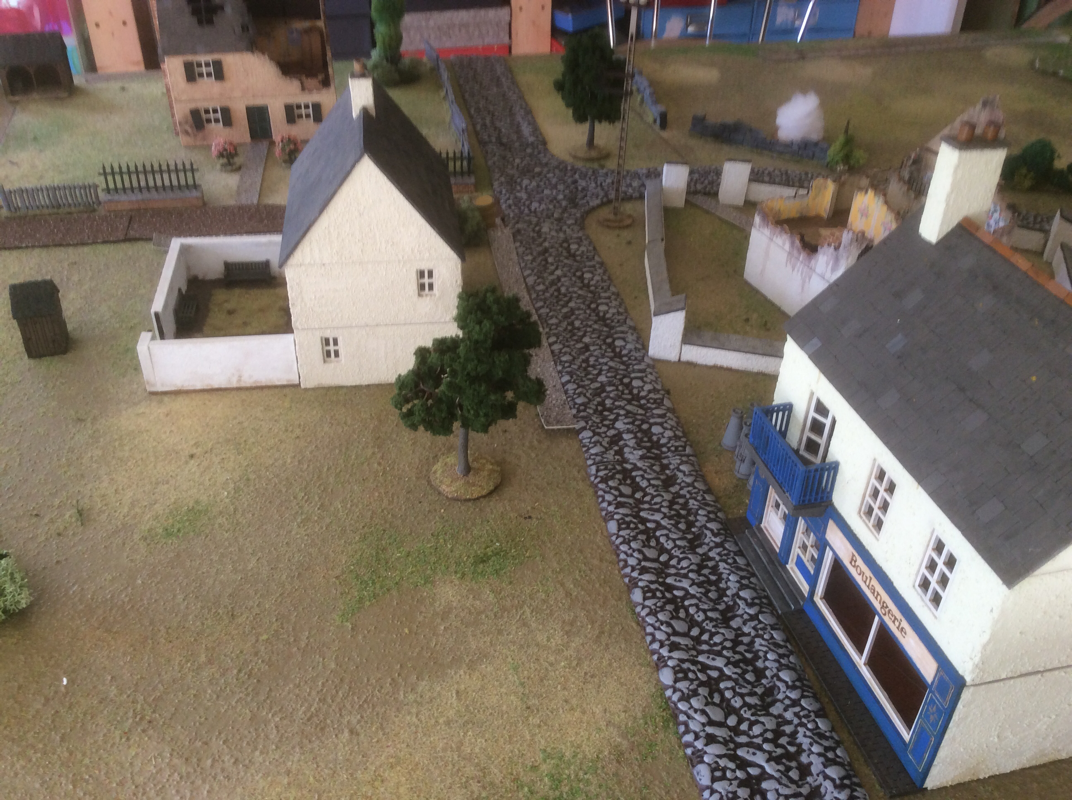
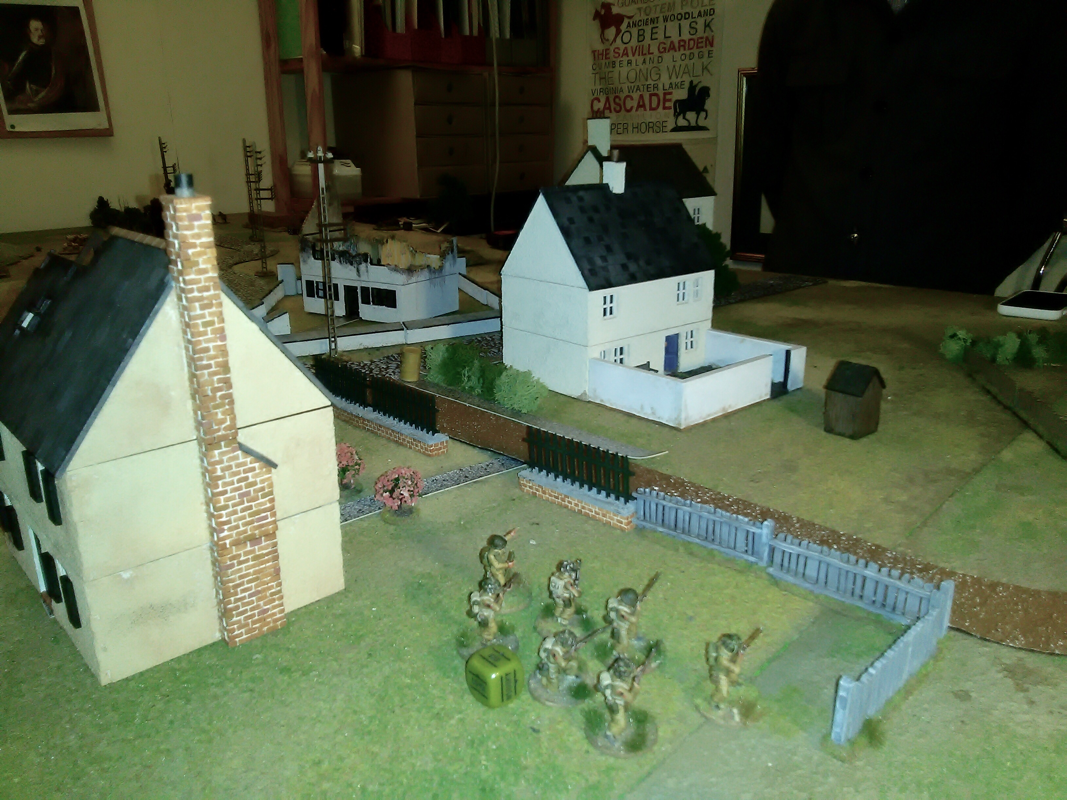
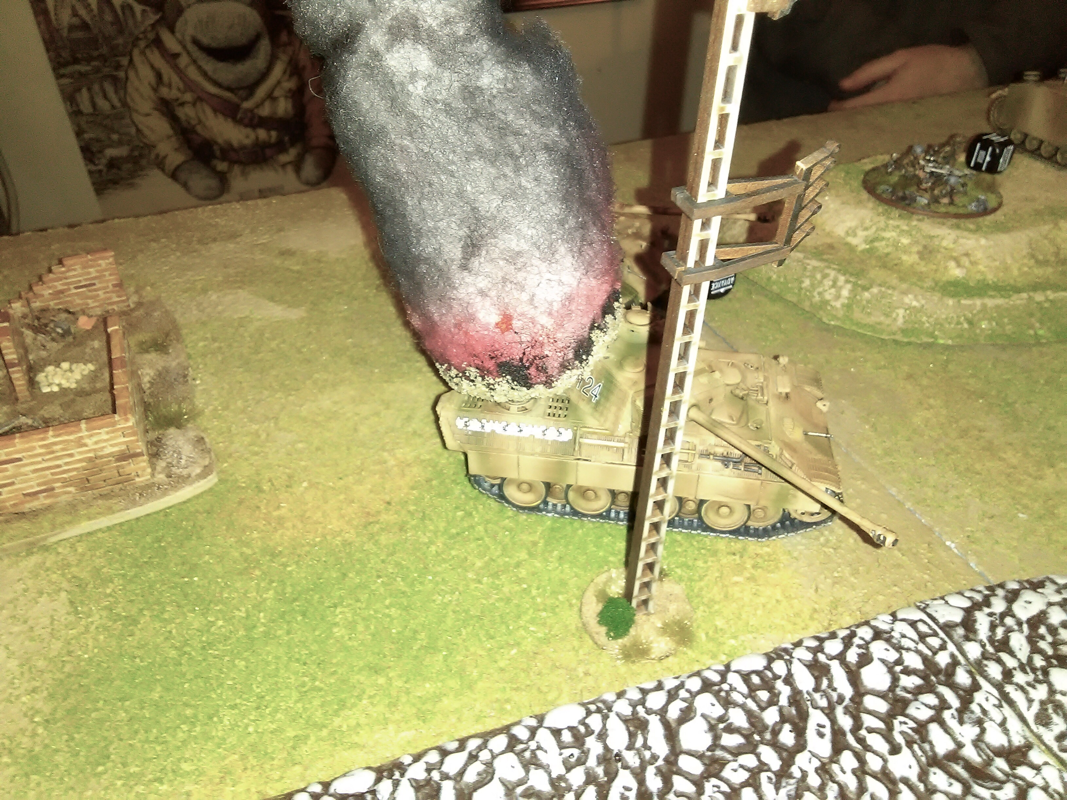
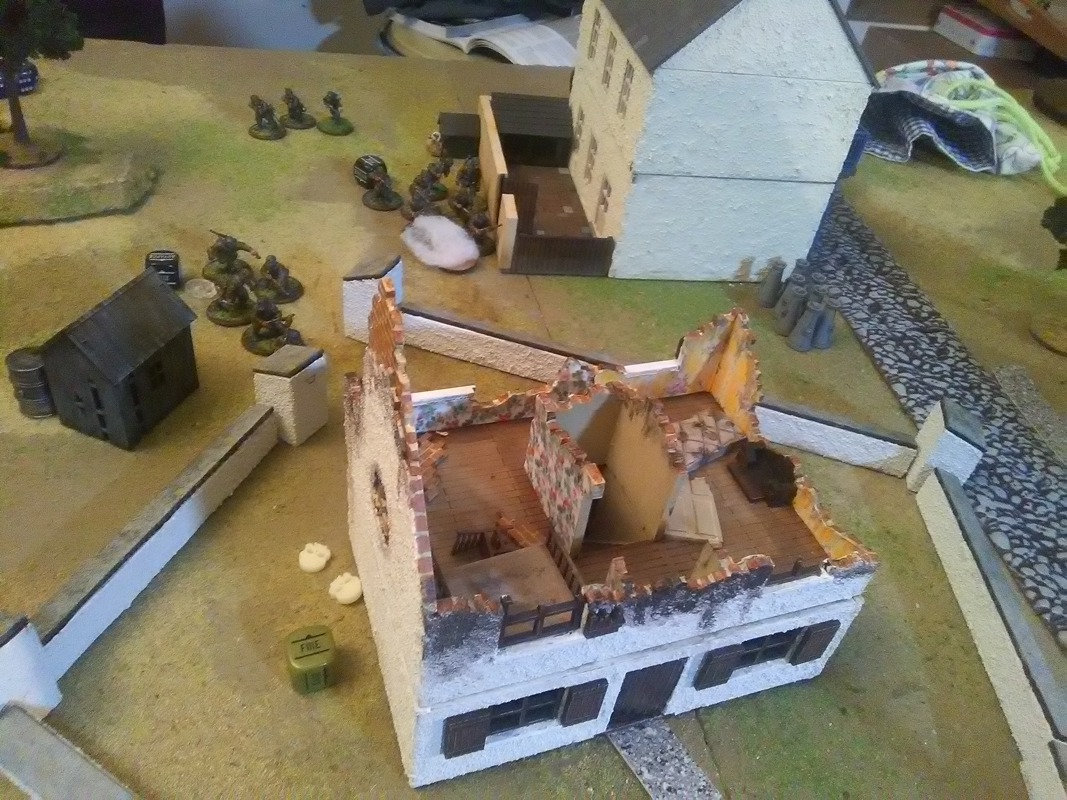
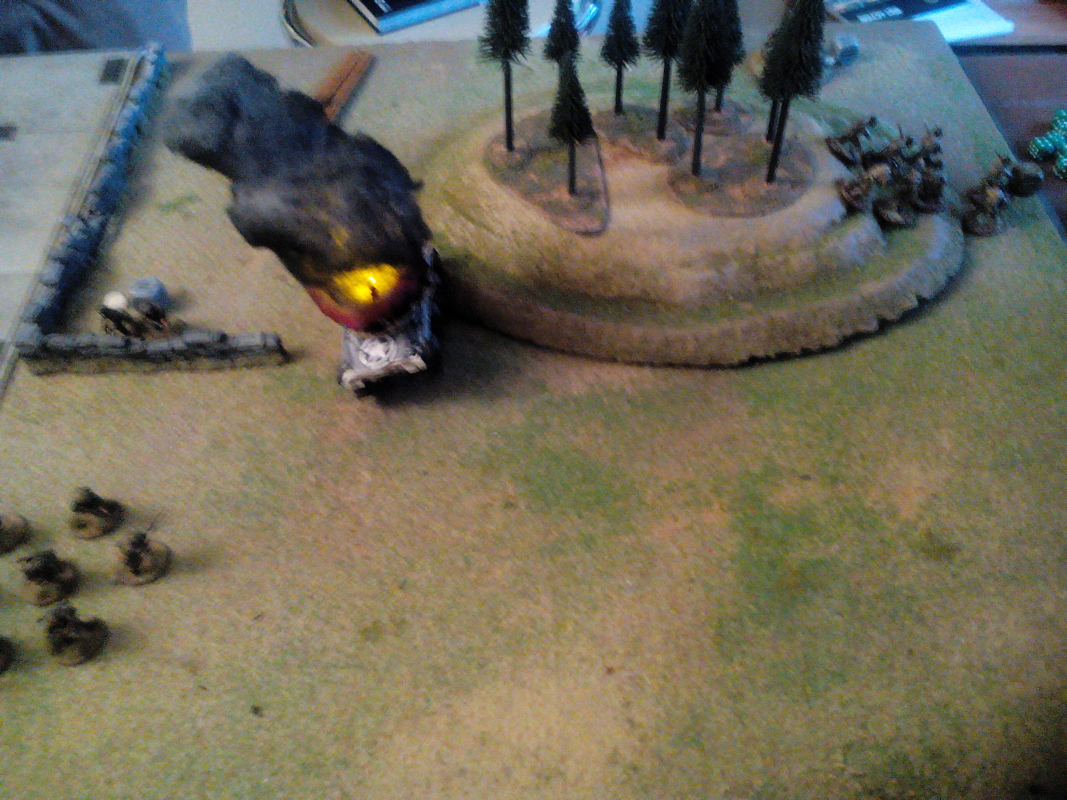
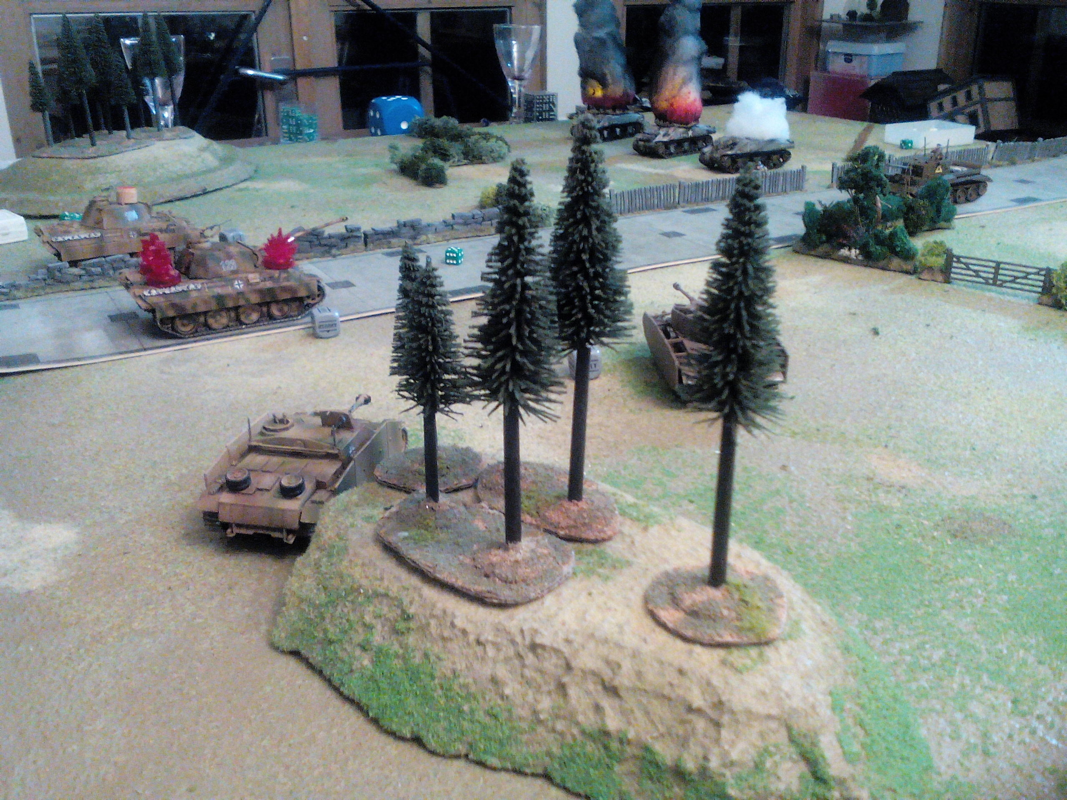
Anybody else know the song Roads to Moscow by Al Stewart, circa 1974? A rare rock song about WWII that isn't thrash metal. Every time a German tank dies in a game, I think of the line:" Two broken Tigers on fire in the night." I was humming it last night. Ian and I played a game of Bolt Action Tank War. We had 2,200 points each on an 8’ x 4’ table. This was the biggest game we have played so far, with every tank we could get our hands on. Ian’ Germans had 2 Panthers, a Panzer IV, a Stug and a Puma, plus 520 points of Fallschirmjagers. My British had a Cromwell, 6 Shermans and 500 points of infantry. All tanks on both sides and the British infantry were regular, and Ian's Fallschirmjagers were veteran. I began with 14 dice and Ian with 11. The table was quite busy to ensure we didn't have too many uninterrupted lines of sight. It was divided up the middle by a cobbled road, on one side of which were the outskirts of a village and on the other, more open farmland. We rolled four objectives which we placed in a rough line, lengthwise down the middle of the table. Three of them were in the village, which was on Ian's left and my right. 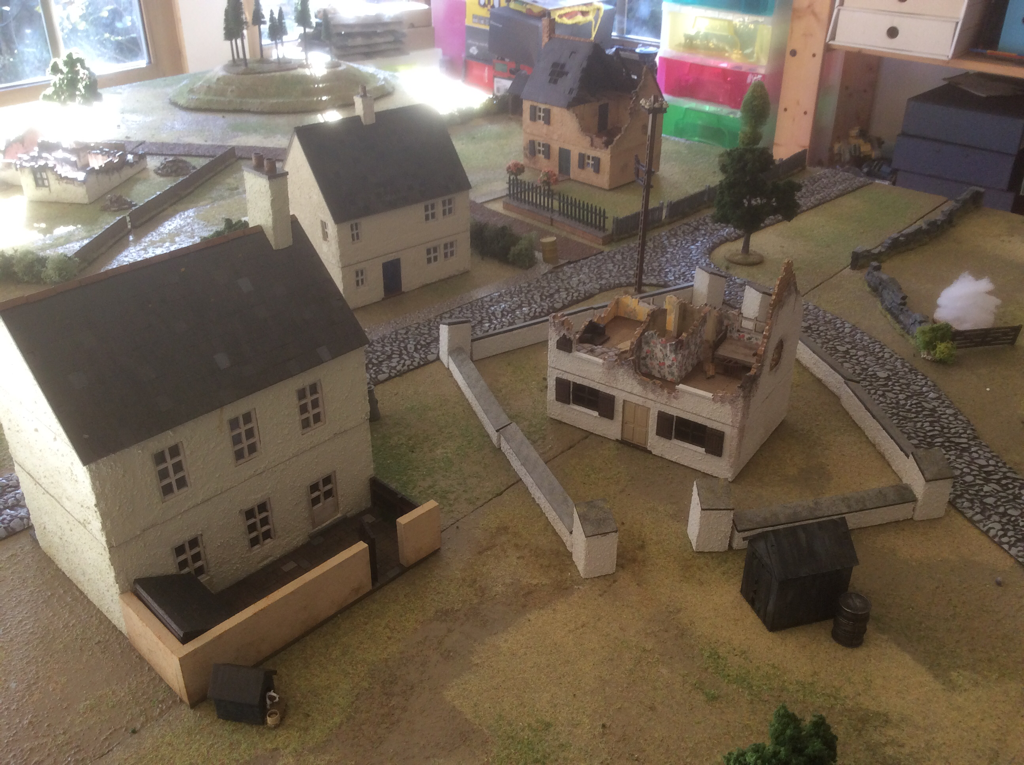 The view from the German centre. On turn 1, Ian placed a lone Puma on his extreme left; his Panzer IV in support of most of his infantry in the centre, then his remaining armour, along with a single infantry squad and an MMG, in the fields on his right. I sent all my infantry into the village in the centre, one Sherman into the open ground on the left and the rest of my armour behind the village and on my right. I struck lucky early on, knocking out the Panzer IV and a Panther in turn 2. My dice rolling balanced out later when my armour repeatedly failed to damage Ian's vehicles, but it was a great advantage to roll so many high numbers in the opening stages. The game split into three combats: on my left, the Remaining Panther and Stug duelled with 4 Shermans (quickly reduced to 3); in the centre, our infantry fought for control of two objectives in the village; and on my right, the Cromwell and 1 Sherman played peekaboo with the Puma. Early luck tipped the scales in my favour and by game’s end Ian had lost every tank but his Stug while I had lost just the one Sherman. With two objectives apiece at the end of turn 6 we counted points and I got a ‘clear victory’. I think this was my luckiest wargame for a very long time. Did skill come into it? A bit, perhaps. My tanks used cover more than Ian, who confessed he had put his faith in the superior armour of his Panzers rather than tuck them behind walls. In truth, an awful lot of my fire did bounce off harmlessly but if you take enough shots even a 75 will get through eventually. I also think it helped to keep my infantry in mutual supporting distance. But if truth be told, I won because I had a big fat slice of improbable luck. Bless him, Ian stayed cheerful until the last 6 was rolled. He used his Puma to tie down three tanks for much of the game: I almost regretted knocking it out on turn 6. Almost. And at least his Stug shrugged off every single attempt to pierce its armour. 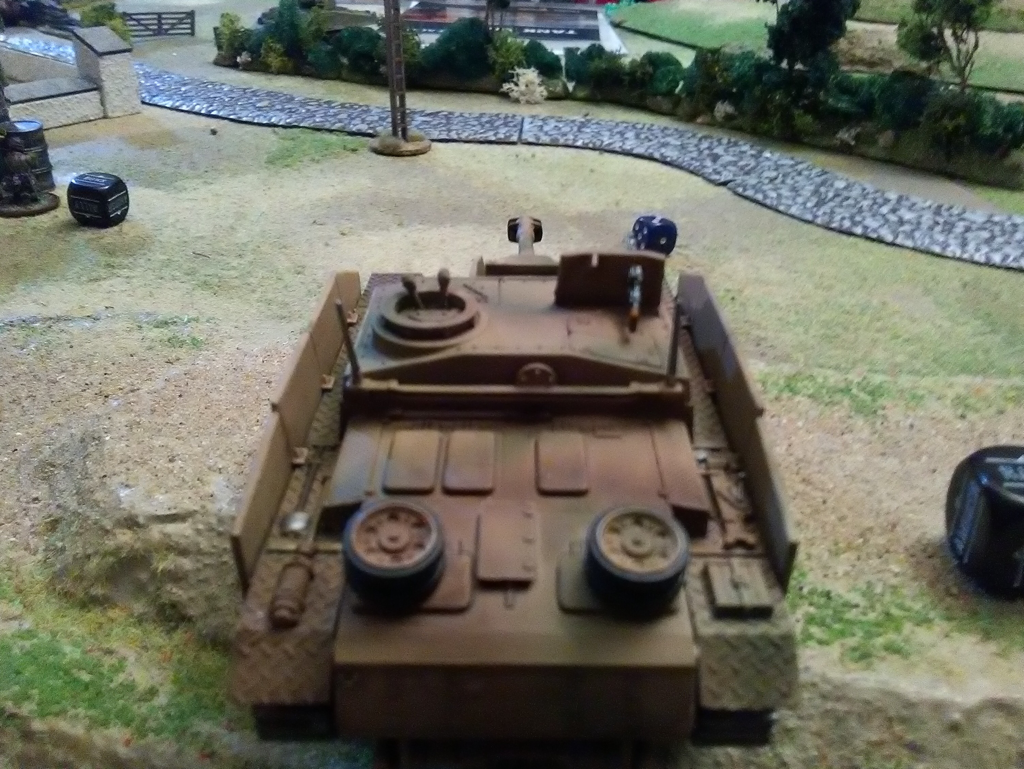 Last German standing We had another 500 point Bolt Action game last night. Matt and his GIs attacked Ian's Fallschirmjägers, tasked with capturing two objectives (a milk churn and a telegraph pole). Ian had three small infantry squads, an MMG, flamethrower, sniper and 2nd lieutenant. He placed two squads and his officer behind bocage on his right; the third squad, MMG and flames in ruins in his centre-left and his sniper in more ruins in front of his centre. 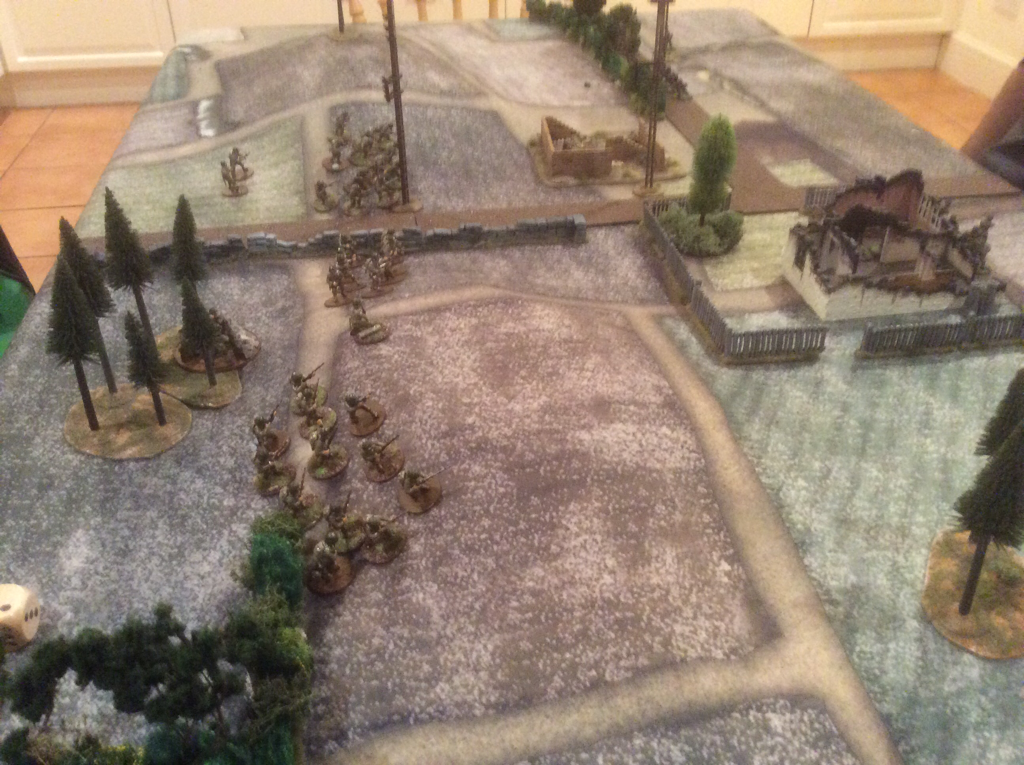 Matt led three strong squads, a medium mortar and a 2nd lieutenant. His preliminary bombardment inflicted a few pins but not much else, besides killing the sniper’s spotter. He then brought his force in close together, leaving Ian’s right uncovered and pointing two squads at Ian’s left. The game played out interestingly. Matt closed to close quarters as fast as he could, incurring some risks in the process. His tactics nearly paid off handsomely. The end result saw Matt in firm control of the objective on Ian's left but Ian was hanging on to the one on his right. Matt had got his forces at right angles to, and behind Ian’s cover (a stretch of bocage). He looked in control and had the game lasted another turn, Ian would have been hard put to hang on to the second objective. As it was, the game ended in a draw on turn 6. There were some tense moments. True to previous form, Matt scored an early mortar hit on Ian's MMG, reducing it to paste in two rounds of firing. His mortar spotter knows his job. Make that ‘knew’ because Ian's sniper took him out soon afterwards. Matt fudged a move with one squad, but when Ian's flamethrower tried to capitalise on the mistake, it missed. We discussed after the game whether a veteran force can perform well at 500 points since the numbers are so few. We concluded that it can, but that at this game size, one chance event can have a bigger effect on the outcome than in a game of 1000 points or more. So the running total of BA games played looks as follows: Matt: played 4. Won 2. Lost 1. Drew 1. 5 points Ian: played 5. Lost 2, Drew 3. 3 points Tim: played 5. Won 2, Lost 1, Drew 2. 6 points. Before Matt joined us, Ian introduced me to 8th edition 40K. I had lost interest when 7th edition came out, mainly because the small forces we had built up with previous editions stood no chance against monster models like Imperial Knights, Stompas or whatever. It was great fun. Ian bundled an Ork mob, some stormboyz and a warboss down the road into my Cadian squads, sentinel, Company commander and commissar. I really liked the streamlined rules. Age of Sigmar turned me right off, partly because of the rubbish back story and some silly new models (a dwarf riding a dragon? Come off it! They will always be race enemies in my head). I loved the Old World and was sorry GW abandoned it. But 40K 8th edition seems to have improved play without ruining the universe. I will play this again.
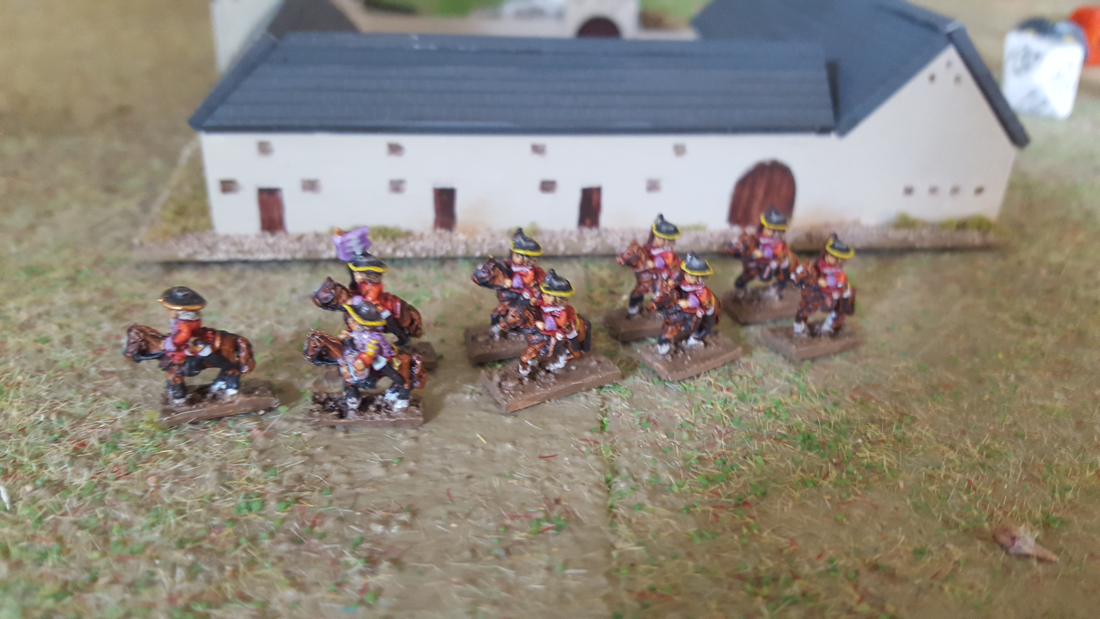
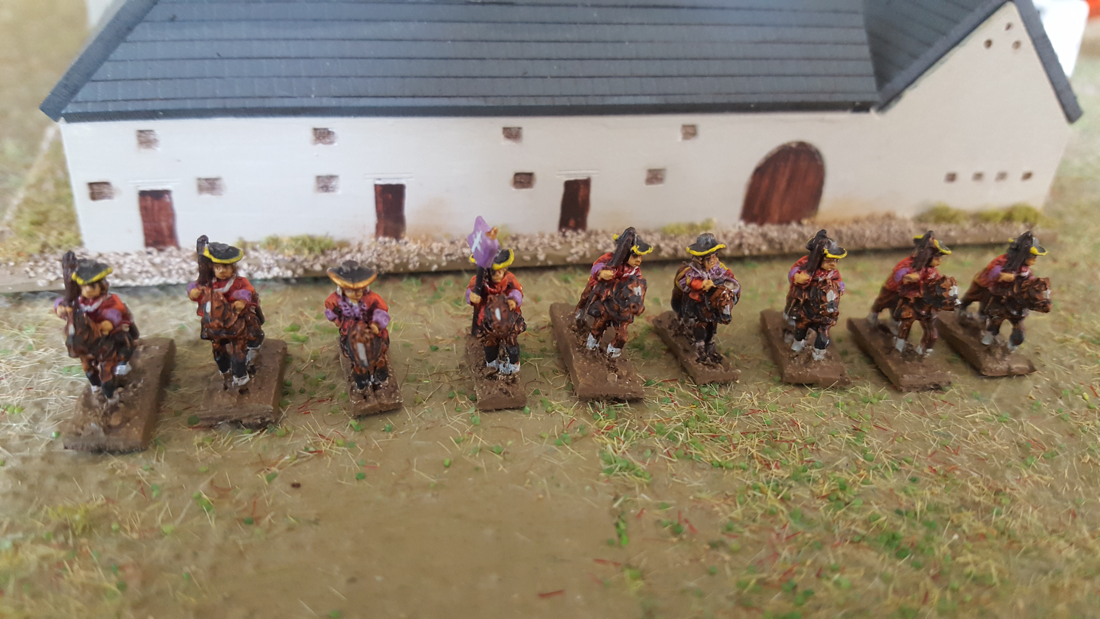
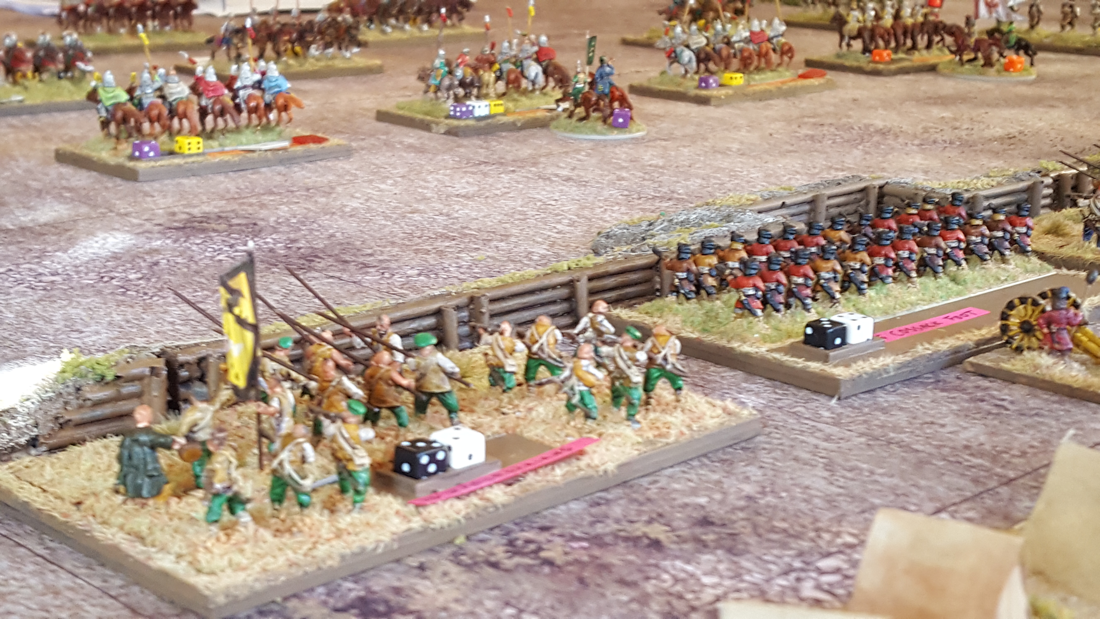
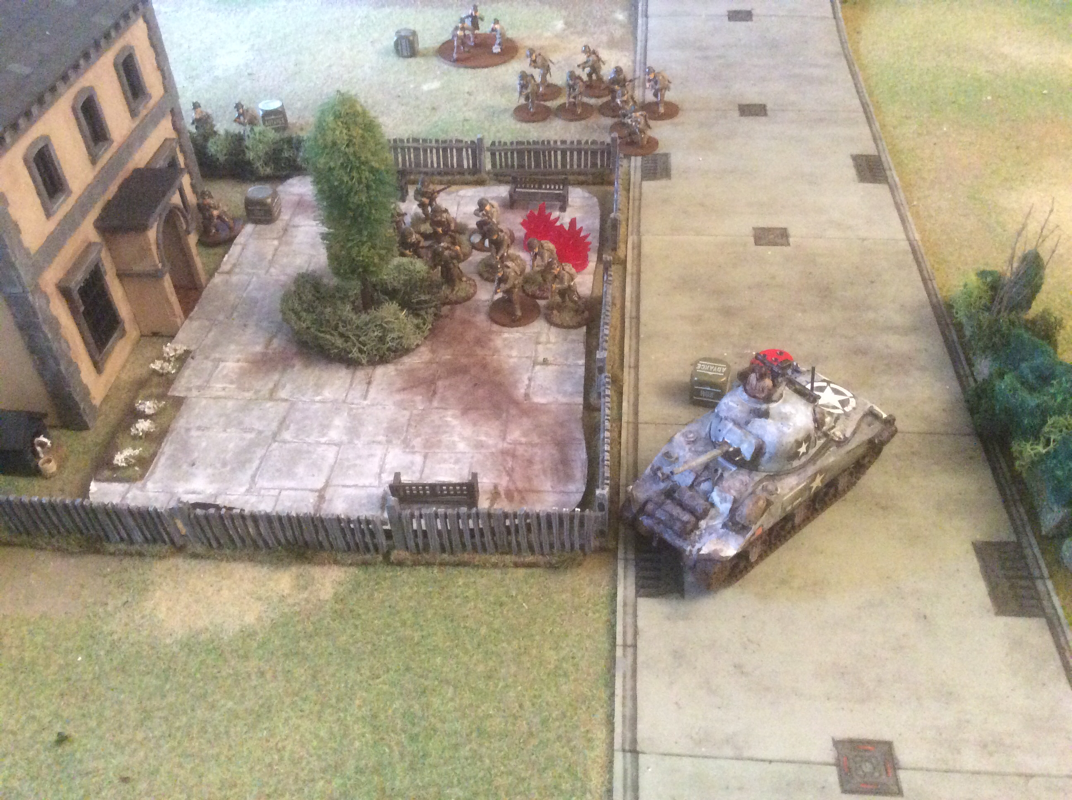
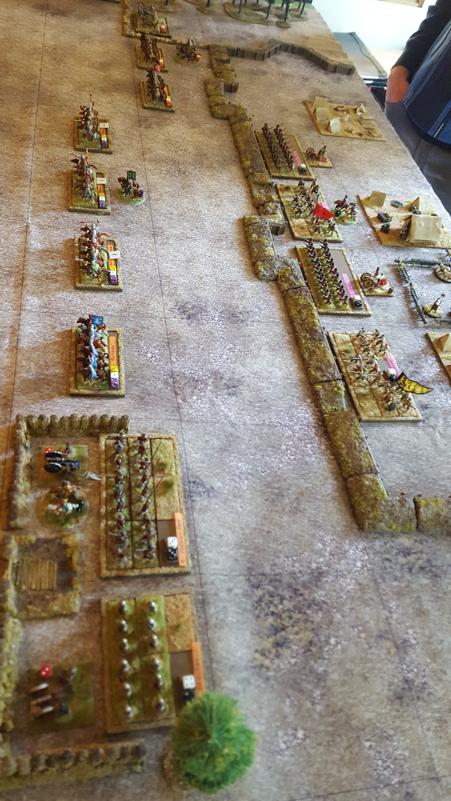
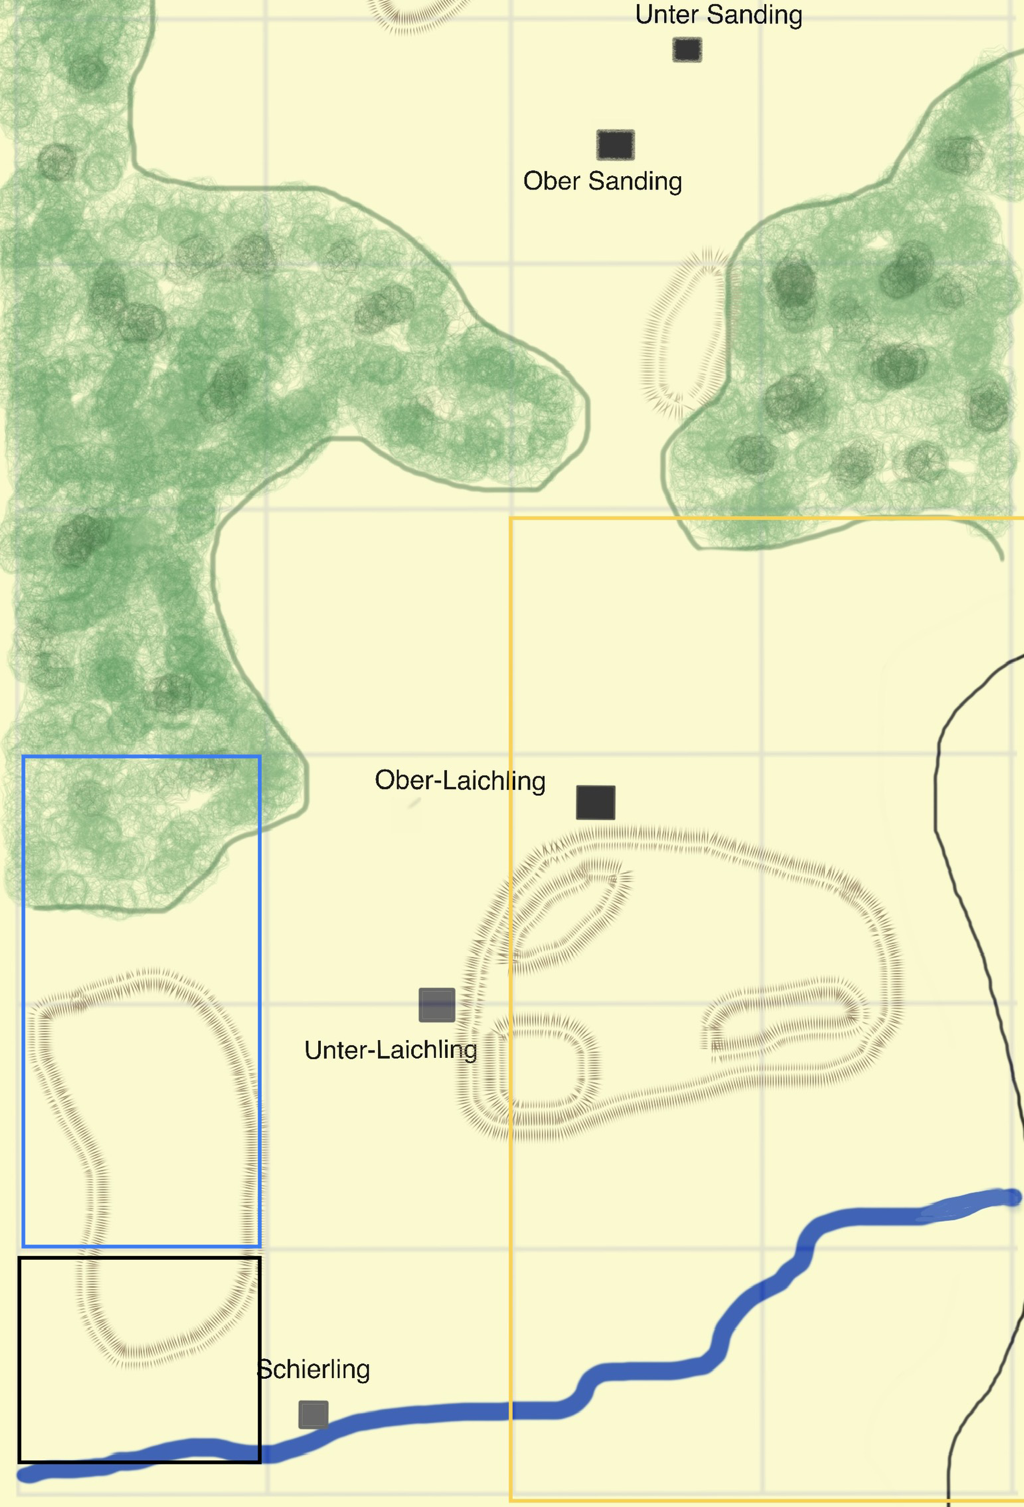
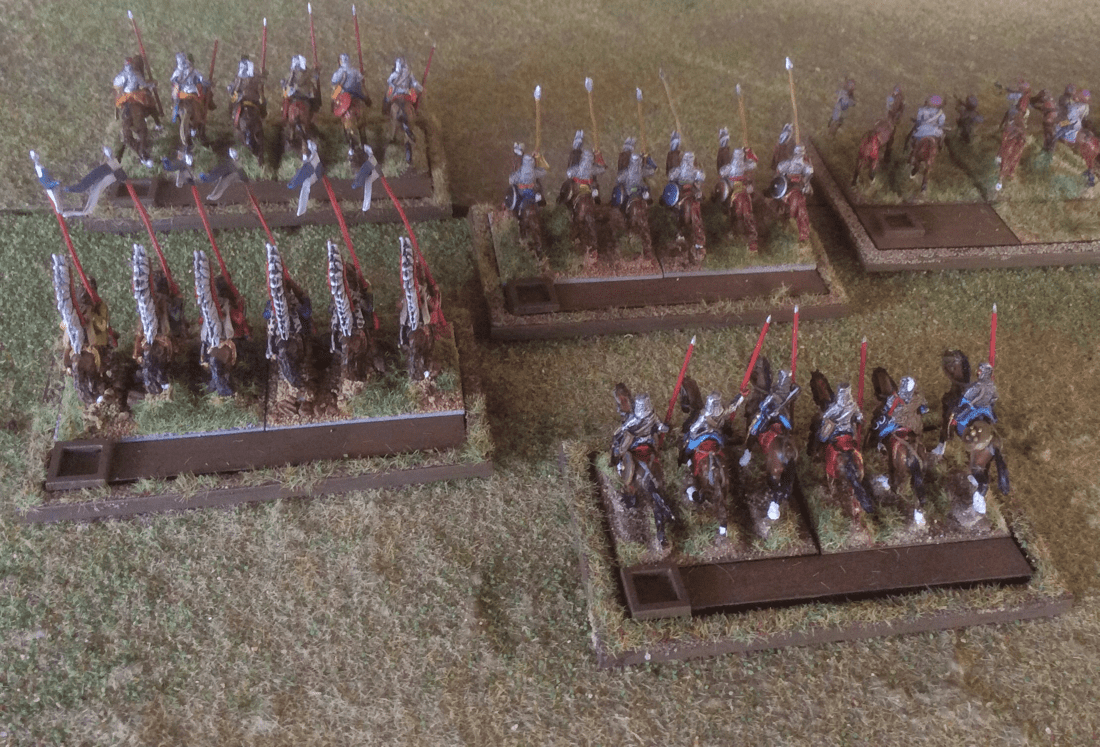
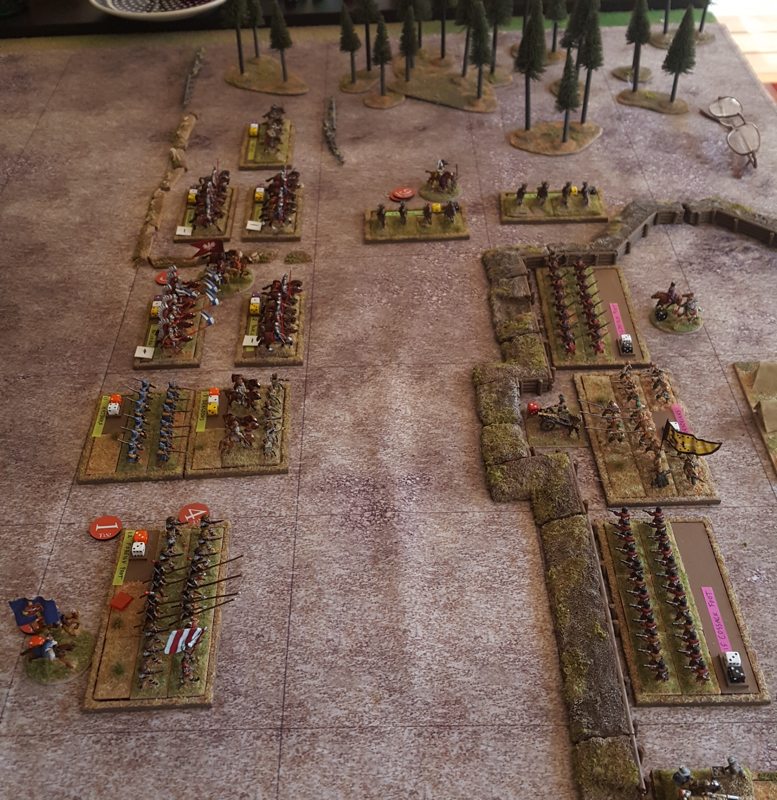
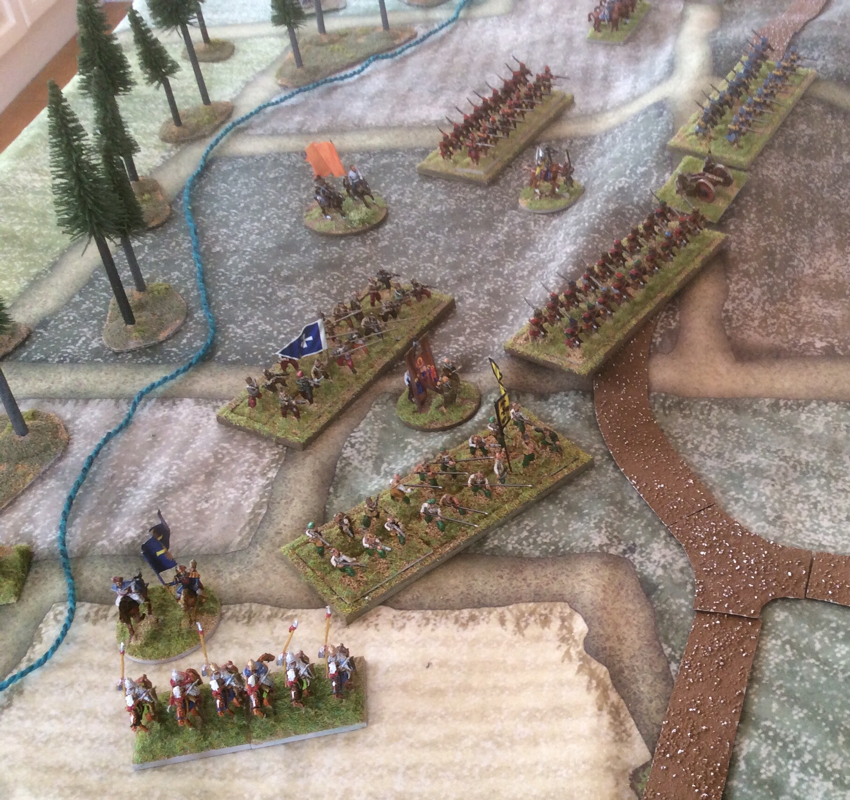
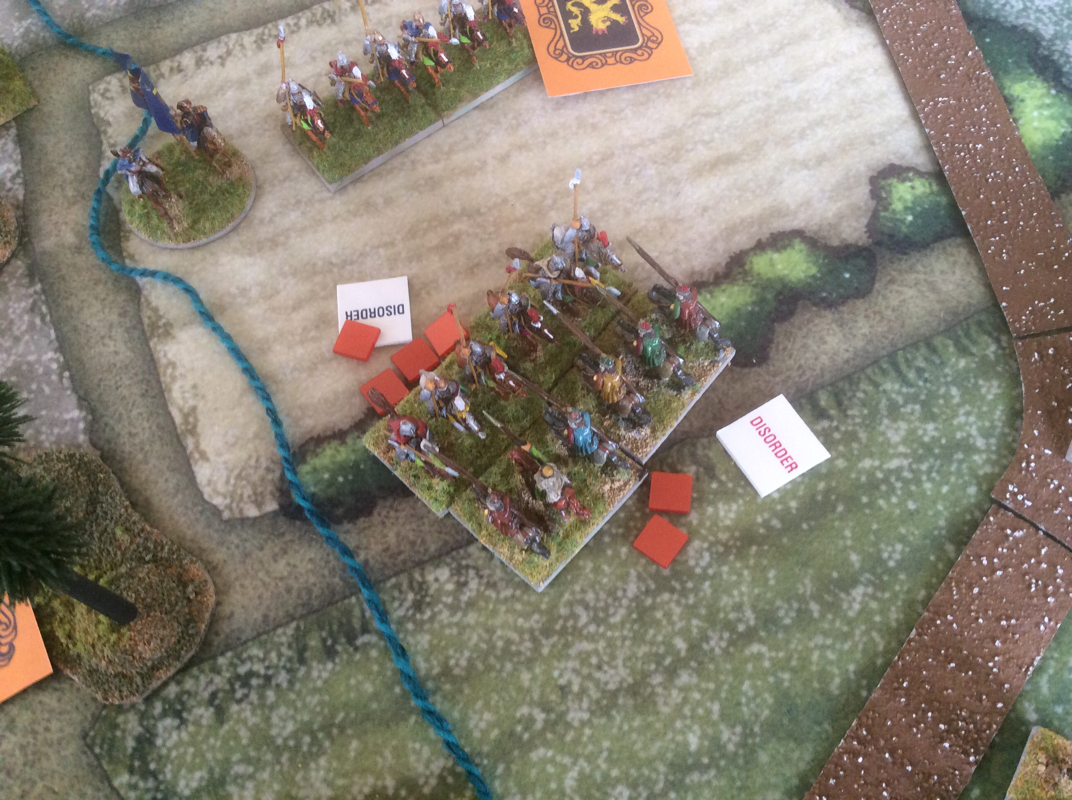
 On Wednesday we played another two games of Bolt Action. The first was the latest in our three-way escalation campaign. In this, Matt's Normandy US assaulted my German grenadiers. We played 750 points a side. Matt had a discount if he took armour and so deployed a Sherman alongside two regular infantry squads, a veteran engineer squad, a medium mortar, a medic and a First lieutenant. I brought three squads, an MMG, a medium mortar, officer and Sdkfz 251/10, all regular. Matt would score vps for destroying my units, having units in my 12" deployment zone and exiting units off my table edge. I would just score vps for destroying units. I could start hidden and place one squad in fox holes. Matt rolled pretty poor dice for preliminary bombardment, except against my very last unit, a half track with anti tank gun. He promptly converted his 6 to a knock out so I was down one half track before the game even started. This was my only ranged anti tank weapon although fortunately I had allocated a panzerfaust to each infantry section. 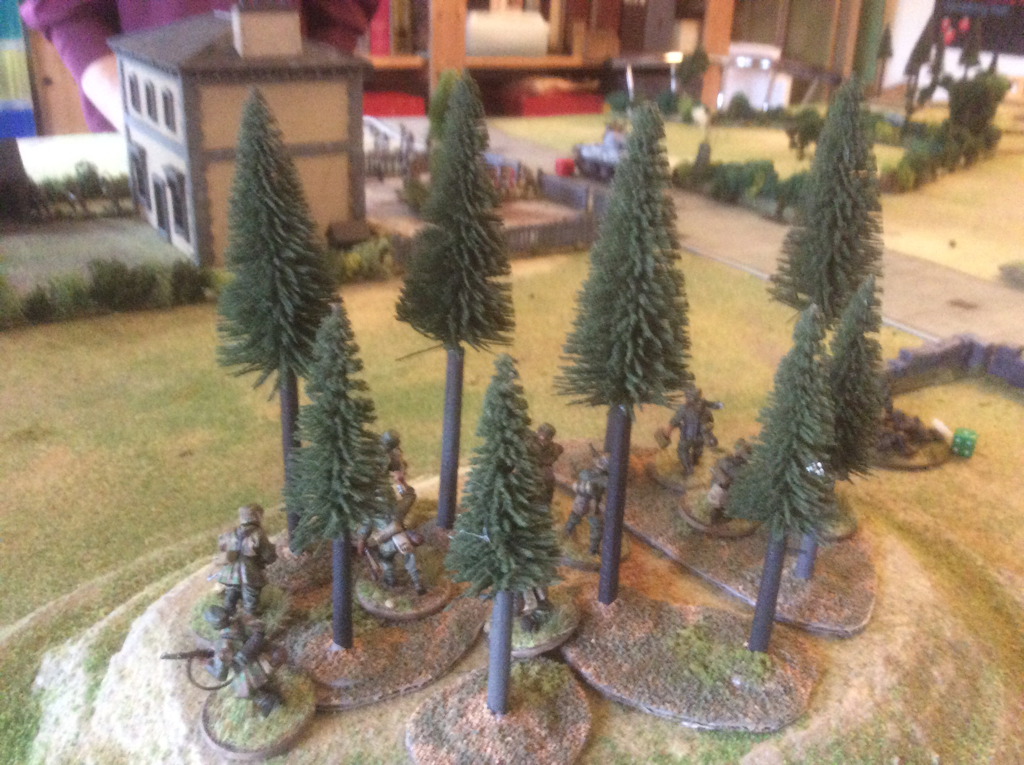 I set up my three squads from left to right across the table, the left two on wooded high ground and the third in fox holes on the flat. My MMG sat behind a stone wall in the centre, facing down the road against the advancing Americans. Matt brought most of his force on table on his right, throwing his Sherman down the road and gathering his infantry sections in the grounds of the house. His Sherman and mortar were the most active in the early turns, while his infantry crept closer. Matt also brought his engineers across from his left, concentrating his whole force in the right half of the table. With no enemy in front of them and no anti tank capability besides the panzerfausts, I sent first my right hand squad, then the centre squad forward to close with the US left and try a bit of tank hunting. Both our mortars inflicted some tidy casualties from mid game having ranged in, but Matt's hits were more effective as they reduced my left hand squad to nothing, just as his right wing assaulted my left in the closing two turns. Matt mounted a concerted attack on my left, with an infantry squad and his Sherman entering my deployment zone. I had the satisfaction of knocking out the Sherman with my centre squad's panzerfaust but when the game ended at the end of turn 6, Matt had a 3 point advantage so won the day. It was a really close and enjoyable game. Our campaign results so far are: Matt: played 2. Won 2. 4 points Ian: played 3. Lost 2, drew 1. 1 point Tim: played 3. Won 1, lost 1, Drew 1. 3 points. So Matt is the man to beat, out in front with a game in hand. We then played a game of Tank War. Ian and Matt led two panthers, a Panzer 4 and a STUg to an easy victory against my three Shermans, Cromwell, 6pdr anti tank gun and infantry in a half track. Aww crap. With no need or incentive to close the range, the Germans sat on their baseline and took out my units one by one as I tried to get near enough to inflict damage. I did manage to jam a Panther's turret and my fire dice could perhaps have rolled higher, but I was basically doomed! At least it was over quickly.... still, the table looked good, and as Matt pointed out, it was probably an accurate outcome. I have three more Shermans on the paint bench and maybe next time, we can get enough Allied tanks into killing range before the German cats take them all out. No, I'm not bitter. Well, maybe a little... I have spent the last couple of weeks painting ACW casualties. I picked up a copy of Pickett's Charge from Too Fat Lardies and they have really caught my imagination. Longstreet is my favourite game for brigade actions (actually it's my favourite game full stop) but it was over its limit when we used it to play day one of Gettysburg. On to Richmond by Paul Koch is excellent for army level actions, with its brigade sized units and streamlined mechanics. But Pickett's Charge strikes me as a good set for divisional and Corps level battles. Unlike Longstreet, these rules require casualty markers, so I needed to get equipped. I bought 30 casualty dials from Warbases, which show numbers from 1 to 12, and painted up some Kallistra 12mm casualties I have had for a year or so. I stuck them on the dials and added sand, tufts and flock. I am pleased with the results. The casualties don't stand out too much but my aim is for the dials to blend in to the rest of the table, which I think they will do. 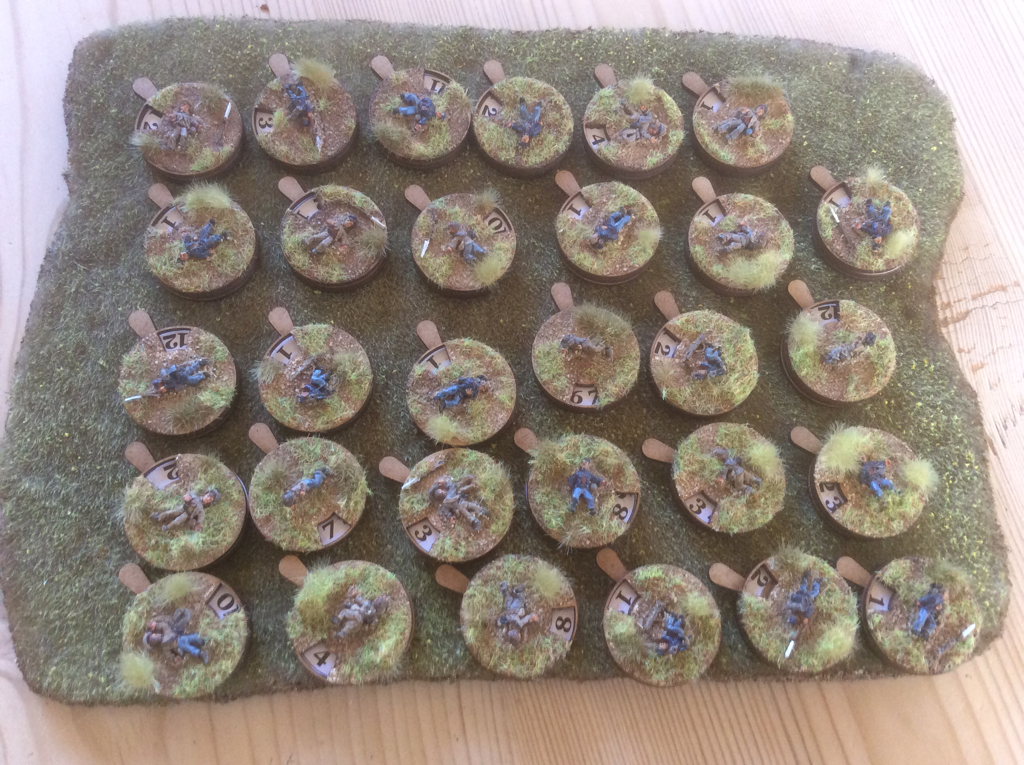 I decided against splatting ketchup everywhere. The most I'll paint on a wargame figure is a red stain on a bandage. I think this is a generational thing. Zulu is my favourite war film and I wanted my sons to share my enthusiasm. They quite enjoyed it but both thought it odd that with all the shooting and stabbing, virtually no blood was visible throughout the film. This had never occurred to me! Anyway, I prefer my casualties to be nearer the spirit of Zulu than of Saving Private Ryan. Perhaps I should have waited to see if I enjoyed playing Pickett's Charge before making the markers. But I'm pretty confident it will go down well. For our first game, I am looking at Bristoe Station in late 1863, the one after which Lee told Hill to bury the dead and say no more about it. I am attracted to the fog of war in this battle, when a force pursuing a retreating enemy was suddenly assailed from a new direction entirely. It is a situation that most wargame rules make very hard to pull of: usually the players can see too much and the rules allow them to do too much. I'm hoping that Pickett's Charge will provide the balance between restricting player omnipotence and still giving a satisfying game. Meanwhile I have just finished reading Rebel Yell, the biography of Thomas 'Stonewall' Jackson by S.C .Gwynne . It is a great book, showing the contrasts in Jackson's character and bringing his campaigns vividly to life. The accounts of fighting are authoritative and clear. This isn't a biased account: Jackson's frailties are scrutinised as closely as his strengths. There is plenty of inspiration here for the wargamer. The author doesn't speculate on what would have happened had Jackson not died after Chancellorsville, but is certain that the loss to the Confederate military cause was immense. 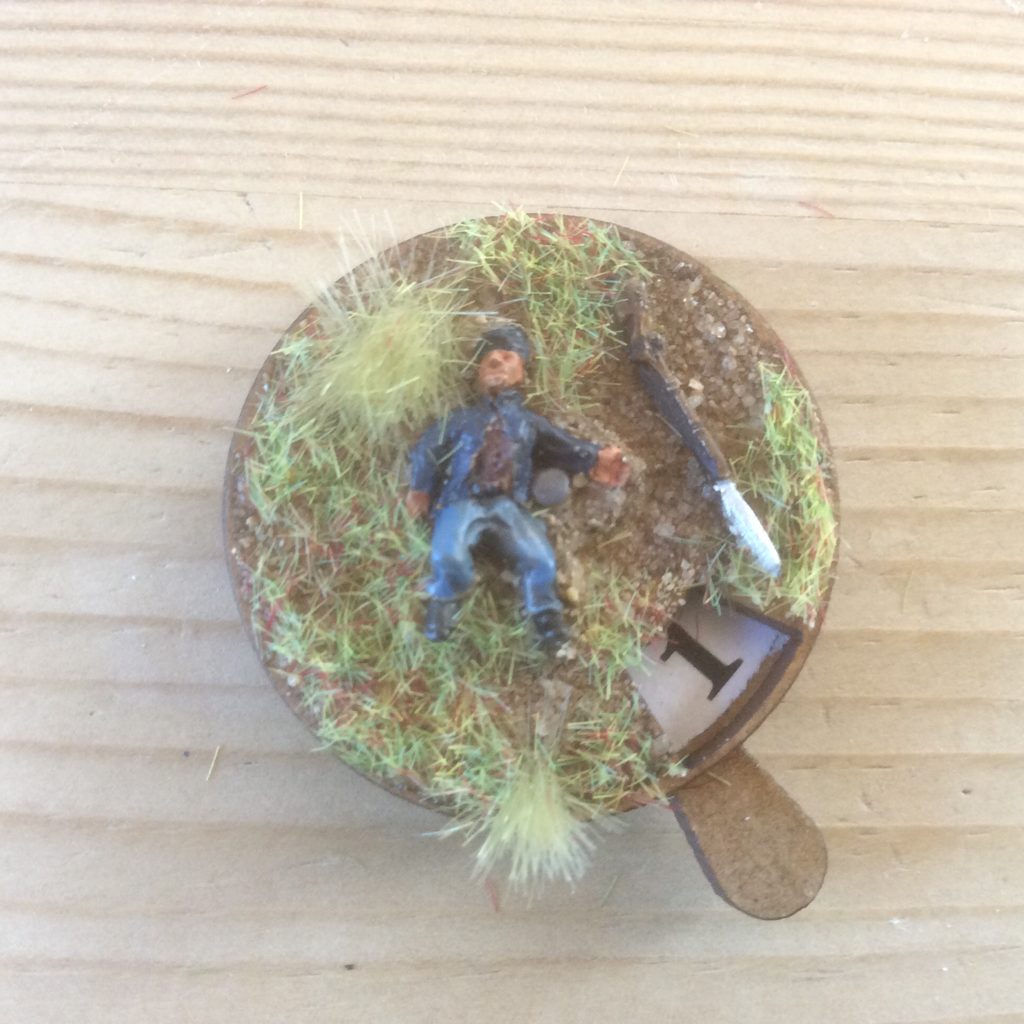 When we visited Kraków in October, I picked up two accounts of the Berestechko/ White Chapel campaign of 1651, in the fourth year of the Cossack uprising against the Polish-Lithuanian Commonwealth. One is about the whole campaign while the other looks in detail at the part played in it by the Lithuanian army under Grand Hetman Janusz Radziwiłł. Apart from a few Wikipedia articles, I knew nothing about this campaign, but was ready to pick up any book I could find about wars in the 17th century. I'm very glad I did. The History Since the uprising began in 1648, the Cossacks led by Khmelnytsky had inflicted a string of humiliating defeats upon Commonwealth armies. On one occasion, a Polish force had fled in panic just at the sight of the Cossacks and their Tatar allies. King Jan Kazimierz was determined to turn the tide in 1651 and two armies were levied for the year's campaign. The larger, Polish army led by the King in person operated in the south, while the smaller Lithuanian army invaded Cossack territory from the north. In several encounters through the campaign, Polish and Lithuanian forces restored their martial reputation. The year saw a series of engagements adaptable for wargames. They included cavalry raids deep into the enemy rear, opposed river crossings, several rearguard actions and two major battles, Berestechko and Biały Cerkiew (White Chapel). After the latter battle the two sides signed a truce that brought the year's campaign, but not the war, to an end. he Game On 27 December Keith and I played a game of Tercios, based on the battle of Loyev (Łojów) on 6 july 1651. At this battle, Radziwiłł forced a crossing across the Dnieper river, a key strategic point on the road to Kiev. The crossing was held by a Cossack force of 1000 men, entrenched along the riverbank. Radziwiłł managed to turn the position by sending a detachment of 2500 horse and dragoons under Mirski, several miles up river, that crossed unopposed, came back along the opposite bank and surprised the Cossack defenders while Radziwiłł forded the Dnieper in their front. Nebaba, the Cossack Hetman in the region, raced to Loyev with his army of 15000 to restore the position but was too late. He inflicted much damage on Mirski but was then assaulted by Radziwiłł. Nebaba died on the field and his army fled. Our game began after Mirski had defeated the original Cossack force and just as Nebaba arrived on the scene. Mirski's objective was to hold Nebaba off long enough for Radziwiłł to ford the Dnieper. Nebaba needed to brush Mirski aside and bring the ford within range of his muskets. He had just five turns to do this. If he had not brought his guns within range of the ford by then, too many of Radziwiłł's troops would be considered to have got across. In our game Keith took the role of Mirski and I was Nebaba. His force consisted of one unit of Hussars, five of Pancerni and three of Dragoons. Nebaba commanded eight units of foot and four of horse. Keith deployed forward, with his Dragoons on a low ridge, flanked by cavalry. I put all my horse on my right, aiming to outflank Mirski and make for the ford, while my foot would maintain pressure from the front. Phase 1: the left wing Lithuanian horse intercepted the Cossack horse and a seesaw Melee followed, in which the Lithuanians gained the advantage but accumulated a lot of casualties. Nevertheless they achieved their aim of stalling the Cossack advance on the ford. The Lithuanian right demonstrated before the Cossack infantry but gave ground. Phase 2: the Lithuanians assaulted the Cossack centre, disordering and then running down two Cossack foot regiments. In Tercios, it is particularly dangerous for formed infantry to fall into disorder near enemy horse. To top it all, a Pancerni unit, having broken through Cossack lines, ran down Nebaba, netting 3vps for Mirski. The Cossack left closed on the Dragoons along the ridge, only for the Dragoons to mount up and withdraw to directly cover the ford. Phase 3: the Cossack left pursued the Dragoons towards the ford but its centre and right continued to struggle with the Lithuanian horse. In the last turn of the game, Lithuanian losses started to rise due to accumulated wear and tear, but they had done enough to keep the Cossacks away from the ford and so won the game. The Tercios rules
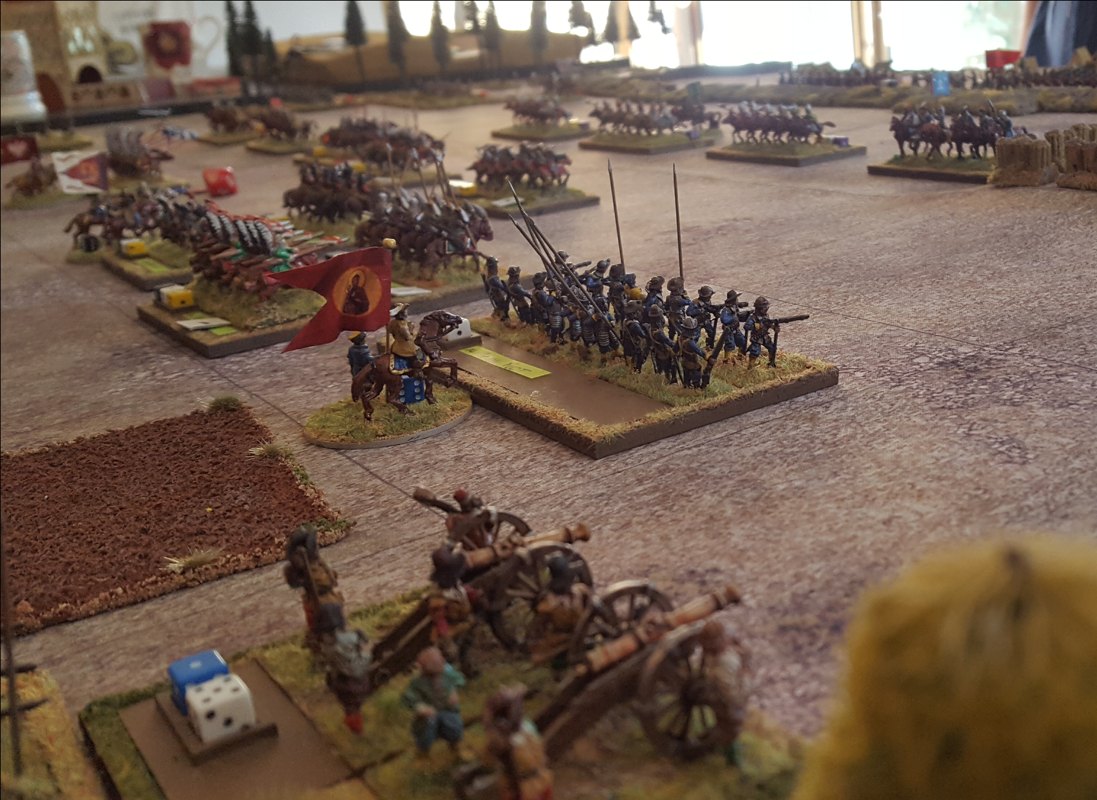
This was a great game and Tercios worked very well. The order card system adds tension and excitement, with challenging decisions for players, on both original orders and the sequence of activating units. The mechanics are easy to remember and apply. So far we haven't felt the need to add house rules, which is a good sign! We did however use modified unit stats for the Cossacks. Those supplied in the rules are insufficient to recreate a Cossack army of this period. It's not unusual, but the rules' authors seem not to know that the Cossacks were a predominantly infantry army. The units described in the Kingdoms supplement are fine, but they are missing the formed infantry that made up 90% of the Cossack army. When I next have access to a standard computer, I will post the scenario for this battle. I have had some interesting exchanges recently with Michel, a prolific wargamer and driving force behind Opération Zéro, the site for Francophone wargamers in Belgium. http://operationzero.rforum.biz/forum. He is a great supporter of the Renaissance rules Tercios, which he and colleagues play in 10mm. Michel recently started collecting Poles and Cossacks and we have been discussing how to track down useful background in English or French about the period and theatre. Of course the rules By Fire and Sword provide a lot of really useful background, but there is not much else published about the period in the sort of detail a wargamer wants. Having been obsessed with the Chudnov (Cudnów) campaign of 1660 for a few years now, I have put together a conversion chart to turn the Orbats for this campaign into units for Tercios. Of course the original data is open to challenge as sources disagree on the numbers involved, but I used the set on which the majority seem to concur. I hope the tables are self explanatory. There is more about the campaign on this website as well as a scenario each for Tercios and for Maurice. I plan to offer scenarios for every engagement of the campaign eventually. These include a meeting engagement, a set piece battle, a fighting retreat and an assault on an entrenched camp. 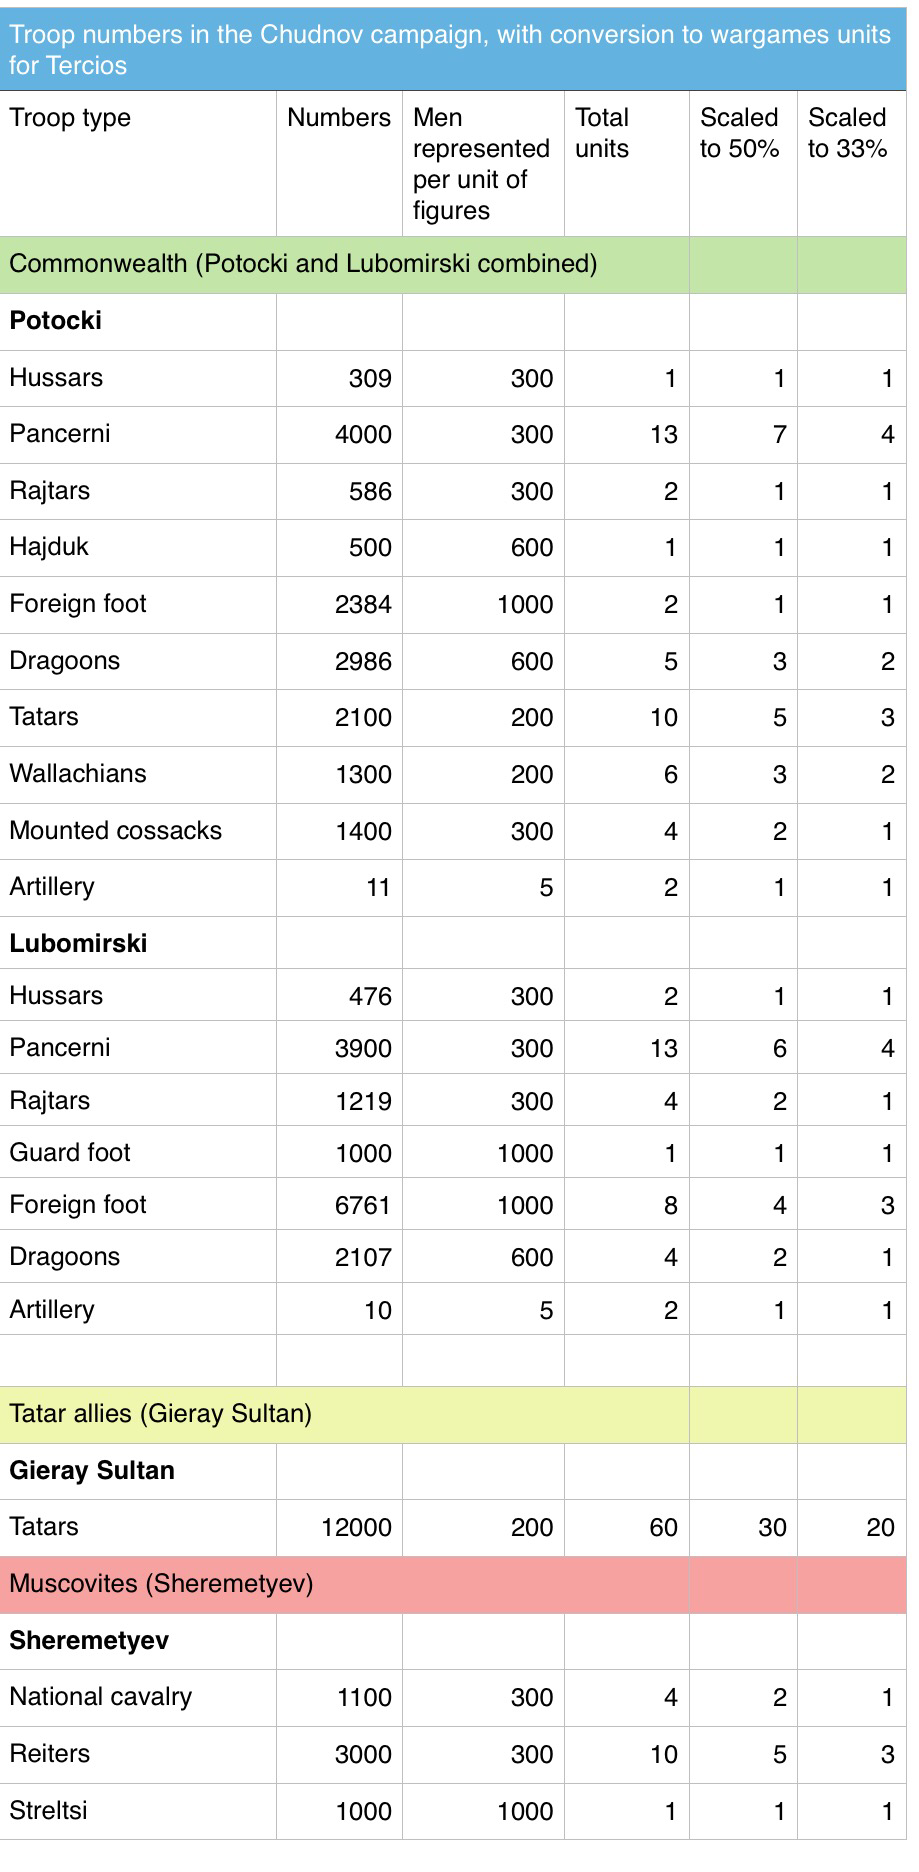  Like many gamers these days, I am a member of several forums supporting particular rules sets or authors. My three current favourites are Honour Games, el Kraken and Polkovnik, covering Longstreet/Blucher/Maurice/Lasalle (and other rules I don't play), Tercios and Sword and Spear respectively. I visit them all every few days. In recent weeks it has struck me that each author has a particular approach to their public. Sam Mustafa of Honour is a regular contributor to his own forums and consults members on certain of his ideas, such as which army card set to release next. He also refers rules questions to the relevant page. He doesn't discourage players from adopting house rules but neither does he seem that interested in discussing rules amendments. His games are playtested extensively before release but once published, his rules are basically done. The el Kraken forum is quite new so it may pick up, but despite being hosted by the publishers of Tercios, the rules' authors just don't seem to engage with forum members. The result is that newcomers to these excellent rules are left to fend for themselves, checking with each other how they interpret the system. This is a real shame as I can already see house rules springing up all over the place. The third site is the charm. The author of Sword and Spear, Mark Lewis, is not only a frequent contributor to his own forum, but he positively encourages debate and has amended the rules following extensive discussion with forum members. He doesn't plan to make a habit of this but he has decided to keep army lists a living downloadable resource, to which individuals make contributions with suggestions for new armies. The Sword and Spear community seems to be the most active and engaged of the three, largely, I am sure, because of Mark's engagement with forum members. I wonder how these differing approaches are reflected in sales revenue.... 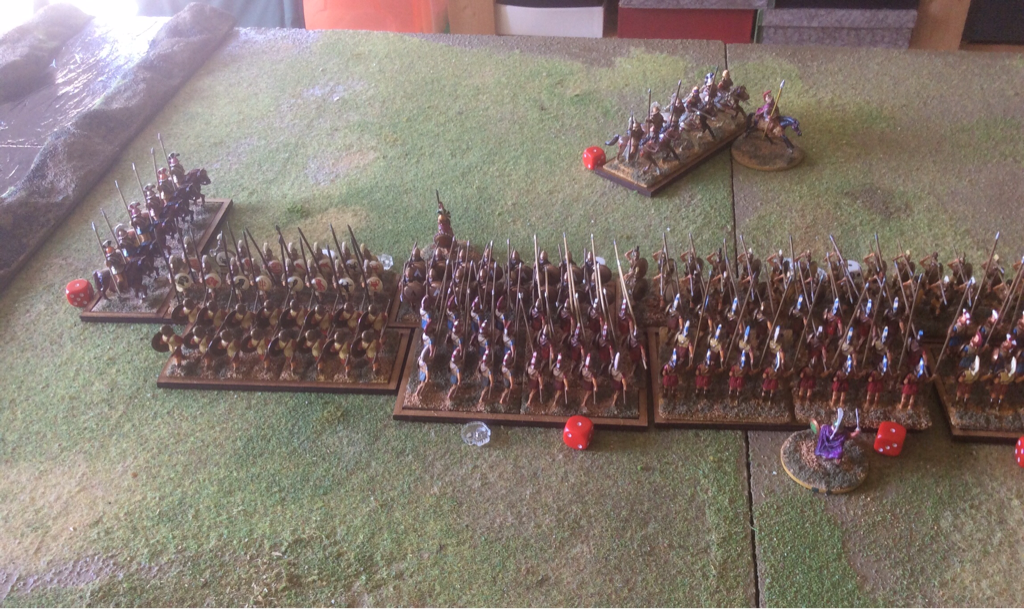 Last night Ian and I played a game of Tercios, based on the Polish assault on the Muscovite redoubt at Lubar, 16 September 1660. The scenario is here. It was our first full game so I kept it to a manageable ten units or so a side. The rules came back easily and we referred only rarely to the reference sheet. it was a cracker! As the Pole, Ian pinned the redoubt from the front and sent his cavalry deep around the left flank. Polish Hussars met Muscovite Dyeti Boyarskies almost behind the Muscovite lines, smashing them and following up into supporting Muscovite horse. For a time the outcome seemed uncertain but the Muscovite horse were unable to catch their breath and a persistent Polish pursuit tipped them over into rout. To crown the moment, a Polish foot regiment broke into the redoubt and with that, they won a Clear victory (one level down from decisive). The victory conditions are straightforward: the game stops when the disparity in victory points reaches a given level. I love these rules. The core system is so elegant and effective and feels like a Pike and Shot system ought to. Frontal assaults tend to be slow going and indecisive, but once flanks are exposed or a unit becomes disordered, things can go wrong very fast. Ian did a great job of unhinging my position and rolling up my line. A great game. 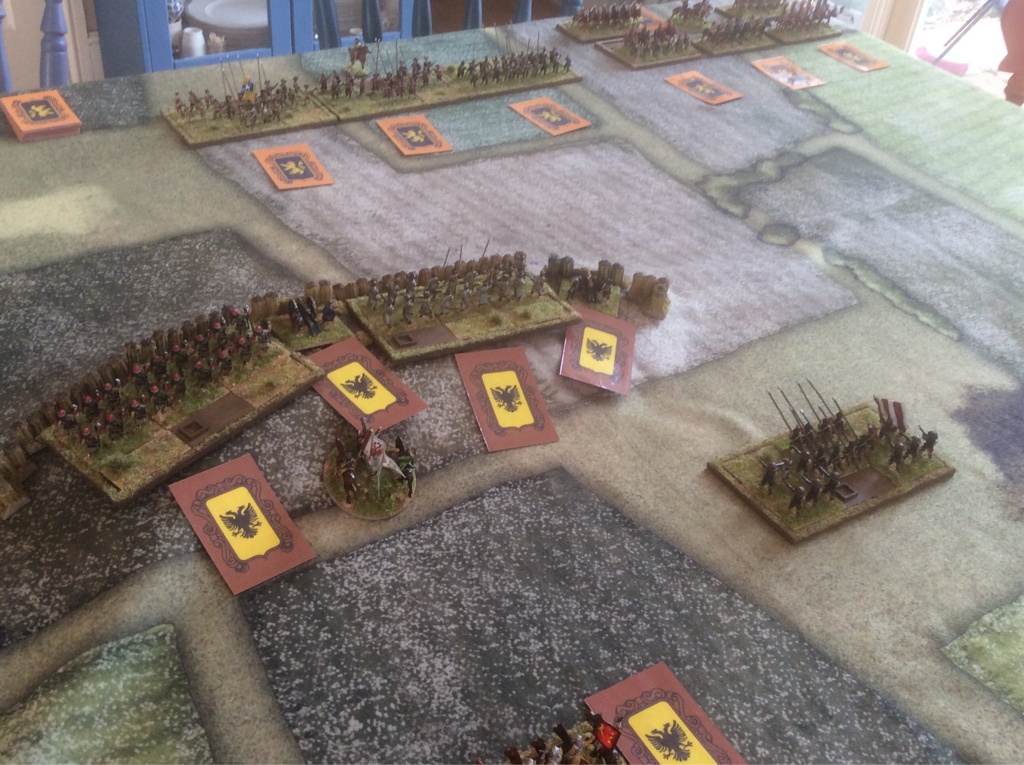 The view from behind the redoubt at games start. 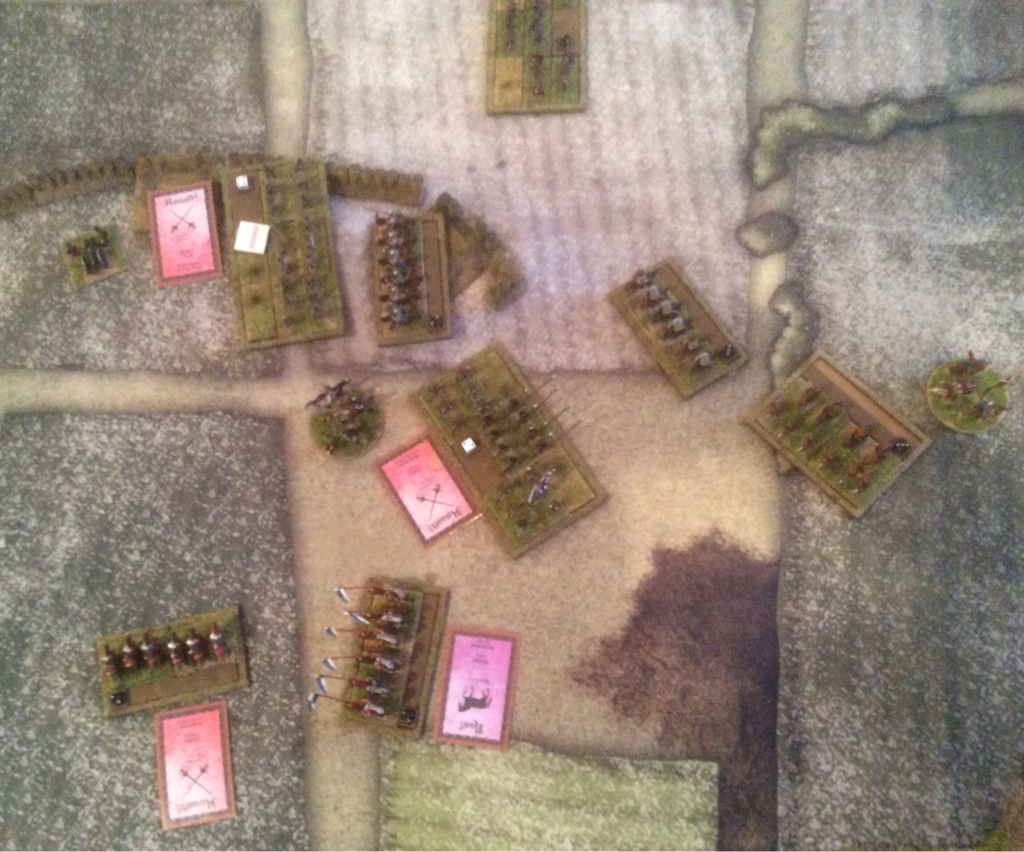 The Poles start turning the Muscovite flank. 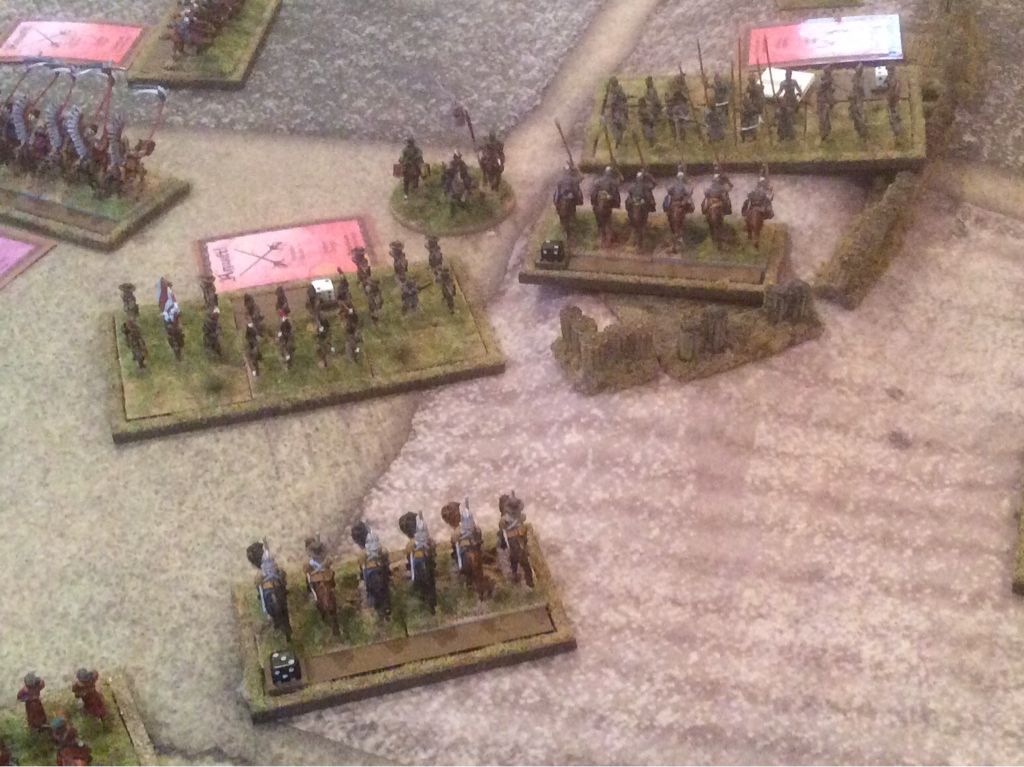 It's all over: the Poles flood theMuscovite position.  I played a second run through with Tercios at the weekend, using a scenario based on the First Encounter at Lubar, 11 September 1660, previously written for Maurice. To test the variety of troop types, I added some Pike and Shot units to the Polish OOB. The Battle was fought between Cossacks with Muscovite cavalry support and Poles with a Tatar contingent. In the actual encounter, the Poles surprised the Cossacks on the march. The Cossacks withdrew to high ground and held the Poles off until relieved by Muscovite Horse. I started the game at the point when the Cossacks had already formed on the high ground and the Muscovite Horse had arrived to reinforce them. I chose to start here because Tercios doesn't allow for units to be in March formation. This shouldn't be too difficult to invent with a bit more experience but I steered clear for now. The game began with an attack on the mounted troops on the Cossack right by the Tatars. This took place in forest and made little progress either way: the two sides were well matched and fired a lot of arrows, but without decisive effect. This felt absolutely right. Then the Polish heavy cavalry, also on the left, clashed with Muscovite Horse and annihilated it. However the Poles were disorganised at the end of the combat and struck in turn by supporting Muscovite Horse. They survived but were forced to retreat. These rules certainly reward the use of supporting units. In the centre, the Polish Pike and Shot closed on the Cossack Foot on the hill. The encounter was slower going than the mounted combats. To their right, two Polish Dragoon regiments exchanged fire with more Cossack foot regiments and came off significantly worse. Again, this felt right: dragoons ought not to stand toe to toe with enemy infantry for long, as they will inevitably come off worse. On the Polish right, two regiments of Reiters, one Muscovite and one Polish, clashed. (By 1660 Reiters in both armies no longer fought with Caracole fire: they mostly reserved the pistol for melee, although they might fire at infantry in preference to charging home. In Tercios terms, they were more like Modern cavalry squadrons.) In this combat, the Muscovites gained the advantage and their Polish opponents retreated. With their cavalry recoiling on both flanks and the centre accumulating wear points, I decided the Poles had had enough for the day. For this second run through, the rules worked smoothly and gave plausible results. Great fun. The long-suffering Ian and Matt have agreed that our next game will be Tercios. I plan to write a scenario for Lubar on 12 September 1660, when both armies had arrived on the field and prepared for a set-piece battle. |
Archives
November 2023
Categories
All
|


 RSS Feed